Introduction
ISO is one of the most important elements of photography, but many beginner photographers don’t understand exactly what it means or how to use it to capture stunning images. This article is designed to provide a comprehensive guide to understanding ISO in photography. We’ll explain the basics of ISO, how to use it to produce professional quality images, and tips for mastering this essential element of photography.

Explaining the Basics of ISO for Beginner Photographers
ISO stands for International Organization for Standardization, and is used to measure the sensitivity of a digital camera’s image sensor. It’s measured in numbers, with lower numbers indicating a lower sensitivity to light and higher numbers indicating a higher sensitivity to light. The higher the ISO number, the brighter the image will be, but it also increases the amount of noise in the image.
What is ISO?
ISO is a measure of a digital camera’s sensitivity to light. It is represented by a number, typically ranging from 100 to 6400, though some cameras can go as low as 50 or as high as 12800. Generally speaking, the lower the ISO number, the less sensitive your camera is to light, and the higher the ISO number, the more sensitive your camera is to light.
How Does ISO Affect Your Photographs?
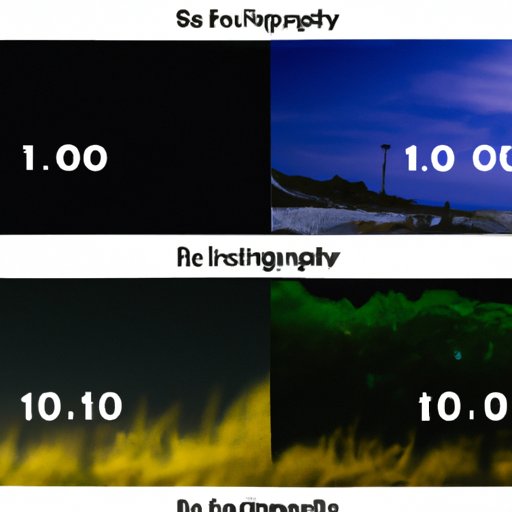
When you adjust the ISO setting on your camera, you are changing the sensitivity of the image sensor. A low ISO (100-400) will result in a darker image, while a high ISO (1600-3200) will result in a brighter image. Higher ISOs also introduce more noise into the image, which can reduce its overall quality. It’s important to understand the relationship between ISO and the other two elements of the exposure triangle – aperture and shutter speed – in order to achieve the desired results.
Tips for Setting the Right ISO for Different Scenarios
When shooting in bright light, it’s best to keep the ISO as low as possible. This will ensure that the image is not too bright and has minimal noise. When shooting in low light conditions, it’s best to increase the ISO in order to get a brighter image. However, it’s important to remember that increasing the ISO too much can introduce a lot of noise into the image, so it’s best to experiment with different settings until you find the right balance.
How to Use ISO to Create Professional Quality Images
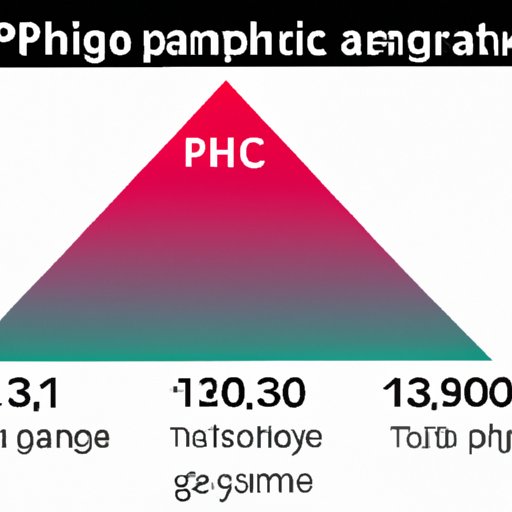
Understanding the exposure triangle is key to creating professional quality images. The exposure triangle consists of three elements: ISO, aperture, and shutter speed. All three of these elements must be balanced in order to achieve the desired results. Here’s a quick overview of how each element works:
Understanding the Exposure Triangle
ISO determines the sensitivity of the image sensor; aperture determines the amount of light that enters the camera; and shutter speed determines the amount of time that the shutter remains open. By balancing these three elements, you can achieve the desired exposure and avoid overexposure or underexposure.
Choosing the Appropriate ISO Setting
When choosing the appropriate ISO setting for a particular situation, it’s important to consider the other two elements of the exposure triangle. For example, if you’re shooting in low light, you may need to increase the ISO in order to get a brighter image. However, if you’re shooting in bright light, you may need to lower the ISO in order to avoid overexposure.
Utilizing Exposure Compensation
In addition to choosing the appropriate ISO setting, you can also utilize exposure compensation to further fine-tune your exposure. Exposure compensation allows you to adjust the overall brightness of the image by up to two stops in either direction. This is especially helpful when shooting in difficult lighting conditions.

A Comprehensive Guide to Understanding ISO in Photography
Now that we’ve covered the basics of ISO, let’s dive deeper into the topic and explore how to use ISO to achieve different effects in your photos. Here are some tips for mastering ISO and taking great photos.
Using Auto ISO
Most modern digital cameras have an Auto ISO feature, which automatically adjusts the ISO based on the lighting conditions. This is a great way to quickly and easily adjust the ISO without having to manually adjust the settings. However, it’s important to remember that Auto ISO does not take into account the other elements of the exposure triangle, so it’s best to use it in conjunction with other settings.
Selecting a Low or High ISO
When selecting a low or high ISO, it’s important to consider the type of image you want to create. A low ISO (100-400) is best for capturing crisp, detailed images with minimal noise. A high ISO (1600-3200) is better for capturing images in low light conditions, but it will introduce more noise into the image. Experiment with different ISO settings to find the right balance for the scene.
Balancing ISO With Aperture and Shutter Speed
In order to create the perfect exposure, it’s important to balance the ISO with the other two elements of the exposure triangle – aperture and shutter speed. Aperture controls the depth of field, or the amount of the image that is in focus, while shutter speed controls the amount of time that the shutter remains open. By adjusting these settings in conjunction with the ISO, you can achieve the desired exposure.

Tips for Mastering ISO and Taking Great Photos
Learning to master ISO is key to taking great photos. Here are some tips for mastering ISO and taking stunning images:
Learning to Read Histograms
Histograms are a great way to gauge the exposure of an image. They provide a visual representation of the tones in an image, from dark (left side) to light (right side). By learning to read histograms, you can quickly determine if an image is correctly exposed or if it needs to be adjusted.
Knowing When to Increase or Lower Your ISO
In order to achieve the desired exposure, it’s important to know when to increase or lower your ISO. If the image is too dark, try increasing the ISO. If the image is too bright, try decreasing the ISO. It’s also important to remember that increasing the ISO too much can introduce noise into the image, so it’s best to experiment with different settings until you find the right balance.
Experimenting With Different ISO Settings
The only way to truly master ISO is to experiment with different settings. Try shooting the same scene at different ISO levels and compare the results. This will help you understand how ISO affects the exposure of an image and how to adjust the settings to achieve the desired results.
Using ISO to Achieve Different Effects in Your Photos
ISO can also be used to create different effects in your photos. Here are some tips for using ISO to achieve different effects in your photos:
Capturing Motion Blur
By lowering the ISO and increasing the shutter speed, you can create motion blur in your images. This is a great way to add drama to a scene and convey a sense of movement. It’s also a great way to capture action shots, such as sports or wildlife photography.
Creating High Dynamic Range Images
High dynamic range (HDR) images are created by combining multiple exposures of the same scene. By varying the ISO and shutter speed, you can capture a range of tones from dark to light. These images can then be combined in post-processing to create a single image with a greater dynamic range.
Adding Grain to Your Images
Grain can be added to an image by increasing the ISO. This can be used to create a unique look and feel or to give the image an aged or vintage appearance. It’s important to remember that increasing the ISO too much can introduce noise into the image, so it’s best to experiment with different settings until you find the right balance.
Conclusion
ISO is an essential element of photography, and understanding how to use it is key to taking great photos. In this article, we’ve explored what ISO means in photography, how to use it to create professional quality images, and tips for mastering this essential element of photography. By following the tips outlined in this article, you’ll be well on your way to becoming an expert photographer.
In summary, ISO is a measure of a digital camera’s sensitivity to light. It’s important to understand the relationship between ISO and the other two elements of the exposure triangle – aperture and shutter speed – in order to achieve the desired results. Additionally, it’s important to experiment with different ISO settings in order to find the right balance and create the desired effect in your photos.
We hope that this article has provided you with a comprehensive guide to understanding ISO in photography. By mastering ISO, you’ll be able to take stunning photos and create amazing works of art.
(Note: Is this article not meeting your expectations? Do you have knowledge or insights to share? Unlock new opportunities and expand your reach by joining our authors team. Click Registration to join us and share your expertise with our readers.)
