Introduction
Graphic organizers are visual tools that can help learners organize their thoughts and information in a logical and meaningful way. They can be used to brainstorm, plan, analyze, summarize, and more. By providing structure and support, graphic organizers help learners of all ages and levels make sense of complex topics. In this article, we’ll explore how to write graphic organizers, as well as the benefits they provide for both teachers and students.
Start with the Basics: An Overview of Graphic Organizers
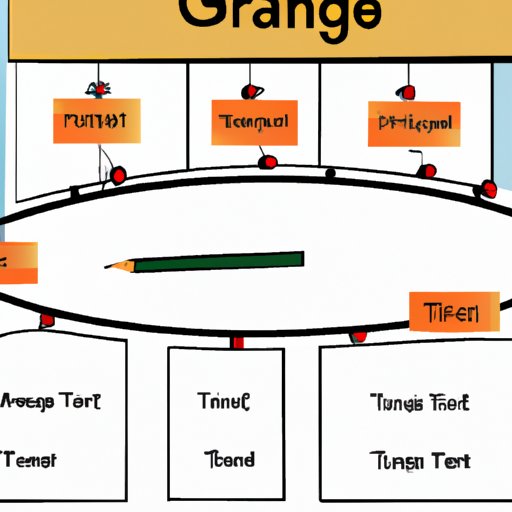
Graphic organizers come in many shapes and sizes, but all share the same basic elements. A typical graphic organizer consists of boxes, circles, or other shapes connected by lines. Each shape is used to represent a concept or idea, while the lines indicate relationships between those concepts. Here are some of the most common types of graphic organizers:
- Flow chart: Used to show a sequence of events or steps in a process.
- Venn diagram: Used to compare and contrast two or more ideas or concepts.
- Cause and effect diagram: Used to illustrate the relationship between causes and effects.
- Tree diagram: Used to show hierarchical relationships between ideas.
- Web diagram: Used to identify relationships between multiple ideas.
Creating a graphic organizer involves the following steps:
- Identify the purpose of the graphic organizer.
- Choose a suitable type of graphic organizer.
- Brainstorm ideas related to the topic.
- Organize the ideas into categories.
- Draw the graphic organizer.
- Label each box or shape with the appropriate category or concept.
- Connect the boxes or shapes with lines to indicate relationships.

Tips for Creating Effective Graphic Organizers
Graphic organizers can be powerful tools for helping learners understand complex topics, so it’s important to create clear and effective ones. Here are some tips for doing so:
Choose a Suitable Organizer for Your Purpose
When selecting a graphic organizer, think carefully about the purpose of the organizer and choose one that best fits your needs. For example, a Venn diagram may be better suited for comparing and contrasting ideas than a flow chart. Consider the type of information you want to convey and select an organizer accordingly.
Use Color, Images, and Symbols to Enhance Your Organizer
Color, images, and symbols can add visual interest to a graphic organizer and make it easier to interpret. For example, you could use red to highlight important points or add images to illustrate concepts. You can also use symbols to represent ideas or to connect related concepts.
Incorporate Visual Elements to Make Your Organizer Easier to Understand
Visual elements such as arrows, boxes, and shapes can help draw attention to key points and make the information easier to understand. For example, you could use arrows to show the direction of cause and effect relationships. Visual elements can also be used to group related ideas or to emphasize important points.

Ideas for Using Graphic Organizers in the Classroom
Graphic organizers can be used in a variety of ways in the classroom. Here are some ideas for incorporating them into lessons:
Introduce Graphic Organizers as an Aid to Learning
Graphic organizers can be used to introduce new topics or concepts. For example, a tree diagram can help learners visualize relationships between different types of plants or animals. By breaking down complex topics into smaller, more manageable chunks, graphic organizers can make learning easier and more enjoyable.
Utilize Graphic Organizers to Connect Concepts
Graphic organizers can also be used to show connections between different concepts. For example, a web diagram can be used to show how different parts of the ecosystem are related. By visually representing these connections, learners can gain a deeper understanding of the topic.
Encourage Students to Create Their Own Graphic Organizers
Graphic organizers can also be used as a creative exercise for learners. Encourage students to create their own graphic organizers to represent their understanding of a particular topic. This activity can help learners develop critical thinking skills and gain a better understanding of the material.
Examples of Graphic Organizers from Different Subjects
Graphic organizers can be used in any subject area. Here are some examples of graphic organizers from different subjects:
Science
- Flow chart showing the scientific method.
- Tree diagram illustrating the classification of living things.
- Venn diagram comparing types of energy.
Math
- Flow chart demonstrating the steps of long division.
- Tree diagram showing the order of operations.
- Venn diagram comparing fractions and decimals.
Language Arts
- Flow chart outlining the steps of the writing process.
- Tree diagram showing the main characters in a story.
- Venn diagram comparing two authors’ writing styles.
Social Studies
- Flow chart outlining the events of the American Revolution.
- Tree diagram showing the branches of government.
- Venn diagram comparing different economic systems.

Troubleshooting Common Challenges with Graphic Organizers
Graphic organizers can be challenging to create, especially for those who are new to the process. Here are some tips for troubleshooting common challenges:
Identifying Which Graphic Organizer to Use
When deciding which type of graphic organizer to use, consider the purpose of the organizer and the type of information you want to convey. If you’re having trouble deciding which type of organizer to use, try creating a few different options and see which works best. You can also consult resources such as books, websites, or online tutorials for advice.
Ensuring That Graphic Organizers Are Accurate
It’s important to ensure that the information included in the graphic organizer is accurate. Before presenting it to students, double-check that all of the information is correct and up-to-date. It’s also a good idea to have students review the organizer and ask questions if they have any.
Making Sure All Learners Can Access and Understand Graphic Organizers
Graphic organizers can be challenging for some learners, especially those who are visually impaired or have difficulty processing visual information. To ensure all learners can access and understand graphic organizers, consider providing alternate versions in different formats, such as audio or tactile. You can also provide verbal descriptions or explanations of the organizers for those who need additional support.
Conclusion
Graphic organizers are valuable tools for helping learners organize and understand complex topics. By providing structure and support, graphic organizers can make learning easier and more enjoyable. This article has provided an overview of how to write graphic organizers, as well as tips for creating effective organizers, ideas for using them in the classroom, and troubleshooting common challenges. By following these guidelines, teachers can create engaging and effective graphic organizers that will benefit their students.
(Note: Is this article not meeting your expectations? Do you have knowledge or insights to share? Unlock new opportunities and expand your reach by joining our authors team. Click Registration to join us and share your expertise with our readers.)