Introduction
A weed eater is an important tool for maintaining your lawn and garden. It is also known as a string trimmer or weed whacker. It is powered by either an electric motor or gasoline engine, and it uses a rotating string to cut grass and weeds. Wiring a weed eater properly is essential in order to ensure that it runs safely and efficiently.
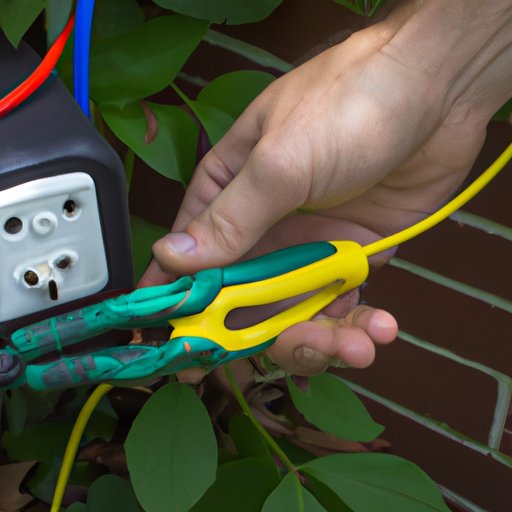
Step-by-Step Guide to Wiring a Weed Eater
Wiring a weed eater is a relatively simple process that can be done in a few steps. First, you will need to gather the necessary tools and supplies. This includes wire cutters/strippers, electrical tape, and screwdrivers. Once you have gathered the required items, you can begin the process of wiring the weed eater.
The first step is to understand the wiring diagram. The wiring diagram will provide you with a visual representation of the components and their connections. It will show you the type of wire to use and where it should be connected. Once you have a clear understanding of the wiring diagram, you can then move on to making the connections.
Making the connections involves connecting the wires to the various components of the weed eater. You will need to connect the positive and negative wires to the battery and the motor. You should also attach the ground wire to the frame of the weed eater. Once all of the connections are made, you will need to secure them with electrical tape.
How to Properly Wire a Weed Eater for Maximum Efficiency
In order to properly wire a weed eater for maximum efficiency, you will need to choose the correct wire gauge. The wire gauge should be based on the amperage of the motor. If the amperage is too high, you may need to use a thicker wire. Additionally, you should ensure that the wires are positioned correctly so that they do not interfere with the operation of the weed eater.
You will also need to make sure that the connections are secure. This means ensuring that the wires are properly connected and that they are not too loose or too tight. If the wires are too loose, they can come loose during operation and cause damage to the weed eater. If the wires are too tight, they can cause electrical shorts and pose a risk of fire or shock.
Troubleshooting Tips for Wiring a Weed Eater
If you encounter any issues while wiring a weed eater, there are several troubleshooting tips that can help. First, you should inspect the wiring to make sure that it is properly connected and secure. You should also check the battery to make sure that it is charged and working properly. Finally, you should test the connections with a voltage meter to make sure that they are making a good connection.

Safety Precautions When Wiring a Weed Eater
It is important to take safety precautions when wiring a weed eater. Before beginning the wiring process, you should wear protective gear such as gloves and safety glasses. Additionally, you should always follow the manufacturer’s instructions when wiring the weed eater. Finally, you should unplug the weed eater before making any adjustments or repairs.
Essential Tools and Supplies Needed for Wiring a Weed Eater
In order to successfully wire a weed eater, you will need to gather the necessary tools and supplies. The most essential tools are wire cutters/strippers, electrical tape, and screwdrivers. These tools will help you make the necessary connections and secure them in place.

Common Mistakes to Avoid When Wiring a Weed Eater
When wiring a weed eater, it is important to avoid common mistakes. One of the most common mistakes is cross connecting the wires. This means connecting the wrong wires together, which can cause serious damage to the weed eater. Additionally, you should avoid over-tightening the connections as this can lead to electrical shorts. Finally, you should make sure that you are using the correct type of wire for the job.

How to Test the Connections After Wiring a Weed Eater
Once you have finished wiring the weed eater, it is important to test the connections to make sure that they are working properly. You can do this by checking the resistance of the wires with a multimeter. You should also check that the power switch is working correctly. Finally, you should test the motor with a voltage meter to make sure that it is receiving the correct amount of power.
Conclusion
Wiring a weed eater is an important part of its maintenance and upkeep. By following the steps outlined in this article, you can ensure that the weed eater is wired correctly and running efficiently. Additionally, it is important to take safety precautions and use the correct tools and supplies when wiring a weed eater. With a little bit of knowledge and preparation, you can easily wire a weed eater yourself.
(Note: Is this article not meeting your expectations? Do you have knowledge or insights to share? Unlock new opportunities and expand your reach by joining our authors team. Click Registration to join us and share your expertise with our readers.)