Introduction
A starter solenoid is an electrical device that is used to engage the starter motor when the engine is started. It is typically found in vehicles with internal combustion engines and consists of two sets of contacts and a coil. When the ignition key is turned, the coil energizes, closing the contacts and allowing the starter motor to be engaged. Testing a starter solenoid is an important part of car maintenance and should be done on a regular basis. This article will provide a step-by-step guide on how to properly test a starter solenoid.
Prepare to Test the Solenoid on a Starter
Before testing the starter solenoid, it is important to gather the necessary tools and supplies. These include a multimeter, an ohmmeter, and a set of wrenches. It is also helpful to have a flashlight or work light to make it easier to see the starter solenoid.
Once the tools and supplies have been gathered, the next step is to identify the starter solenoid. In most cars, the starter solenoid is located near the battery and is easy to spot. However, in some cases, it may be hidden away behind other components and require some disassembly to locate.
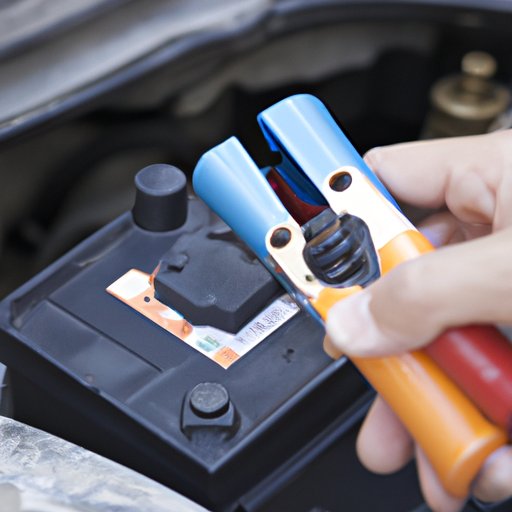
Check the Voltage of the Battery
The first step in testing the starter solenoid is to check the voltage of the battery. To do this, connect one lead of the multimeter to the positive terminal of the battery and the other lead to the negative terminal. Then, read the voltage displayed on the multimeter. The voltage should be between 12.4 and 12.6 volts. If the voltage is lower than this, it could indicate a weak battery or a problem with the charging system.

Connect a Multimeter to the Starter Solenoid
Once the voltage of the battery has been checked, the next step is to connect the multimeter’s leads to the starter solenoid. The starter solenoid should have two posts; one for the positive lead and one for the negative lead. Connect the multimeter’s leads to these two posts.
Turn the Ignition Key and Measure the Voltage
The next step is to turn the ignition key to the “on” position and observe the reading on the multimeter. The multimeter should read 12 volts or higher if the starter solenoid is working properly. If the reading is lower than 12 volts, it could indicate a problem with the starter solenoid.
Disconnect the Wires from the Starter Solenoid
If the reading is lower than 12 volts, the next step is to disconnect the wires from the starter solenoid. It is important to isolate the negative wire to prevent any accidental shocks. Once the wires are disconnected, the starter solenoid can be tested further.
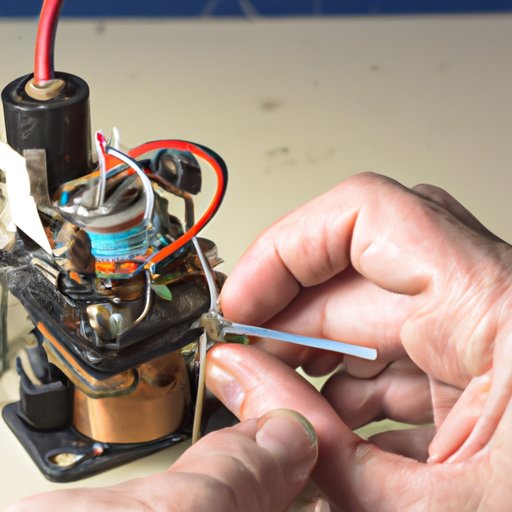
Use an Ohmmeter to Test the Solenoid
An ohmmeter can be used to test the starter solenoid for continuity. To do this, connect the ohmmeter’s leads to the starter solenoid and take a reading from the ohmmeter. The reading should be close to zero if the starter solenoid is working properly. If the reading is higher than expected, it could indicate a problem with the starter solenoid.

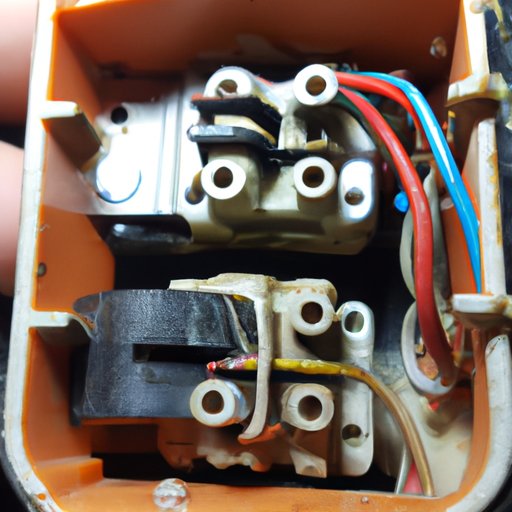
Inspect the Starter Solenoid for Damage or Wear
Finally, it is important to inspect the starter solenoid visually for signs of corrosion or damage. If the starter solenoid is corroded or damaged, it will need to be replaced. It is also important to check for signs of wear, such as loose bolts or cracked insulation.
Conclusion
Testing a starter solenoid is an important part of car maintenance. This guide has outlined the steps needed to properly test a starter solenoid, including preparing the necessary tools and supplies, checking the voltage of the battery, connecting a multimeter to the starter solenoid, turning the ignition key and measuring the voltage, disconnecting the wires from the starter solenoid, using an ohmmeter to test the solenoid, and inspecting the starter solenoid for damage or wear. Following these steps will ensure that the starter solenoid is functioning properly.
(Note: Is this article not meeting your expectations? Do you have knowledge or insights to share? Unlock new opportunities and expand your reach by joining our authors team. Click Registration to join us and share your expertise with our readers.)