
Introduction
A starter is an electrical motor that is used to start an internal combustion engine. The starter is responsible for converting electrical energy into mechanical energy to initiate the engine’s operation. Testing the starter is necessary to ensure it is functioning correctly and avoid any potential problems or hazards.
Step-by-Step Guide to Testing a Starter With a Screwdriver
Before beginning any work on the starter, it is important to take all necessary safety precautions such as wearing protective gloves and eyewear. Additionally, it is recommended to consult the vehicle’s manual to familiarize yourself with the specific procedures before beginning any work.
The following tools and materials will be necessary to perform the test:
- Screwdriver
- Jumper cables
- Multimeter
- Socket set
Once you have gathered all of the necessary materials, you can begin the testing process. Here are the steps to follow:
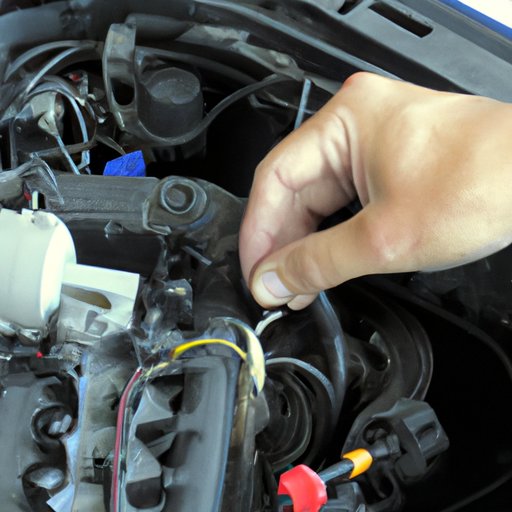
- Disconnect the negative cable from the battery.
- Remove the starter from the vehicle using a socket set.
- Use the multimeter to test the starter for continuity. If there is no continuity, the starter needs to be replaced.
- Connect the jumper cables to the starter.
- Turn the key in the ignition to see if the starter engages and turns over.
- If the starter does not engage, use the screwdriver to check for any loose connections.
- Reattach the starter to the vehicle and reconnect the negative battery cable.
How to Diagnose a Faulty Starter Using a Screwdriver
There are several signs that indicate a faulty starter. These include slow cranking when attempting to start the vehicle, clicking noises coming from the starter, and a burning smell emanating from the starter. If any of these symptoms are present, it is time to start troubleshooting.
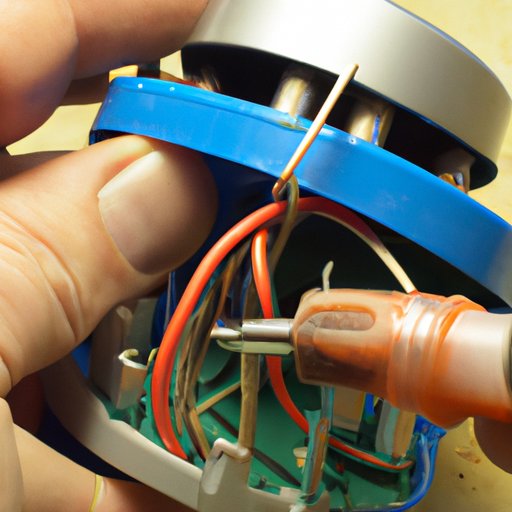
One of the most common causes of a faulty starter is a dead battery. To determine if this is the case, use the multimeter to test the battery voltage. If the voltage is low, the battery may need to be replaced. Another common issue is a corroded connection. Use the screwdriver to check all of the connections and clean them if necessary.
A Comprehensive Look at Testing a Starter Motor With a Screwdriver
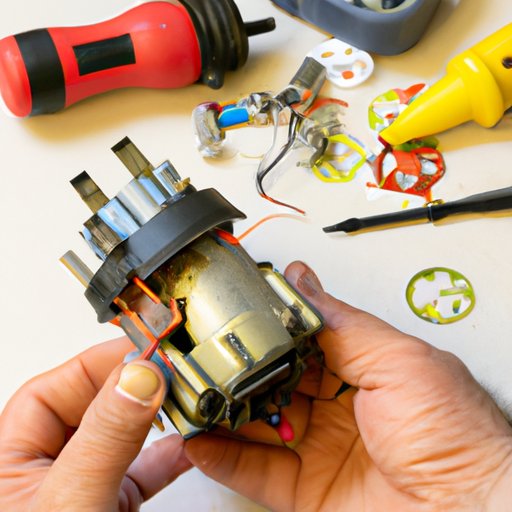
In order to effectively test a starter motor with a screwdriver, it is important to understand the basics of how the starter motor system works. The starter motor consists of several components, including the armature, the solenoid, and the brushes. The armature is the rotating part of the motor and is responsible for turning the engine over. The solenoid is the switch that activates the starter motor when the key is turned in the ignition. Finally, the brushes are the electrical contacts that provide power to the starter motor.
It is also important to examine each component of the starter motor to ensure they are in good working condition. Check the armature for any wear and tear, as well as the brushes for any corrosion or damage. Additionally, test the solenoid by activating it with the screwdriver. If the solenoid does not activate, it needs to be replaced.
Tips and Tricks for Testing a Starter With a Screwdriver
When testing a starter with a screwdriver, there are several common pitfalls to avoid. First, make sure to disconnect the negative battery cable before beginning any work. This will prevent any accidental short circuits. Additionally, take care not to overtighten any connections as this can cause damage to the starter motor.
To get the best results, it is important to use the correct tools for the job. For example, it is recommended to use a high quality multimeter and socket set to ensure accurate readings and a secure fit. Finally, make sure to consult the vehicle’s manual for any specific instructions.
The Basics of Testing a Starter With a Screwdriver
In order to successfully test a starter with a screwdriver, it is important to understand the basic theory behind the process. The main goal of testing the starter is to determine if it is receiving enough power to turn over the engine. To do this, you will need to test the voltage of the starter, check the connections for any loose wires, and examine the components of the starter motor.
It is also important to take the necessary steps when testing the starter. For example, always remember to disconnect the negative battery cable before beginning any work. Additionally, use the correct tools to ensure accurate readings and a secure fit. Finally, make sure to consult the vehicle’s manual for any specific instructions.
Conclusion
Testing a starter with a screwdriver is a relatively simple process once you understand the basics. It is important to take all necessary safety precautions, use the correct tools, and consult the vehicle’s manual for specific instructions. Additionally, it is important to understand the components of the starter motor system and identify any signs of a faulty starter. By following these steps, you can ensure that your starter is in good working condition.
(Note: Is this article not meeting your expectations? Do you have knowledge or insights to share? Unlock new opportunities and expand your reach by joining our authors team. Click Registration to join us and share your expertise with our readers.)