Introduction
Testing a car amplifier is an important step for any car audio enthusiast. A car amplifier can help you get higher quality sound from your car speakers, but it is important to make sure that it is properly installed and tested before use. This article will provide a step-by-step guide on how to safely test a car amplifier at home.
Research the Specifications and Installation Requirements
Before attempting to test a car amplifier, it is important to first research the specifications and installation requirements of the amplifier. It is essential to understand the power output, voltage, impedance, and other technical details of the amplifier as these will determine the type of wiring, components, and tools needed for the installation and testing process. Additionally, it is important to familiarize yourself with the installation instructions provided by the manufacturer, as this will ensure that the amplifier is correctly connected to the vehicle’s electrical system.

Gather Necessary Tools and Materials
Once the specifications and installation requirements are understood, the next step is to gather the necessary tools and materials. For testing a car amplifier, you will need a multimeter, wire cutters, wire strippers, electrical tape, and other basic tools. Additionally, you will need speaker wire, power cables, and other materials as specified by the amplifier’s specifications.
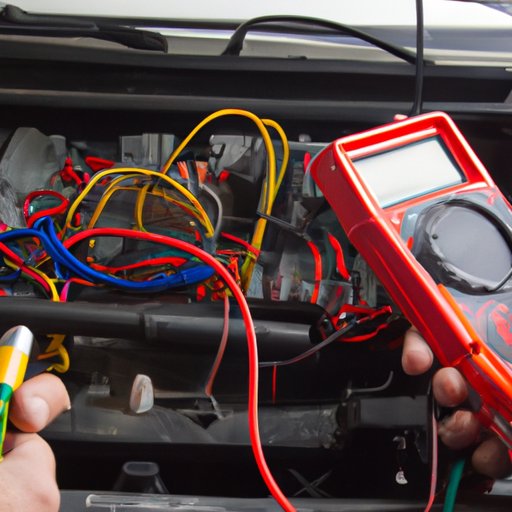
Connect the Amplifier to Vehicle’s Electrical System
The next step is to connect the amplifier to the vehicle’s electrical system. This involves laying out the wiring connections according to the installation instructions provided by the manufacturer. It is important to ensure that all connections are secure and that no wires are exposed. Once the connections are complete, the amplifier should be powered on to ensure that it is working properly.
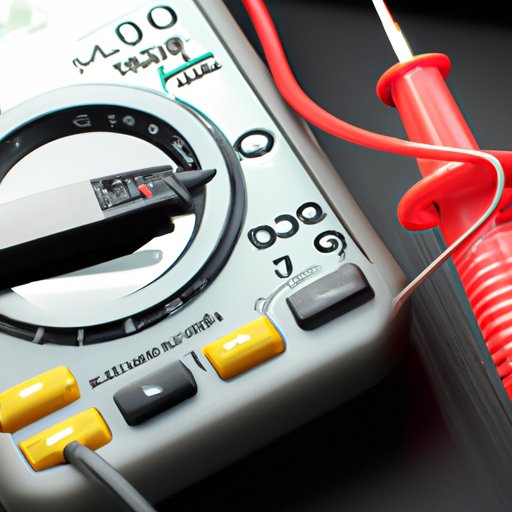
Test Input Signal with Multimeter
Testing the input signal with a multimeter is the next step in the process. To do this, you will need to set the multimeter to the correct setting and then connect the positive and negative leads to the appropriate terminals on the amplifier. Once the multimeter is connected, the input signal can be tested and the results should be recorded for reference.
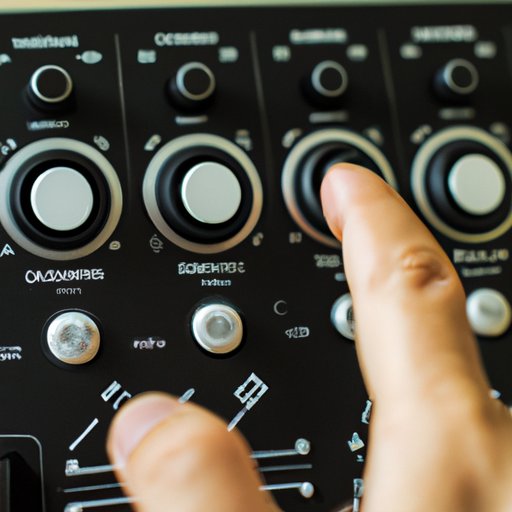
Play Music and Adjust Settings
Once the input signal has been tested, the next step is to play music through the amplifier and adjust the settings as desired. It is important to ensure that the sound is clear and free of distortion. Additionally, it is important to adjust the settings such as bass, treble, and other controls to achieve the desired sound.
Conclusion
Testing a car amplifier at home is not as difficult as it may seem. By researching the specifications and installation requirements, gathering the necessary tools and materials, connecting the amplifier to the vehicle’s electrical system, testing the input signal with a multimeter, playing music, and adjusting the settings, you can safely and effectively test a car amplifier at home. Remember to always research the specifications and installation requirements before attempting to test a car amplifier.
(Note: Is this article not meeting your expectations? Do you have knowledge or insights to share? Unlock new opportunities and expand your reach by joining our authors team. Click Registration to join us and share your expertise with our readers.)