Introduction
Many gardeners find starting their own seeds is a great way to save money and get the most out of their gardening experience. Starting your own seeds can be a fun and rewarding experience, but it can also be daunting for beginners. This article will provide a step-by-step guide on how to start your own seeds, from researching the best types of seeds for your climate and soil conditions, to providing adequate light and water for your seedlings, and finally, transplanting your seedlings into larger containers or directly into the ground.
Research the Best Types of Seeds for Your Climate and Soil Conditions
The first step in starting your own seeds is to research the best types of seeds for your climate and soil conditions. Different varieties of plants have different needs when it comes to climate and soil type, so it’s important to choose the right variety of seeds that can thrive in your local environment. According to the National Gardening Association, “When selecting a type of plant to grow, be aware of its hardiness zone, annual rainfall, average temperature, and other environmental factors.”
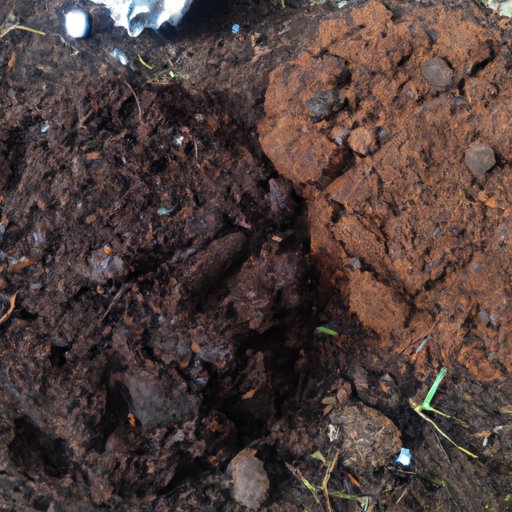
It’s also important to consider the type of soil you have in your garden. If you don’t know what type of soil you have, you can get a soil test done at your local garden center. Knowing the type of soil you have will help you determine which plants are best suited for your garden.

Choose an Appropriate Container for Starting Your Seeds
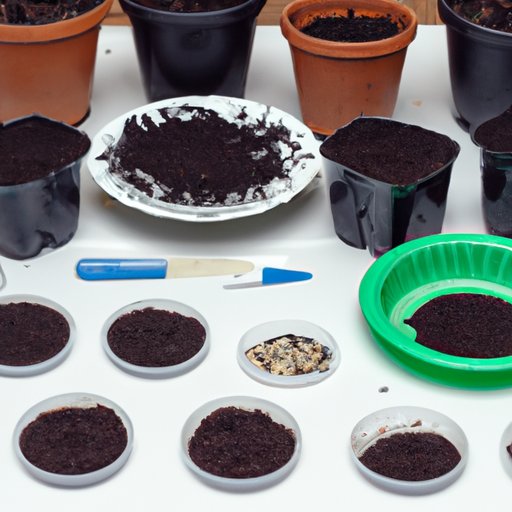
Once you’ve researched the best types of seeds for your climate and soil type, the next step is to select an appropriate container for starting your seeds. When selecting a container for starting your seeds, it’s important to ensure it has proper drainage. Otherwise, your seeds may become waterlogged and rot. Dr. Linda Chalker-Scott, a horticulturist from Washington State University, recommends using “containers with good drainage holes, such as plastic flats, paper coffee cups, or peat pots.” It’s also important to make sure the container is clean and free of any debris or pests.

Prepare the Soil for Planting Your Seeds
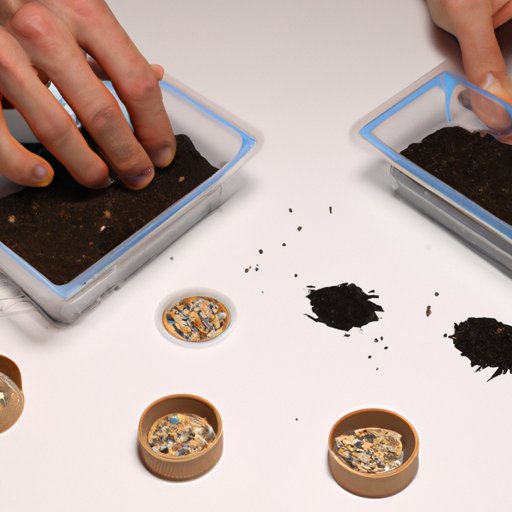
Once you’ve selected an appropriate container for starting your seeds, the next step is to prepare the soil. First, you need to select a potting mix that is suitable for the type of plants you are growing. Potting mixes are usually formulated to provide the right balance of nutrients and moisture for seedlings. Once you’ve selected a potting mix, you may want to add some additional nutrients to the soil, such as compost or fertilizer.
It’s also important to test the soil’s pH levels before planting your seeds. The pH level of the soil can affect the growth and health of your plants, so it’s important to make sure the soil is in the right range for your plants. Most plants prefer a slightly acidic soil with a pH level of 6.5 to 7.5.
Plant Your Seeds According to their Specific Instructions
Once you’ve prepared the soil for planting, the next step is to plant your seeds according to their specific instructions. It’s important to read the labels carefully to make sure you are planting the seeds at the correct depth and spacing. Some seeds need to be planted shallow, while others need to be planted deeper. It’s also important to make sure you are planting the seeds at the recommended spacing to ensure they have enough room to grow.

Provide Adequate Light and Water for Your Seedlings
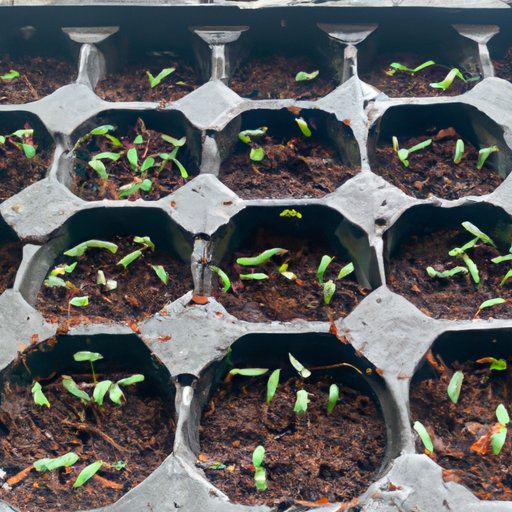
Once your seeds have been planted, it’s important to provide adequate light and water for your seedlings. Place your seedlings in an area with enough light, such as a sunny windowsill or under a grow light. Monitor the soil moisture levels regularly and water as necessary. Be careful not to overwater your seedlings as this can lead to root rot.
Transplant Your Seedlings into Larger Containers or Directly into the Ground
Once your seedlings have grown to a certain size, it’s time to transplant them into larger containers or directly into the ground. When choosing a container for transplanting, choose one that is the right size for the type of plant you are growing. Handle seedlings carefully when transplanting and make sure to keep the soil moist. Make sure to provide adequate light and water for your newly transplanted seedlings.
Conclusion
Starting your own seeds is a great way to save money and get the most out of your gardening experience. This step-by-step guide has provided an overview of the process of starting your own seeds, from researching the best types of seeds for your climate and soil conditions, to providing adequate light and water for your seedlings, and finally, transplanting your seedlings into larger containers or directly into the ground.
By following these steps, you can ensure that your seeds have the best chance of success. Starting your own seeds can be a fun and rewarding experience, and it’s a great way to get the most out of your gardening experience.
(Note: Is this article not meeting your expectations? Do you have knowledge or insights to share? Unlock new opportunities and expand your reach by joining our authors team. Click Registration to join us and share your expertise with our readers.)
