
How to Start Ratchet Straps
Ratchet straps are an essential tool for securing loads during transport or storage. They are widely used in many industries, ranging from construction to automotive, and can be used for a variety of tasks. However, it’s important to know how to use them properly in order to ensure the safety of the load and those handling it. This article will provide a step-by-step guide on how to start a ratchet strap.
What is a Ratchet Strap?
A ratchet strap is a type of tie-down strap that is used to secure loads to vehicles, trailers, or other surfaces. It consists of three main components: webbing loops, hooks, and a ratchet mechanism. The webbing loops are used to thread the strap through, while the hooks are used to attach the strap to the load. The ratchet mechanism allows you to tighten the strap by pulling it tight and then engaging the ratchet lever.
Why are Ratchet Straps Used?
Ratchet straps are used to safely secure loads during transportation or storage. They are strong and reliable and provide a secure connection that can withstand high levels of tension. They are also adjustable, allowing you to easily adjust the tension as needed. Additionally, ratchet straps are easy to use and require minimal setup time.

Understand the Different Types of Ratchet Straps
There are several different types of ratchet straps available. The most common type is the webbing loop strap, which consists of two webbing loops connected by a ratchet mechanism. The webbing loops are threaded through the ratchet strap and then secured in place with the ratchet lever. Another type is the hook strap, which uses hooks instead of webbing loops. The hooks are attached to the appropriate points on the load and then secured with the ratchet lever.
The ratchet mechanism is the third component of the strap. This is the “ratchet” part that is used to secure the strap in place. It consists of a lever that is engaged when the strap is pulled tight. Once the lever is engaged, the strap cannot be released until the lever is disengaged.
Inspect the Strap and Connectors for Damage or Defects
Before using a ratchet strap, it’s important to inspect the strap and connectors for any signs of damage or defects. Check for frayed edges, signs of wear and tear, and any other potential issues. Make sure the connectors are working properly and that there are no loose parts. If any damage or defects are found, do not use the strap and replace it with a new one.
Choose the Appropriate Length of Ratchet Strap
When selecting a ratchet strap, it’s important to choose the right length for the job. Measure the distance to be secured and consider the weight of the load. Different types of straps have different strengths and are suited for different applications. For example, a light-duty strap may be suitable for lighter loads, while a heavy-duty strap may be better suited for heavier loads.

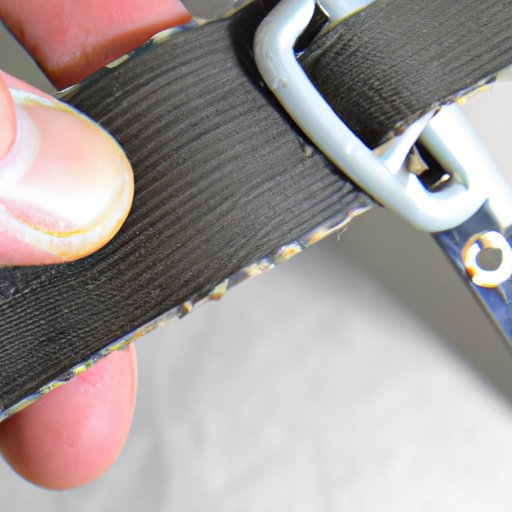
Thread the Ratchet Strap Through the Webbing Loops
Once you have chosen the appropriate length and type of ratchet strap, you can begin threading it through the webbing loops. Insert the webbing loops through the ratchet strap and pull them tight. Secure the ratchet strap in place by engaging the ratchet lever.
Securely Attach the Hooks to the Load
The next step is to securely attach the hooks to the load. Make sure the hooks are firmly fastened to the desired points on the load. Check that the load will not move when pulled and that the hooks are securely attached. Once the hooks are in place, you can proceed to the next step.

Tighten the Strap with the Ratchet Mechanism
The final step is to tighten the strap with the ratchet mechanism. Engage the ratchet lever and continue to pull the strap until it is tight. Make sure the load is secure before releasing the ratchet lever.
Double-Check That the Ratchet Strap is Securely Attached
Once the ratchet strap is tightened, it’s important to double-check that it is securely attached. Visually inspect the strap and connectors to make sure everything is in place. Give the load a gentle tug to make sure it is secure. Finally, recheck the tightness of the strap periodically to make sure it remains secure.
Conclusion
Starting a ratchet strap is easy once you understand the steps involved. First, inspect the strap and connectors for any damage or defects. Then, select the appropriate length and type of ratchet strap for the job. Thread the strap through the webbing loops and securely attach the hooks to the load. Finally, tighten the strap with the ratchet mechanism and double-check that it is securely attached. By following these steps, you can ensure that your load is safely secured.
(Note: Is this article not meeting your expectations? Do you have knowledge or insights to share? Unlock new opportunities and expand your reach by joining our authors team. Click Registration to join us and share your expertise with our readers.)