Introduction
Friendship bracelets are a great way to show someone how much you care. A handmade bracelet is a special and unique way to express your appreciation for a friend or loved one. The process of making friendship bracelets is also a fun and creative activity that can be done alone or with friends.
A friendship bracelet is a decorative piece of jewelry made from brightly colored threads. It is usually an adjustable bracelet that is tied around the wrist in a variety of patterns. Friendship bracelets are often exchanged between friends and family members as a sign of affection and appreciation.
Gather the Necessary Materials
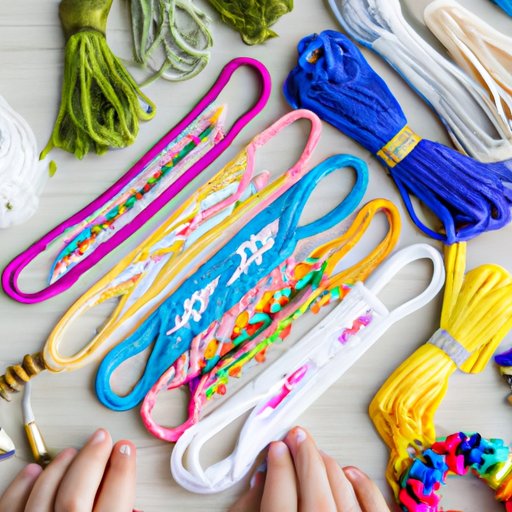
Before you begin making your friendship bracelet, it’s important to gather all of the necessary materials. You will need embroidery floss, scissors, a tape measure, and a needle. Embroidery floss comes in a variety of colors and can be purchased at any craft store or online.
It’s a good idea to choose a color palette before you begin. You can mix and match different colors to create a unique design or use only two or three colors to keep the look simple. You may also want to consider the type of pattern you want to create.
Determine the Length of the Bracelet
Once you have gathered all of the necessary materials, it’s time to determine the length of the bracelet. To do this, you will need to measure your wrist with the tape measure. Once you have your measurement, you will need to cut four pieces of embroidery floss to twice the desired bracelet length.
For example, if you want to make a bracelet that is 8 inches long, you will need to cut four 16 inch strands of embroidery floss. This will give you enough material to make the bracelet and leave some extra for tying knots.
Begin Braiding
Now that you have your materials ready, it’s time to start braiding. Begin by tying a knot at one end of the four strands. Next, separate the strands into two groups of two and tie another knot at the middle of the strands. Finally, start braiding the strands in a simple pattern such as over-under or left-right.
As you braid the strands together, pull the knots tight to ensure that your bracelet will stay together. You can also add beads or charms to the bracelet while you braid. This is a great way to customize your bracelet and make it even more unique.
Secure the Other End
When you have finished braiding, it’s time to secure the other end. To do this, simply tie a knot to secure the other end of the bracelet. Make sure that the knot is tight so that it won’t come undone. You can also add a dab of glue to the knot to make sure that it stays in place.
Conclusion
Making a friendship bracelet is a fun and creative project that is sure to bring joy to your friends and loved ones. With a few simple steps, you can create a one-of-a-kind bracelet that will show your friends how much you care.
(Note: Is this article not meeting your expectations? Do you have knowledge or insights to share? Unlock new opportunities and expand your reach by joining our authors team. Click Registration to join us and share your expertise with our readers.)