Introduction
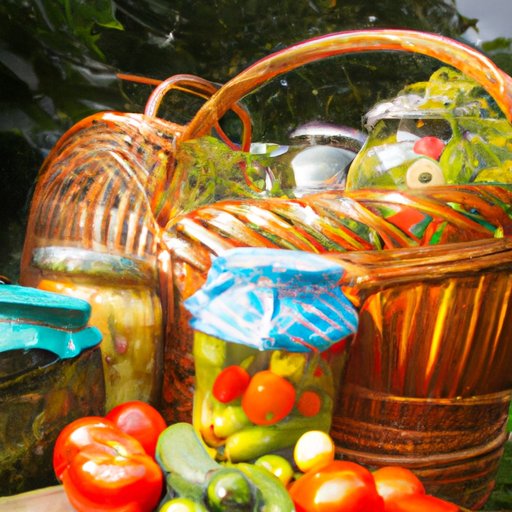
Canning is a popular method of preserving food for long-term storage. It involves sealing food in jars or other containers and then processing them in boiling water or heated steam for a certain amount of time. This process kills any bacteria that may be present, allowing the food to be stored for months or even years without spoiling. There are many benefits to canning, including saving money, reducing waste, and providing nutritious food that can be enjoyed all year round.

Gather the Supplies Needed for Canning
Before you begin canning, it’s important to gather the necessary supplies. You’ll need canning jars, lids, and rings, as well as a large pot for boiling the jars. You’ll also need a jar lifter, a wide-mouth funnel, and a ladle to fill the jars. For safety, you should also have a pair of heavy-duty oven mitts and a timer. Finally, you’ll need a recipe and ingredients for whatever food you plan to can.
Learn About the Different Types of Canning
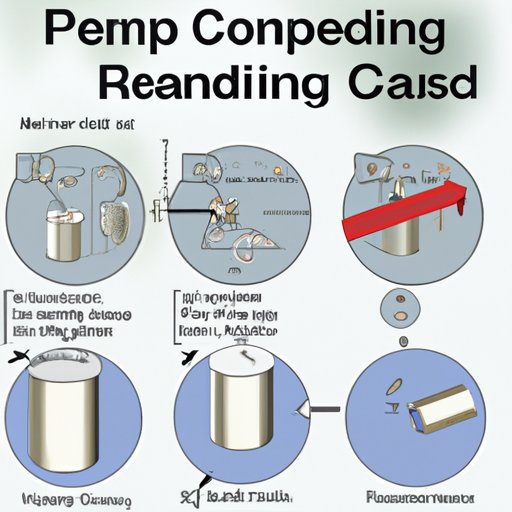
There are two main types of canning: pressure canning and water bath canning. Pressure canning is used for low-acid foods like meat, poultry, fish, and most vegetables. This method requires a pressure canner, which is a specialized pot with a locking lid that creates an airtight seal. The sealed pot is then heated to a much higher temperature than boiling water, killing any harmful bacteria and ensuring the food is safe for long-term storage.
Water bath canning is used for high-acid foods such as fruits, jams, and jellies. This method requires a large pot filled with boiling water, into which the jars of food are placed. The boiling water heats the food to a high enough temperature to kill any bacteria, but not so high that it destroys the flavor or texture of the food. Water bath canning is simpler and faster than pressure canning, but it doesn’t provide the same level of protection against harmful bacteria.

Understand the Basics of Pressure Canning
Pressure canning is a more complicated process than water bath canning, so it’s important to understand the basics before attempting it. First, you’ll need to follow the instructions provided by the manufacturer of your pressure canner. The temperature and time requirements will vary depending on the type of food you’re canning, so it’s important to consult the instructions carefully. Second, you’ll need to make sure the pressure canner is properly vented before beginning the process. Once the canner is pressurized, it should remain sealed until the food has been processed for the recommended amount of time.
Consider Water Bath Canning
Water bath canning is a great option for those who want to preserve high-acid foods quickly and easily. This method is simpler than pressure canning, and it doesn’t require any special equipment. However, it’s important to remember that water bath canning won’t protect against the growth of bacteria as effectively as pressure canning. Therefore, it’s best to use water bath canning for short-term storage only.

Select Your Recipe and Ingredients
Once you’ve decided on a canning method, it’s time to select a recipe and gather the ingredients. When choosing a recipe, make sure it is specifically designed for the type of canning you plan to do. For example, recipes for water bath canning must include enough acidity to prevent the growth of harmful bacteria. If you’re using fresh produce, make sure it is ripe and free of blemishes. Also, look for recipes that call for the right amount of sugar, salt, and other ingredients.
Prepare Your Jars, Lids and Rings
Before filling your jars, it’s important to clean and sterilize them to ensure they are free of any bacteria. Most jars can be washed in hot, soapy water and rinsed thoroughly. You’ll also need to test the lids and rings to make sure they are functioning properly. Place the lids in a small saucepan filled with boiling water and let them sit for at least five minutes. If they don’t stay submerged, they are not airtight and should not be used.
Follow Directions Carefully for a Successful Canning Session
Once your jars and lids are ready, it’s time to begin canning. Follow the directions in your recipe carefully, paying close attention to the temperature and time requirements. Be sure to fill the jars completely and leave the appropriate headspace for the type of food being canned. After the jars have been processed, remove them from the canner and allow them to cool. Once cooled, check the seals to make sure the lids are tight and secure. Finally, label and store the jars in a cool, dry place.
Conclusion
Canning is a great way to preserve your favorite foods. With the proper supplies and knowledge, you can enjoy the delicious flavors of summer all year round. Remember to always follow safety precautions when canning, and be sure to choose the right canning method for the type of food you are preserving. With a little practice, you’ll be canning like a pro in no time!
For further information and resources on canning, visit the National Center for Home Food Preservation website at https://nchfp.uga.edu/.
(Note: Is this article not meeting your expectations? Do you have knowledge or insights to share? Unlock new opportunities and expand your reach by joining our authors team. Click Registration to join us and share your expertise with our readers.)
