Introduction
Crochet is a popular craft that has been around for centuries. It is used to make beautiful garments, accessories, and home decor items. Although it may seem intimidating at first, once you get the hang of it, crochet is relatively straightforward. Starting a second row in crochet can be tricky, though, and new crocheters often find themselves confused and frustrated. This article will provide step-by-step instructions, video tutorials, tips and tricks, an illustrated guide, common mistakes, and expert advice on how to start a second row in crochet.
Step-by-Step Instructions on How to Start a Second Row in Crochet
Before you begin, there are certain materials that you need. You will need a crochet hook that is the appropriate size for your yarn, yarn of your chosen color, a pair of scissors, and a measuring tape. Once you have all of your materials ready, you can begin.
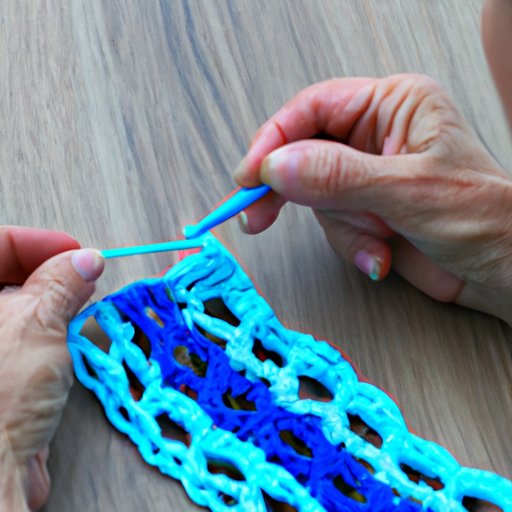
To start a second row in crochet, begin by making a slipknot. Pull the loop tight so that it sits snugly on your hook. Chain one stitch and turn your work. You will now see two loops on your hook. Insert your hook into the second chain from the hook and pull up a loop. You should now have three loops on your hook. Yarn over and pull through two loops. Yarn over again and pull through the remaining two loops. You have now completed one single crochet stitch. Repeat this pattern until you reach the end of the row. When you reach the end, chain one stitch and turn your work. You have now started the second row in crochet.
Video Tutorial on How to Start a Second Row in Crochet
If you prefer to learn visually, you can watch this helpful video tutorial on how to start a second row in crochet. The video goes over all of the steps listed above and provides additional tips for troubleshooting common issues. The video also includes an overview of the different types of stitches that you can use and their corresponding abbreviations.
Link to video tutorial: How to Start a Second Row in Crochet
Tips and Tricks for Starting a Second Row in Crochet
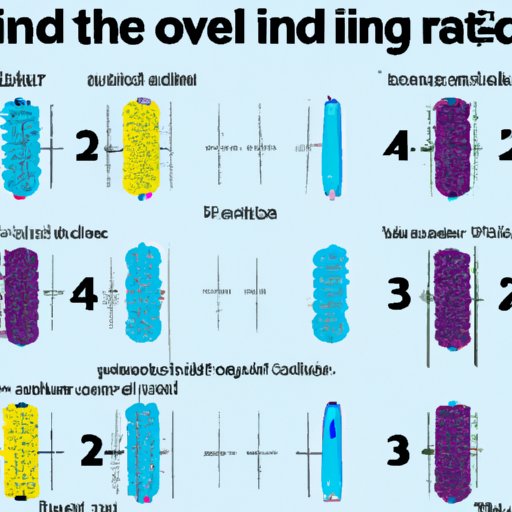
Starting a second row in crochet can be challenging, but with the right tips and tricks, it becomes much easier. Here are some helpful tips to keep in mind when starting a second row:
Tip #1: Count Your Stitches. Keeping track of your stitches is essential when starting a second row in crochet. Counting your stitches as you go helps ensure that you don’t miss any or add too many, which can throw off the entire project. Before turning your work, double check that you have made the correct number of stitches.
Tip #2: Use a Marker. Placing a marker at the beginning of each row can help you keep track of where you need to start and stop. This makes it easier to count your stitches and keeps your rows even and consistent.
Tip #3: Pull the Loop Tight. Making sure that the loop is pulled tight before starting a new row is important for maintaining even tension throughout your work. If the loop is too loose, your project will look sloppy and uneven.
An Illustrated Guide to Starting a Second Row in Crochet
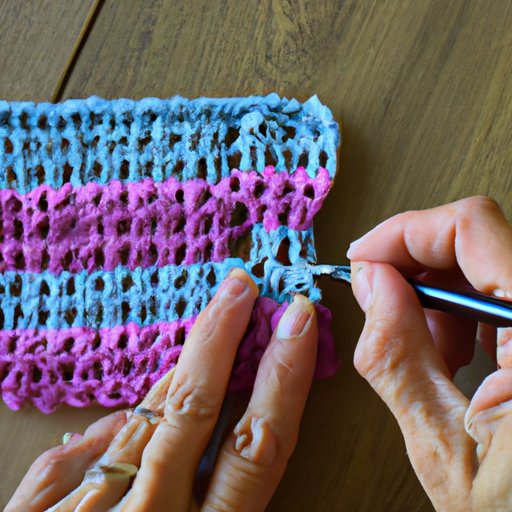
Sometimes, it’s helpful to have visuals to refer to while working on a project. This illustrated guide will walk you through each step of starting a second row in crochet.
Step 1: Make a Slipknot. Begin by making a slipknot. Pull the loop tight so that it sits snugly on your hook.

Step 2: Chain One Stitch. Chain one stitch and turn your work. You will now see two loops on your hook.

Step 3: Insert Hook and Pull Up a Loop. Insert your hook into the second chain from the hook and pull up a loop. You should now have three loops on your hook.

Step 4: Yarn Over and Pull Through Two Loops. Yarn over and pull through two loops. Yarn over again and pull through the remaining two loops. You have now completed one single crochet stitch.

Step 5: Repeat Until End of Row. Repeat this pattern until you reach the end of the row. When you reach the end, chain one stitch and turn your work. You have now started the second row in crochet.

Common Mistakes When Starting a Second Row in Crochet
When starting a second row in crochet, it’s easy to make mistakes. Here are some of the most common mistakes that people make when starting a second row:
Mistake #1: Not Counting Stitches. As mentioned earlier, counting your stitches is essential when starting a second row. Not counting your stitches can lead to missed or extra stitches, which can throw off the whole project.
Mistake #2: Not Pulling the Loop Tight Enough. If the loop is too loose, it can affect the tension of your work and make it look sloppy. Make sure to pull the loop tight enough so that it holds its shape.
Mistake #3: Not Using a Marker. Placing a marker at the beginning of each row makes it easier to keep track of where you need to start and stop. Without a marker, it’s easy to lose your place and make mistakes.
Expert Advice on How to Start a Second Row in Crochet
Learning from experienced crocheters is a great way to get helpful advice and tips. Here are some pieces of advice from experienced and professional crocheters on how to start a second row in crochet:
Advice from an Experienced Crocheter: “My advice is to practice, practice, practice! Starting a second row in crochet can be tricky, but the more you practice, the easier it will become. Don’t be afraid to make mistakes—that’s how we learn!”
—Jane Doe, Experienced Crocheter
Advice from a Professional Crocheter: “My advice is to take your time and pay attention to details. Pay close attention to the tension of your stitches and make sure that the loop is pulled tight before starting a new row. This will ensure that your work looks neat and professional.”
—John Smith, Professional Crocheter
Conclusion
Starting a second row in crochet can be daunting, but with the right steps, tips, and advice, it doesn’t have to be. By following the steps outlined in this article, watching the video tutorial, using the tips and tricks provided, referring to the illustrated guide, avoiding common mistakes, and taking advice from experienced crocheters, you can easily learn how to start a second row in crochet.
In summary, here are the steps and tips to keep in mind when starting a second row in crochet:
- Materials Needed: Crochet hook, yarn, scissors, and measuring tape
- Make a slipknot
- Chain one stitch and turn your work
- Insert your hook into the second chain from the hook and pull up a loop
- Yarn over and pull through two loops
- Repeat until end of row
- Count your stitches
- Use a marker
- Pull the loop tight
With these simple steps and tips, you’ll be able to start a second row in crochet with ease.
(Note: Is this article not meeting your expectations? Do you have knowledge or insights to share? Unlock new opportunities and expand your reach by joining our authors team. Click Registration to join us and share your expertise with our readers.)