I. Introduction
Crocheting is a popular pastime that provides a relaxing way to create personalized items such as blankets, scarves, and hats. Starting the second row crochet is an essential skill that every crocheter should know. This guide provides a step-by-step approach to make the process comfortable for even the beginner.
II. The Step-by-Step Guide on How to Start the Second Row Crochet
To start, choose a pattern that has a second row, select high quality yarn for a comfortable texture, and a comfortable hook. Note that the hook should be the correct size for the specific yarn chosen.
A. Gathering Materials
Before starting, gather all necessary equipment needed for the project, standard materials include a crochet hook, yarn of choice, a pair of scissors and a needle.
B. Joining the Yarn
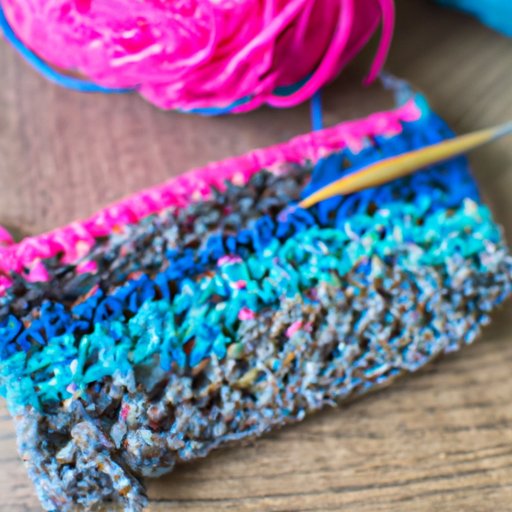
Now that you have everything needed, join the yarn with a slip knot by creating a loop near the end of the yarn. Thread your hook, sized per yarn selection, through the loop and pull tight until the loop is snug around the hook.
C. Turning the Work
You must turn the work before starting the second row; hold the yarn in the left hand, tilting crochet turn towards oneself to access the first loop of the previous row.
D. Postioning the Hook
Position the hook by gently sliding the hook under the first stitch and pressing down slightly. To ensure the hook is in the correct position, check that the hook is angled correctly.
E. Starting the Second Row
Starting the second row is simple; yarn over, or wrap the yarn around the hook, and pull up through the first stitch. Repeat, inserting the hook under each stitch from the previous row and pulling the yarn through until you reach the end of the row.
F. Adding Stitches
If a pattern calls for additional stitches to be included in the row, this is simple to achieved by identifying where the stitch should begin, and crochet as usual.
III. 5 Pro Tips to Help You Ace Your Second Row Crochet
Pro tips come in handy to make crocheting even easier.
A. Using High-Quality Yarn
Choosing high-quality yarn will ensure the project has a comfortable texture, and it will last longer. Stay away from poorly constructed yarn
B. Maintaining an Even Tension
Maintain even tension as it will help to keep the size and shape of the pattern and make sure all stitches are even.
C. Counting Stitches
It is important to be comfortable with counting stitches correctly, taking proper counts in each row and ensuring that stitch counts match the pattern.
D. Checking Gauge
When learning to crochet, checking the gauge for stitch consistency is essential. Follow the pattern recommendation for a more accurate fit.
E. Stopping to Fix Mistakes
When an error occurs, stop to correct it immediately. It’s essential to prevent unnecessary losses of time and resources.
IV. The Troubleshooter’s Guide to Second Row Crochet
Although crochet is considered fun and relaxing, it can become frustrating when things go wrong. Below is a troubleshooter’s guide to help deal with common mistakes efficiently.
A. Dealing with Mistakes
Mistakes happen when working on crochet projects. Approach all mistakes carefully and only undo what’s easiest to fix.
B. Undoing Stitches
If unraveling stitches, be mindful of avoiding mistakes. Stop when an issue is identified and reverse; pick apart the wrong stitch to fix, re-working any affected stitches.
C. Starting Over
If the project is a complete mess, don’t hesitate to start again. It’s crucial to identify critical stitch placement early on to avoid mistakes.
D. Fixing Tricky Stitches
Finding tricky stitches take patience and care. Highlighting or marking the stitch to be corrected is helpful in distinguishing what to correct.
E. Getting Help if Needed
If help is needed, do not hesitate to ask for it. Reaching out to a friend, crochet group or watching a tutorial online can help you out of a bind.
V. How to Personalize Your Second Row Crochet
Crochet projects can be personalized to increase their value. The following list outlines how to personalize the second row of crochet.
A. Modifying the Pattern
Modifying patterns to fit personal tastes takes time, though it leads to a unique pattern.
B. Changing Colors
Changing colors in crochet projects enhances the overall aesthetics and adds a unique flare.
C. Creating Unique Designs
Creating unique designs allows for endless possibilities and allows for a creative outlet while keeping crochet interests.
D. Adding Embellishments
Adding embellishments is an easy way to personalize a crochet project. Pearls, beads, and sequins add sparkle, while flowers and buttons add elements of design.
E. Making it Your Own
Embroidering hairs, faces, or expressions onto crochet dolls personalize them and add a unique touch.
VI. Beyond Rectangles and Squares: Creative Ideas for Second Row Crochet
Crochet is more than a simple hobby. Below are some creative ideas that engage advanced techniques to create unique designs.
A. Different Shapes to Try
Crochet pieces don’t have to fit one mold. Hearts, stars, and hexagons are just a few of the many different shapes that can be turned into crocheted items.
B. Creating Patterns
Crochet patterns often involve the same stitches over and over again, but creating patterns can turn boring projects into beautiful creations.
C. Adding Texture
Adding texture to crochet patterns engages the tactile sense and makes projects more touchable and engaging.
D. Trying Advanced Techniques
Tried-and-true techniques like amigurumi, filet crochet, and corner-to-corner crochet offer a challenge for an experienced crocheter.
E. Experimenting with Different Yarns or Colors
Experimenting with different yarns and colors keeps crochet fun and engaging.
VII. Conclusion
Starting the second row crochet is an essential skill all crocheters should know. This guide provided a step-by-step approach to make the process less intimidating. Personalizing and exploring beyond having fun with crochet increases your crocheting skills and experiences. Don’t be afraid of making mistakes. Seeking help, along with taking pride in the finished project will only extract the meaning of the final product.
(Note: Is this article not meeting your expectations? Do you have knowledge or insights to share? Unlock new opportunities and expand your reach by joining our authors team. Click Registration to join us and share your expertise with our readers.)