Introduction
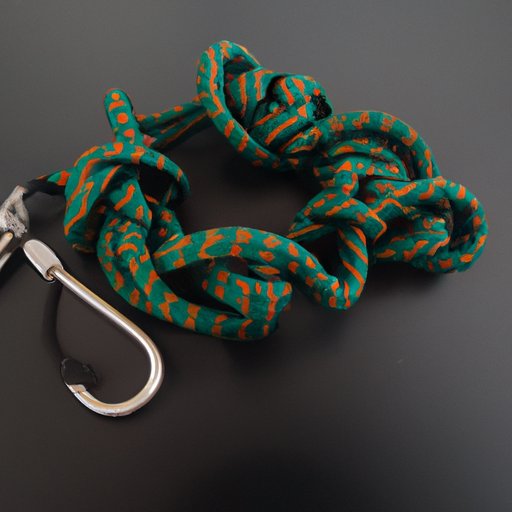
A lanyard is a type of cord or string used to attach items such as keys, badges, ID cards, and other items to a person’s clothing. It is usually made of nylon, polyester, or cotton and can come in many different colors, patterns, and lengths. The most common use of a lanyard is to carry a set of keys or an ID card around the neck.
Making a lanyard is a great way to express creativity, show off your style, and keep track of your important items. It is also an easy craft project that requires minimal supplies and can be completed in a short amount of time.
Step-by-Step Guide to Making a Lanyard
To make a lanyard with four strings, you will need four pieces of string, scissors, and a clasp or keychain. Follow these steps to get started:
1. Tie a knot at the end of each string. Take one piece of string and tie a knot at the end. Repeat this process with the remaining three pieces of string. This will help prevent the strings from slipping through the knots when braiding.
2. Form an “X” shape with two strings. Place two of the strings side by side and tie a knot in the middle of them. This will form an “X” shape with the two strings.
3. Tie a knot in the middle of the remaining two strings. Take the remaining two strings and tie a knot in the middle of them. This will form a loop with the strings.
4. Secure all four strings together by tying a knot at the base of the “X”. Take the two strings that form the “X” shape and tie a knot at the base of the “X”. This will secure all four strings together.
5. Braid the four strings together until you reach the desired length. Begin braiding the strings together. Make sure to keep the strings tight as you braid so that the lanyard looks neat and even. Continue braiding until you reach the desired length.
6. Tie a knot at the end of the braid. Once you have reached the desired length, tie a knot at the end of the braid. This will keep the strings from unraveling.
7. Attach a clasp or keychain to the end of the lanyard. To finish the lanyard, attach a clasp or keychain to the end of the lanyard. This will allow you to easily attach keys or an ID card to the lanyard.
Conclusion
Making a lanyard with four strings is a fun and easy craft project that can be completed in a short amount of time. All you need is four pieces of string, scissors, and a clasp or keychain. First, tie a knot at the end of each string. Then form an “X” shape with two strings and tie a knot in the middle of the remaining two strings. Secure all four strings together by tying a knot at the base of the “X”. Finally, braid the four strings together until you reach the desired length and tie a knot at the end of the braid. Attach a clasp or keychain to the end of the lanyard to finish it off.
For more information on how to make a lanyard, visit this article on WikiHow.
(Note: Is this article not meeting your expectations? Do you have knowledge or insights to share? Unlock new opportunities and expand your reach by joining our authors team. Click Registration to join us and share your expertise with our readers.)