Introduction
Generators are a useful source of power during outages or when camping. However, if your generator has been sitting for awhile, it can be difficult to know where to start. This article will provide step-by-step instructions on how to start a generator that has been sitting.
Check Oil Level and Add Oil
Before attempting to start the generator, you should check the oil level and add oil if necessary. This is important as running a generator without enough oil can damage the engine.
Inspect the Oil Level
Begin by locating the dipstick. If this is your first time starting the generator, you may need to refer to the owner’s manual to find the exact location. Once you have located the dipstick, remove it and wipe off any dirt or debris with a clean rag. Reinsert the dipstick and pull it back out to check the oil level. The oil should reach at least the “low” mark indicated on the dipstick. If the oil level is below the “low” mark, you will need to add more oil.
Adding Oil if Needed
When adding oil, make sure to use the type and weight specified in the owner’s manual. You can purchase this oil from most auto parts stores. Begin by unscrewing the cap on the oil tank. Slowly pour in the oil until the dipstick reads “full”. Once the oil is added, replace the cap and tighten it securely.

Ensure the Fuel Tank Has Gas
Next, you should check the fuel tank to make sure there is enough gas. If the tank is empty, you will need to refill it before attempting to start the generator.
Checking the Fuel Level
Locate the fuel tank and inspect the fuel gauge. If the fuel gauge indicates the tank is empty, you will need to refill it. If the fuel gauge is not working, you can also manually check the fuel level by unscrewing the cap on the fuel tank and looking inside.
Refilling the Tank
Once you have determined the fuel tank is empty, you can begin refilling it. Make sure to use the type of fuel specified in the owner’s manual. You can purchase this fuel from most auto parts stores. Begin by unscrewing the cap on the fuel tank. Slowly pour in the fuel until the tank is full. Once the tank is full, replace the cap and tighten it securely.
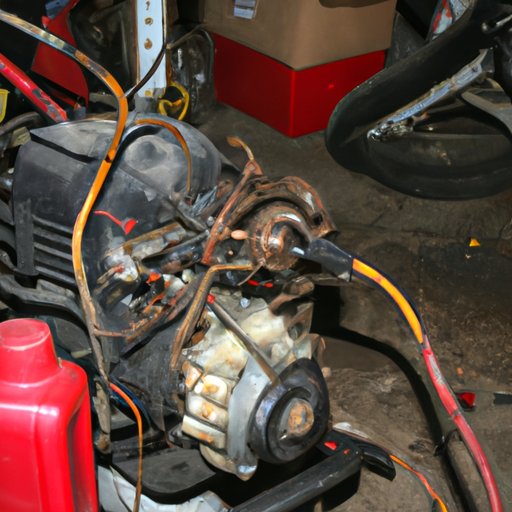
Connect Spark Plug Wires
The next step is to connect the spark plug wires. This will ensure the generator runs smoothly once it is started.
Identifying the Correct Wires
Begin by locating the spark plugs. You can usually find them near the top of the engine. Once you have located the spark plugs, identify the corresponding spark plug wires. These should be connected to the spark plugs and labeled with numbers or letters. Make sure to note which wire goes to which spark plug.
Attaching the Wires
Once you have identified the correct wires, begin attaching them to the spark plugs. Make sure to attach the wires firmly so they do not come loose while the generator is running. Once all of the wires are attached, you can move on to the next step.
Prime the Carburetor
Before attempting to start the generator, you should prime the carburetor. This will help ensure the generator starts quickly and easily.
Locating the Primer
Begin by locating the primer. This is usually a small black knob located near the carburetor. It may be labeled “prime” or “start”. Once you have located the primer, you can begin priming the carburetor.
Priming the Carburetor
To prime the carburetor, press and hold down the primer knob for a few seconds. This will allow fuel to flow into the carburetor. When you release the knob, the fuel should remain in the carburetor. If it does not, you may need to press and hold the knob again.

Pull the Starter Cord to Start the Generator
Once you have completed all of the previous steps, you are ready to start the generator. Begin by preparing to pull the starter cord.
Preparing to Pull the Cord
Before attempting to pull the starter cord, make sure the generator is in a safe area away from flammable materials. Also, make sure you are wearing protective gear such as gloves and goggles. Once you are prepared, you can begin pulling the starter cord.
Pulling the Starter Cord
To pull the starter cord, grip it firmly and pull with a slow, steady motion. Do not jerk the cord or yank it too quickly. Once you have pulled the cord several times, the generator should start. If it does not start, you may need to repeat the steps outlined in this article.
Conclusion
Starting a generator that has been sitting can be a challenging task. However, following the steps outlined in this article can help make the process easier. Be sure to check the oil level, add gas, connect the spark plug wires, prime the carburetor, and pull the starter cord before attempting to start the generator. Lastly, always remember to follow safety precautions when operating a generator.
(Note: Is this article not meeting your expectations? Do you have knowledge or insights to share? Unlock new opportunities and expand your reach by joining our authors team. Click Registration to join us and share your expertise with our readers.)