Introduction
If you’re looking to restore your car’s appearance, soda blasting is an accessible and cost-effective option that you can do at home. This article is for anyone who wants to learn how to soda blast a car safely and effectively. We’ll provide a step-by-step guide, including all the tools and materials you’ll need, and share tips and tricks to get the best results.
Why soda blasting is a great option for at-home car restoration
Soda blasting is a gentle yet effective method of removing old paint and rust from a car’s surface. It’s less abrasive than sandblasting, which can damage sensitive areas and leave scars on the metal. Soda blasting is also more eco-friendly, using baking soda as the primary blasting media, unlike sandblasting, which uses fine particles of silica that can cause health problems when inhaled. Soda blasting also doesn’t generate heat, which can warp metal surfaces.
Getting started: tools and materials needed
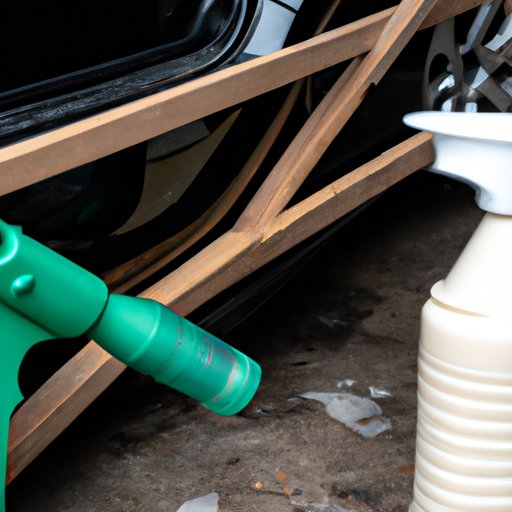
To get started with soda blasting, you’ll need a soda blaster, which can be rented or purchased, along with an air compressor and a blasting nozzle. Other tools include safety gear such as a face mask, goggles, and gloves. You’ll also need baking soda, a mixing paddle, a pressure regulator, and an air dryer. For safety, always ensure that your garage or workspace is well ventilated, and wear appropriate protective gear.
Step-by-step instructions for soda blasting your car
Before you start soda blasting, prep the car by washing it with soap and water to remove dirt and grime. Then mask off sensitive areas like the headlights, windows, and trim to protect them from the blasting media. Fill the blasting machine with baking soda and set the correct pressure, which will depend on the type of job you’re doing. Direct the blasting media onto the car’s surface at a steady pace, sweeping back and forth to ensure even coverage. Once done, sweep up and dispose of the used soda blast media safely.
Tips and tricks for successful soda blasting
One crucial tip is to have enough baking soda on hand, as you’ll need a lot for larger cars or areas. Another tip is to be mindful of the pressure, which can affect the results of the blasting media. Try testing on a small area first before committing to the entire project. Always keep the nozzle moving and maintain a consistent distance from the surface to avoid any damage. Finally, remember to clean up the area afterward, and dispose of the used blasting media safely.
Conclusion
With our comprehensive guide, you should feel confident about how to soda blast a car at home. It’s an affordable and eco-friendly solution to restore your car’s appearance. Just follow our step-by-step instructions, be mindful of the tips and tricks we’ve shared, and be safe while working.
(Note: Is this article not meeting your expectations? Do you have knowledge or insights to share? Unlock new opportunities and expand your reach by joining our authors team. Click Registration to join us and share your expertise with our readers.)