Introduction
Fitted sheets are an essential part of any bedding set. They provide extra comfort and protection for your mattress, as well as an attractive addition to your bedroom décor. But many people don’t know how to sew a fitted sheet themselves. This article will provide a step-by-step tutorial on how to sew a fitted sheet, as well as tips for beginners and experts alike.
Step-by-Step Tutorial: How to Sew a Fitted Sheet
Sewing a fitted sheet can seem intimidating, but it doesn’t have to be. With the right tools and materials, you can easily create a beautiful custom fitted sheet that’s perfect for your mattress. Here are the steps you need to take:
Choosing the Right Fabric
The first step in creating a fitted sheet is to choose the right fabric. You want something that is strong and durable but still soft and comfortable. Look for fabrics like cotton, flannel, or microfiber, which are all great options for making a fitted sheet. The fabric should also be machine washable for easy care.
Gathering the Tools and Materials Needed
Once you’ve chosen the fabric, you’ll need to gather the other tools and materials needed to complete your project. These include scissors, a measuring tape, pins, fabric markers, a sewing machine, thread, and elastic. You may also want to purchase batting or foam to use as padding if desired.
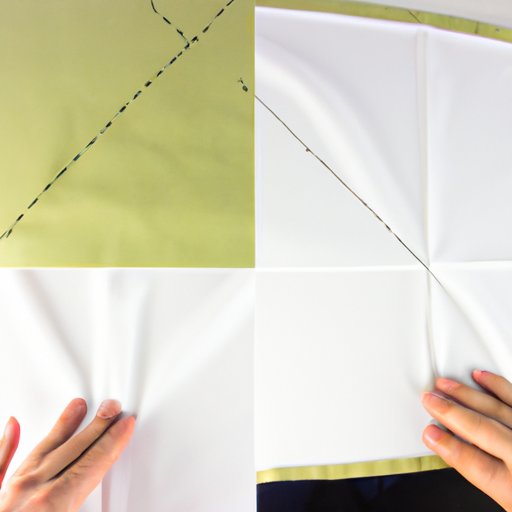
Measuring and Cutting the Fabric
Next, you’ll need to measure and cut the fabric according to the size of your mattress. Measure the length, width, and depth of the mattress and add an inch or two for seam allowance. Cut the fabric along these measurements, then set aside the excess fabric.
Sewing the Elastic Casing
Once the fabric is cut, you’ll need to sew the elastic casing. To do this, fold the fabric in half lengthwise and pin it together. Then, sew a line of stitches about ½ inch from the edge. This will be where the elastic goes later.
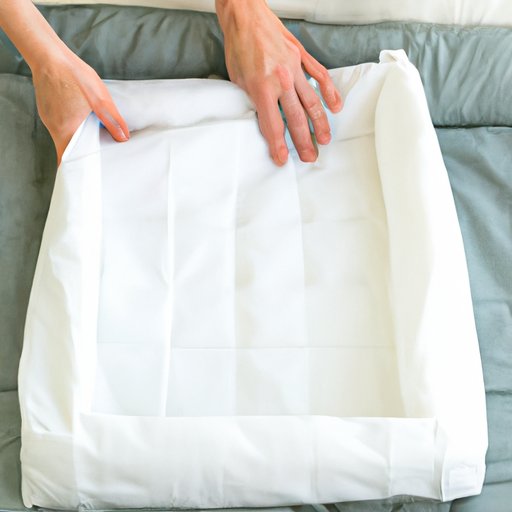
Joining the Two Sides Together
Now it’s time to join the two sides of the fabric together. Place the two pieces of fabric right sides together and pin them together. Then, sew a line of stitches along the edges, leaving a ½ inch seam allowance. Finally, turn the fabric right side out.
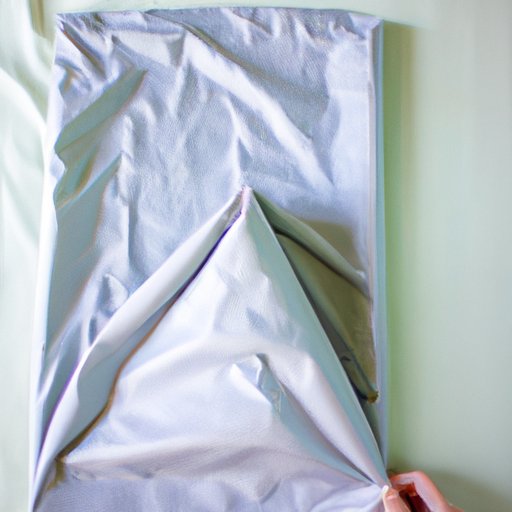
Sewing the Corners Closed
The next step is to sew the corners closed. Fold each corner so that the seams line up and pin them together. Then, sew a line of stitches along the edge to secure the corner.
Finishing the Edges
To finish the edges, you’ll need to sew a hem around the entire fitted sheet. To do this, fold the edge of the fabric over by ¼ inch, then fold it over again by another ¼ inch. Pin it in place and sew a line of stitches along the edge. Repeat this process for all four sides of the fitted sheet.
A Beginner’s Guide to Sewing a Fitted Sheet
If you’re new to sewing, it can be helpful to have some tips to get you started. Here are some things to keep in mind when sewing a fitted sheet:
Tips for Beginners
- Take your time and read through the instructions carefully before beginning.
- Measure twice and cut once to ensure accuracy.
- Use pins to secure the fabric while sewing.
- Be sure to backstitch at the beginning and end of each line of stitches.
Common Mistakes to Avoid
- Not measuring accurately. Make sure you measure both the mattress and the fabric correctly.
- Using the wrong type of fabric. Choose a fabric that is strong and durable but still soft and comfortable.
- Sewing too quickly. Slow down and make sure you are following the instructions correctly.
- Forgetting to iron. Ironing is an important step to ensure a crisp and finished look.
DIY: Create Your Own Fitted Sheet in 7 Easy Steps
Creating a fitted sheet doesn’t have to be complicated or time-consuming. With just a few simple steps, you can easily make your own fitted sheet in no time. Here’s how:
Step 1: Gather Materials
Gather the materials you’ll need for your project, including fabric, scissors, pins, thread, a sewing machine, and elastic. You may also want to purchase batting or foam for extra padding.
Step 2: Measure and Cut the Fabric
Measure the length, width, and depth of your mattress and add an inch or two for seam allowance. Cut the fabric along these measurements, then set aside the excess fabric.
Step 3: Sew the Elastic Casing
Fold the fabric in half lengthwise and pin it together. Then, sew a line of stitches about ½ inch from the edge. This will be where the elastic goes later.
Step 4: Join the Two Sides Together
Place the two pieces of fabric right sides together and pin them together. Then, sew a line of stitches along the edges, leaving a ½ inch seam allowance. Finally, turn the fabric right side out.
Step 5: Sew the Corners Closed
Fold each corner so that the seams line up and pin them together. Then, sew a line of stitches along the edge to secure the corner.
Step 6: Finish the Edges
To finish the edges, fold the edge of the fabric over by ¼ inch, then fold it over again by another ¼ inch. Pin it in place and sew a line of stitches along the edge. Repeat this process for all four sides of the fitted sheet.
Step 7: Iron and Enjoy Your Handmade Fitted Sheet
Finally, iron the fitted sheet to give it a crisp and finished look. And you’re done! You now have a beautiful handmade fitted sheet that’s perfect for your mattress.
Learn How to Make a Perfectly Fitted Sheet with This Sewing Tutorial
Getting a perfectly fitted sheet can be tricky, but with the right tips and measurements, you can easily make one that fits your mattress perfectly. Here are some tips for creating a perfectly fitted sheet:
Tips for Creating a Perfectly Fitted Sheet
- Measure your mattress accurately and add an extra inch or two for seam allowance.
- Choose a fabric that is soft and comfortable but still strong and durable.
- Take your time and make sure all the edges are neatly finished.
- Iron the sheet for a crisp and finished look.
Important Measurements to Consider
- Length: Measure the length of the mattress from head to foot.
- Width: Measure the width of the mattress from side to side.
- Depth: Measure the depth of the mattress from top to bottom.
- Elastic: Measure the circumference of the mattress plus an extra inch or two.
Get the Perfect Fit Every Time: An Expert’s Tips for Sewing a Fitted Sheet
When it comes to sewing a fitted sheet, getting the perfect fit is essential. Here are some tips from an expert on how to get the perfect fit every time:
What Makes a Perfect Fit?
A perfect fit means that the sheet fits snugly on the mattress without slipping off. It should also be comfortable and not too tight or too loose. When measuring, make sure to account for the thickness of the fabric and allow for an extra inch or two for seam allowance.
Tips from an Expert
- Choose the right fabric. Look for fabrics like cotton, flannel, or microfiber, which are all great options for making a fitted sheet.
- Measure accurately. Make sure you measure both the mattress and the fabric correctly.
- Sew slowly and neatly. Pay attention to the details and take your time to ensure a perfectly fitted sheet.
- Iron the sheet. Ironing is an important step to remove wrinkles and give the sheet a crisp and finished look.
Take Control of Your Bedroom Style: How to Sew a Fitted Sheet Yourself
Learning how to sew a fitted sheet yourself is a great way to take control of your bedroom style. Not only will you save money, but you’ll also have the satisfaction of knowing that you made it yourself. Here are some benefits of sewing a fitted sheet yourself:
Benefits of Sewing a Fitted Sheet Yourself
- Save money by not having to buy pre-made fitted sheets.
- Create a custom fitted sheet that is perfect for your mattress.
- Have the satisfaction of knowing that you made it yourself.
- Enjoy the creative process of designing and creating something unique.
Where to Find Resources for Learning to Sew
If you’re new to sewing, there are plenty of resources available to help you learn. YouTube is a great place to start, as there are hundreds of tutorials on how to sew a variety of different projects. You can also find books and online classes that can teach you the basics of sewing.
Conclusion
Sewing a fitted sheet is a great way to save money and get the perfect fit for your mattress. With the right tools, materials, and instructions, you can easily make your own fitted sheet. From choosing the right fabric to finishing the edges, this step-by-step tutorial provides everything you need to know to create a beautiful and comfortable fitted sheet.
(Note: Is this article not meeting your expectations? Do you have knowledge or insights to share? Unlock new opportunities and expand your reach by joining our authors team. Click Registration to join us and share your expertise with our readers.)