Introduction
The Craftsman Weed Eater is one of the most versatile and useful tools for lawn care. It can help you trim grass, weeds, and other overgrowth in hard-to-reach places. But like any tool, it needs regular maintenance in order to keep it running properly. One of the most important maintenance tasks is restringing the trimmer line. This article will provide a step-by-step guide on how to restring your Craftsman Weed Eater, as well as helpful tips and tricks to make the job easier.
Step-by-Step Guide: How to Restring a Craftsman Weed Eater
Restringing your Craftsman Weed Eater is a relatively simple task that requires only a few basic tools and supplies. Here is a step-by-step guide on how to get the job done quickly and efficiently.
Gather the Necessary Tools and Supplies
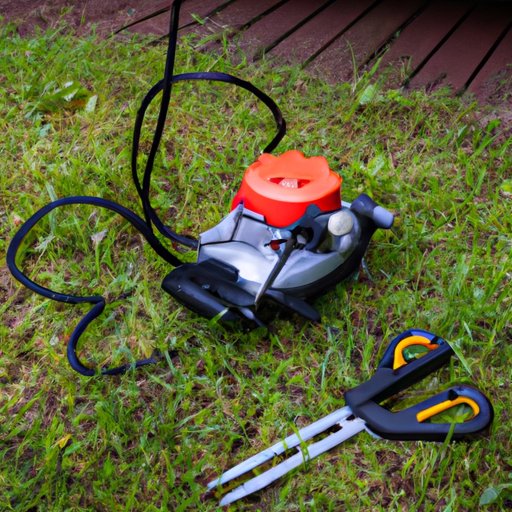
Before you begin, make sure you have all the necessary tools and supplies on hand. You’ll need a Phillips head screwdriver, a pair of needle-nose pliers, new trimmer line, and a pair of scissors or wire cutters. Make sure you have enough trimmer line to complete the job—the amount of line you need will depend on the size of your Craftsman Weed Eater.
Remove the Old Line
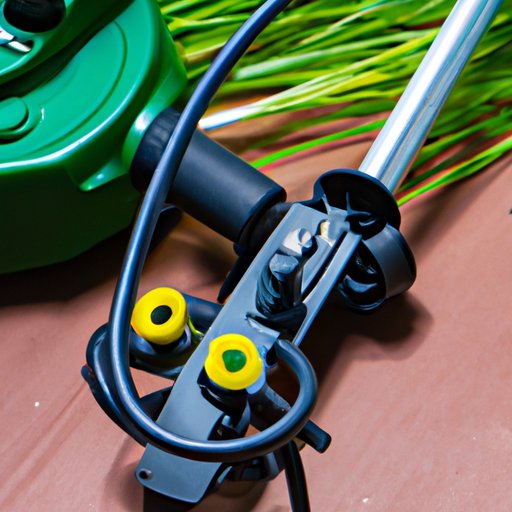
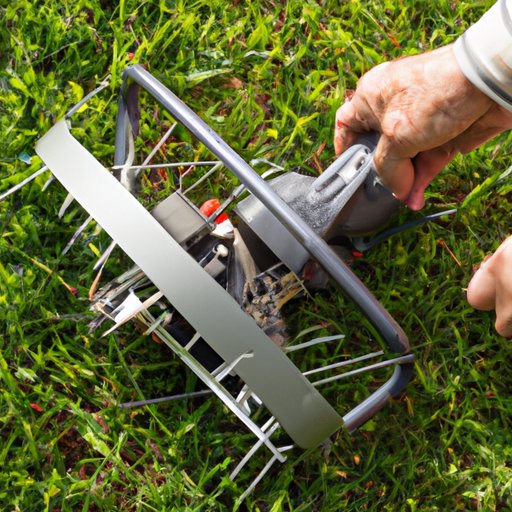
Once you have gathered the necessary tools and supplies, you can begin the process of removing the old line. Start by turning off the Craftsman Weed Eater and unplugging it from the power source. Next, locate the spool cap on the side of the trimmer head and remove it using the Phillips head screwdriver. Once the cap is off, you can pull out the old line. Be careful not to damage the spool as you are removing the line.
Install the New Line
Now that you have removed the old line, you can install the new line. Start by cutting a length of trimmer line that is slightly longer than the circumference of the spool. Then, feed the line through the eyelet on the side of the trimmer head. Now, wind the line around the spool evenly and tightly, making sure to leave a small gap between each loop. Once you have finished winding the line, secure it in place by pushing the spool cap back into place. Finally, plug in the Craftsman Weed Eater and test it out to make sure it is working properly.
DIY: Restringing Your Craftsman Weed Eater in Minutes
If you want to save time and money, you can do the job yourself in just a few minutes. Here’s what you need to know:
Choose the Right Line
When choosing the right trimmer line for your Craftsman Weed Eater, it is important to consider the type of vegetation you will be trimming. Different types of vegetation require different types of trimmer line—for example, thicker line is better suited for tougher vegetation, while thinner line is better suited for lighter-duty trimming. Make sure to read the manufacturer’s instructions for your Craftsman Weed Eater to determine the best type of line for the job.
Prepare the Line
Once you have chosen the right line for the job, you will need to prepare it for installation. Start by cutting a length of line that is slightly longer than the circumference of the spool. Then, thread the line through the eyelet on the side of the trimmer head. Finally, use the needle-nose pliers to twist the ends of the line together to form a loop.
Load the Line
Now that the line is prepared, you can load it onto the spool. Start by winding the line around the spool evenly and tightly, making sure to leave a small gap between each loop. Once you have finished winding the line, secure it in place by pushing the spool cap back into place.
A Beginner’s Guide to Restringing a Craftsman Weed Eater
Restringing your Craftsman Weed Eater can seem daunting if you’ve never done it before. But with a few safety considerations and troubleshooting tips, you can make quick work of the job.
Safety Considerations
Whenever you are working with power tools, it is important to take safety precautions. Make sure that you wear protective gloves and goggles while working with the Craftsman Weed Eater. Also, be sure to follow all manufacturer’s instructions when operating the tool.
Troubleshooting Tips
If the Craftsman Weed Eater is not working properly after restringing, there are a few troubleshooting tips that may help. First, make sure that the line is wound properly around the spool. If the line is wound too loosely or too tightly, it can cause the trimmer to malfunction. Second, inspect the line regularly for signs of wear and tear. If the line is frayed or worn, replace it immediately.
Make Quick Work of Restringing Your Craftsman Weed Eater
With the right tools and supplies, you can make quick work of restringing your Craftsman Weed Eater. Here are a few tips to help you get the job done quickly and efficiently.
Clean the Spool
Before you begin restringing the Craftsman Weed Eater, make sure to clean the spool. Remove any debris or dirt that may have built up around the spool, as this can interfere with the proper functioning of the tool. Use a damp cloth to wipe away any dirt or debris, then dry the spool completely before beginning.
Test the Trimmer
Once you have finished restringing the Craftsman Weed Eater, it is important to test it out to make sure it is working properly. Plug in the trimmer and turn it on. If the trimmer is working properly, you should be able to see the line spinning around the spool. If the line does not spin, check the spool for any obstructions or debris.
Tips and Tricks for Restringing Your Craftsman Weed Eater
Restringing your Craftsman Weed Eater doesn’t have to be a difficult task. With the right tools and supplies and a few simple tips and tricks, you can get the job done quickly and easily.
Winding the Line Properly
When winding the line around the spool of the Craftsman Weed Eater, it is important to make sure it is wound properly. Start by winding the line around the spool evenly and tightly, making sure to leave a small gap between each loop. This will help ensure that the trimmer operates properly and that the line lasts longer.
Inspecting the Line Regularly
It is also important to inspect the line regularly for signs of wear and tear. If the line is frayed or worn, replace it immediately. This will help ensure that the trimmer operates properly and that the line lasts longer.
Conclusion
Restringing your Craftsman Weed Eater is a simple and straightforward task that can be completed in a matter of minutes. With the right tools and supplies and a few tips and tricks, you can make quick work of the job. By following the steps outlined in this article, you can restring your Craftsman Weed Eater quickly and easily.
By taking the time to maintain your Craftsman Weed Eater, you can extend its life and ensure that it operates properly. Regular restringing is an important part of keeping your trimmer in good working condition, so make sure to check the line regularly and replace it when necessary. With a little bit of effort, you can make sure your Craftsman Weed Eater is always ready to tackle any job.
(Note: Is this article not meeting your expectations? Do you have knowledge or insights to share? Unlock new opportunities and expand your reach by joining our authors team. Click Registration to join us and share your expertise with our readers.)