Introduction
The iLife robot vacuum is an automated cleaning device that helps make household chores easier. It uses sensors and smart navigation technology to clean floors, carpets, and other surfaces. Whether it’s pet hair or dust, the iLife robot vacuum can tackle it all. But occasionally, the vacuum may require a reset to get it back up and running again. This article will provide a step-by-step guide to resetting your iLife robot vacuum.
Overview of iLife Robot Vacuum
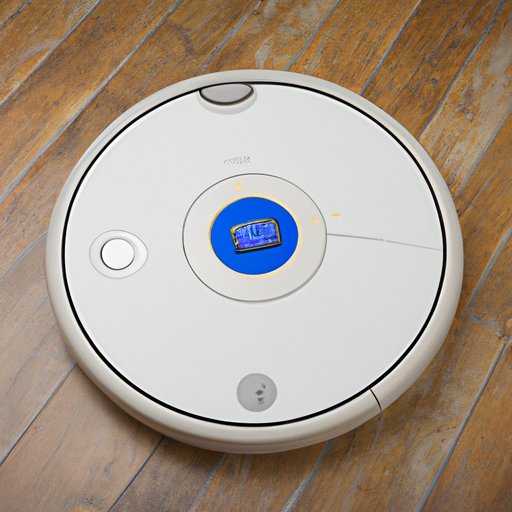
The iLife robot vacuum is designed to make home cleaning easier. It has a variety of features that make it a great choice for busy households. It has sensors that allow it to avoid obstacles and navigate around furniture, as well as a powerful suction system that picks up dirt and debris. It also has a self-charging feature, so it can return to its dock when it runs out of power. Finally, the iLife robot vacuum is Wi-Fi enabled, allowing you to control it from your smartphone or tablet.
Purpose of the Article
This article is meant to provide a step-by-step guide to resetting your iLife robot vacuum. By following the steps outlined in this article, you should be able to easily reset your vacuum and get it back up and running. Additionally, this article will include troubleshooting tips and advice on what you need to know before resetting your vacuum.
Step-by-Step Guide to Resetting an iLife Robot Vacuum
When your iLife robot vacuum needs to be reset, there are four easy steps you can follow to get it back up and running. Here is a step-by-step guide to resetting your iLife robot vacuum:
Step 1: Power Off the Vacuum
The first step is to power off the vacuum. You can do this by unplugging the power cord from the wall outlet or pressing the “power” button on the vacuum. This will ensure that the vacuum is completely powered off and won’t cause any further damage.
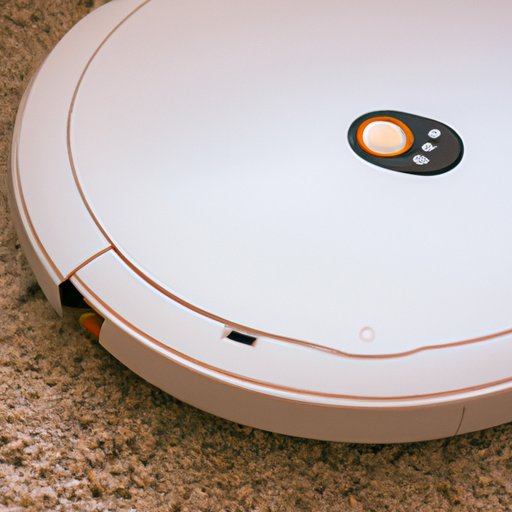
Step 2: Reset Button
Once the vacuum is powered off, locate the reset button. This is usually located near the power switch. The reset button is usually a small, round button with the word “reset” written on it. Press and hold the reset button for five seconds.
Step 3: Re-Powering the Vacuum
After you have held the reset button for five seconds, re-power the vacuum by plugging it back into the wall outlet. The vacuum should begin to power on automatically.
Step 4: Check for Proper Reset
Once the vacuum is powered on, check to make sure that it has reset correctly. To do this, press the “clean” button on the vacuum. If the vacuum begins to move, then the reset was successful. If not, then repeat the steps above.
How to Perform a Factory Reset on Your iLife Robot Vacuum
If your iLife robot vacuum is still not functioning properly after a regular reset, then you may need to perform a factory reset. A factory reset will erase all settings and preferences and restore the vacuum to its original state. Here is a step-by-step guide to performing a factory reset on your iLife robot vacuum:
Step 1: Locate the Reset Button
The first step is to locate the reset button. This is usually located near the power switch. The reset button is usually a small, round button with the word “reset” written on it.
Step 2: Press and Hold the Reset Button
Once you have located the reset button, press and hold it for five seconds. This will initiate the factory reset process.
Step 3: Release the Reset Button
After you have held the reset button for five seconds, release it. The vacuum should now begin to reset itself.
Step 4: Check for Proper Reset
Once the vacuum is finished resetting, check to make sure that it has reset correctly. To do this, press the “clean” button on the vacuum. If the vacuum begins to move, then the reset was successful. If not, then repeat the steps above.
Troubleshooting Tips: Resetting Your iLife Robot Vacuum
If you’re having trouble resetting your iLife robot vacuum, here are some troubleshooting tips that might help:
Check the Battery
If your vacuum isn’t responding to the reset button, try checking the battery. Make sure that it is charged and working properly. If the battery is dead, then you may need to replace it.
Clean the Filters
If your vacuum is still not responding to the reset button, try cleaning the filters. Clogged filters can reduce the suction power of the vacuum, which can interfere with the reset process.
Check the Brush Rollers
If your vacuum is still not responding to the reset button, try checking the brush rollers. Make sure that they are not clogged and are spinning freely. If they are clogged, then you may need to clean them.
Run a Self-Test
If your vacuum is still not responding to the reset button, try running a self-test. This will help you identify any potential issues and help you troubleshoot them.
Resetting Your iLife Robot Vacuum in 4 Easy Steps
Resetting your iLife robot vacuum is easy and can be done in just four simple steps. Here is a quick guide to resetting your iLife robot vacuum:
Step 1: Disconnect the Vacuum from Power
The first step is to disconnect the vacuum from power. You can do this by unplugging the power cord from the wall outlet or pressing the “power” button on the vacuum.
Step 2: Press and Hold the Reset Button
Once the vacuum is powered off, locate the reset button. This is usually located near the power switch. Press and hold the reset button for five seconds.
Step 3: Re-Connect the Vacuum to Power
After you have held the reset button for five seconds, re-connect the vacuum to power by plugging it back into the wall outlet.
Step 4: Check for Proper Reset
Once the vacuum is powered on, check to make sure that it has reset correctly. To do this, press the “clean” button on the vacuum. If the vacuum begins to move, then the reset was successful. If not, then repeat the steps above.
Quick Guide to Resetting Your iLife Robot Vacuum
Here is a quick guide to resetting your iLife robot vacuum:
Unplug the Vacuum
The first step is to unplug the vacuum from power. You can do this by unplugging the power cord from the wall outlet or pressing the “power” button on the vacuum.
Press and Hold the Reset Button
Once the vacuum is powered off, locate the reset button. This is usually located near the power switch. Press and hold the reset button for five seconds.
Re-Plug the Vacuum
After you have held the reset button for five seconds, re-plug the vacuum into the wall outlet.
Check for Proper Reset
Once the vacuum is powered on, check to make sure that it has reset correctly. To do this, press the “clean” button on the vacuum. If the vacuum begins to move, then the reset was successful. If not, then repeat the steps above.
Resetting Your iLife Robot Vacuum – What You Need to Know
Before you begin resetting your iLife robot vacuum, there are a few things you should keep in mind. Here are some tips to help you reset your vacuum with ease:
Understand the Different Reset Options
It’s important to understand the different reset options available. There is a regular reset, which will reset the vacuum to its default settings, and a factory reset, which will erase all settings and preferences and restore the vacuum to its original state.
Learn the Location of the Reset Button
The reset button is usually located near the power switch. Knowing the location of the reset button will make it easier to find when you need to reset the vacuum.
Be Aware of Potential Issues
When resetting your vacuum, be aware of potential issues that may arise. Make sure that the battery is charged and the filters are clean. Also, check the brush rollers to make sure they are spinning freely.
Have the Necessary Tools Ready
Before you begin resetting your vacuum, make sure you have the necessary tools ready. You will need a power cord, a screwdriver, and a cloth.
Conclusion
Resetting your iLife robot vacuum is easy and can be done in just four simple steps. The first step is to unplug the vacuum from power. Once the vacuum is powered off, locate the reset button and press and hold it for five seconds. After you have held the reset button for five seconds, re-connect the vacuum to power. Finally, check to make sure that it has reset correctly by pressing the “clean” button on the vacuum. If the vacuum begins to move, then the reset was successful. Before you begin resetting your vacuum, make sure you understand the different reset options, know the location of the reset button, be aware of potential issues, and have the necessary tools ready.
(Note: Is this article not meeting your expectations? Do you have knowledge or insights to share? Unlock new opportunities and expand your reach by joining our authors team. Click Registration to join us and share your expertise with our readers.)