Introduction
If you’re looking to spruce up the appearance of your car, a fresh coat of paint can do wonders. Repainting a car can be an expensive proposition, but repainting a car door at home is not only cost-effective, but can also be a fulfilling DIY project. Not only does it give your old car a new look, but it also increases the resale value of the vehicle in a significant way. In this article, we will give you a beginner’s guide to repainting a car door at home, step by step.
Materials and tools needed
Before you start the project, there are a few things you need to make sure you have. Here’s a list of the materials and tools you’ll need:
- Sanders
- Masking Tape
- Paint Sprayers
- Paint Strippers
- Sanding Block
- High-Quality Primer
- Base Coat Paint
- Clear Coat
- Microfiber Towels
- Paint Filters
- Safety goggles and Gloves
You can find these materials at your local home improvement store or auto parts store. Be sure to read the labels of the products so that you can make an informed decision. Don’t forget to pick up gloves and goggles before proceeding with the process.
Preparing the car door
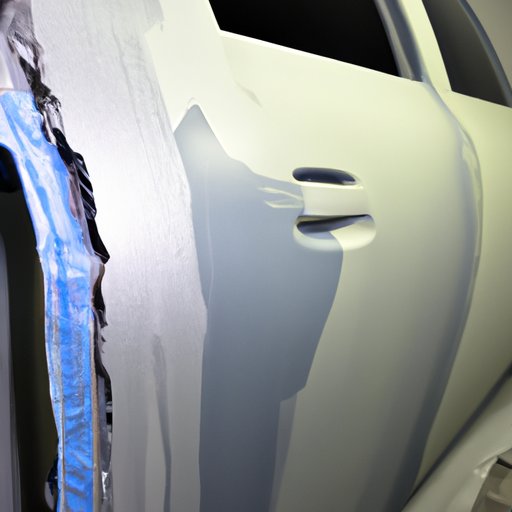
Before you start painting, you need to prepare the surface of your car door to achieve the best results. Cleaning is one of the most crucial steps in the process since it can significantly affect the finished product. You need to clean the door surface completely using mild dish soap and water. Once clean and dry, use sandpaper to sand the surface of the door to remove any existing paint, and to scuff the surface. This will help the new paint to get a firm grip. Check for dents or rust in the car door and fix them with filler if necessary.
Applying primer
Primer is an important step in the process of repainting the car door since it provides a base for the new paint. The primer is also essential because it covers any imperfections and ensures that the paint adheres correctly. There are several different types of primers, but the most commonly used for car painting is the 2K primer system. To apply it correctly, you’ll need to use a paint sprayer. Apply two to three coats of primer, making sure there are no air bubbles or dripping paint. Allow the primer to dry thoroughly before moving on to the next step.
Applying the base coat
After the primer has dried completely, it’s time to apply the base coat. Choose the appropriate color of paint for your vehicle and apply it evenly with the paint sprayer. It’s best to apply several thin coats of paint instead of one thick coat. Thin coats prevent the paint from dripping and give you better control over the process. Let the paint dry completely before applying subsequent coats. Depending on the paint type, you may need between two to five coats to get the desired coverage. Make sure to read the paint instructions to ensure that you’re following them precisely.
Applying the clear coat
Once the base coat has dried, you need to apply the clear coat. The clear coat is essential as it is not only the final layer that will add shine to your car but also protects the paint. It acts as a protective layer, shielding the paint from dirt, dust, and scratches. Like the base coat, you’ll need to apply several thin coats of clear coat. This layer also helps the paint quality to last longer. Wait for the clear coat to dry before applying additional coats.
Drying and finishing
After you have applied the clear coat, allow it time to dry completely before handling the car door. Once the surface is dry to the touch, you can reattach the parts you removed earlier. However, be careful while doing so to avoid scratching the new paint. If you notice any imperfections like bubbles or uneven spots, you can smooth it out with a sanding block till it becomes perfect.
Conclusion
Repainting a car door at home is a satisfying and cost-effective way to improve the appearance of your vehicle. Keep in mind that preparation is key, ensure the surface is clean and smooth, use high-quality materials, and follow the instructions carefully. If you’re apprehensive about the task, it is always a good idea to practice on some scrap metal before starting on your car door. With the help of this guide, we hope your DIY car painting project is successful.
(Note: Is this article not meeting your expectations? Do you have knowledge or insights to share? Unlock new opportunities and expand your reach by joining our authors team. Click Registration to join us and share your expertise with our readers.)
