
Introduction
Replacing the string in a Stihl weed eater is a relatively simple task that can be accomplished in just a few minutes. However, it is important to understand the process before attempting it, as improper installation or maintenance can lead to serious injury. This article will provide a step-by-step guide on how to put string in a Stihl weed eater, as well as some tips and tricks for ensuring proper installation and maintenance.
Step-by-Step Guide on How to Put String in a Stihl Weed Eater
The following steps will walk you through the process of installing new string in your Stihl weed eater:
Gathering Supplies
Before beginning the process, make sure you have all the necessary supplies on hand. You will need a pair of scissors, a screwdriver, replacement string, and an Allen wrench. The replacement string should be the same size and type as the original string. Make sure you have enough string to cover the entire length of the line.
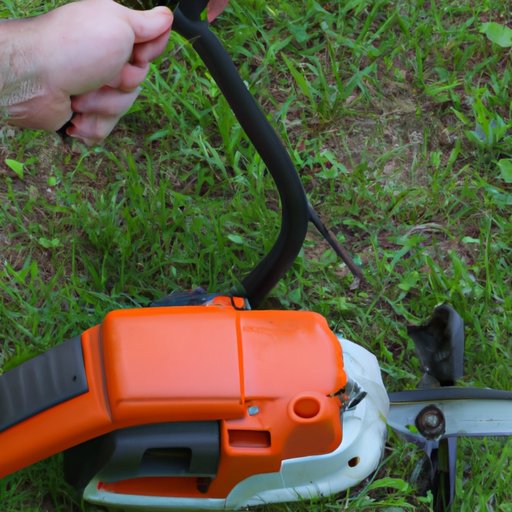
Removing the Old Trimmer Line
Once you have all the supplies, you can begin the process of replacing the trimmer line. First, use the screwdriver to remove the screws from the spool guard. Once the screws are removed, you can lift the guard off the spool. Next, use the Allen wrench to loosen and remove the nut holding the spool in place. With the nut removed, you can slide the spool off the shaft.
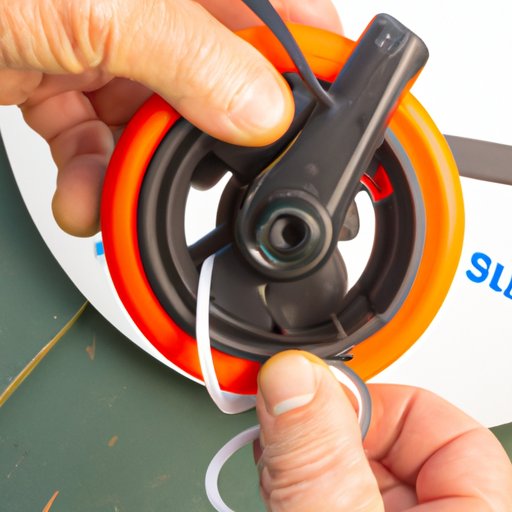
Winding New String
Now it’s time to wind the new string onto the spool. Begin by cutting the string to the desired length. Next, thread one end of the string through the hole in the center of the spool. Then, start winding the string around the spool in a clockwise direction. Make sure to keep the string taut as you go, and wind it evenly across the spool. When you reach the end of the string, tie a knot to secure it in place.
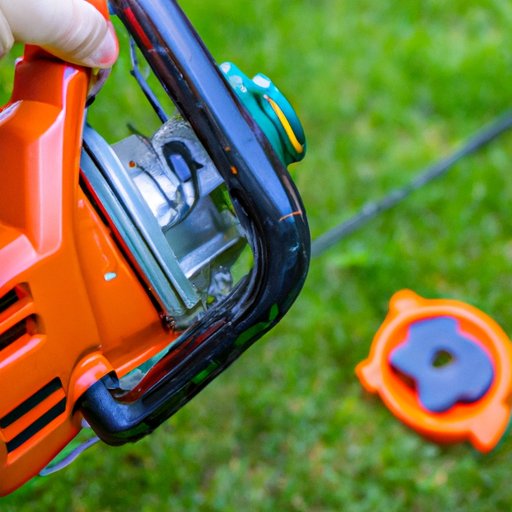
Reinstalling the Spool
Once the string has been wound, you can reinstall the spool. Start by sliding the spool onto the shaft. Then, reattach the nut to hold the spool in place. Finally, replace the spool guard and tighten the screws to secure it.
Easy Instructions for Replacing the String in a Stihl Weed Eater
Replacing the string in a Stihl weed eater is a straightforward process that takes only a few minutes. Here are the basic steps:
Gather Necessary Supplies
First, gather the necessary supplies: a pair of scissors, a screwdriver, replacement string, and an Allen wrench.
Disconnect and Remove the Old Trimmer Line
Next, use the screwdriver to remove the screws from the spool guard, then use the Allen wrench to loosen and remove the nut holding the spool in place. Slide the spool off the shaft.
Install the New String
Cut the replacement string to the desired length, thread it through the hole in the center of the spool, and wind it around the spool in a clockwise direction. Tie a knot to secure the string in place.
Reinstall the Spool
Slide the spool onto the shaft, reattach the nut to hold it in place, and replace the spool guard. Tighten the screws to secure it.
A Quick Tutorial on Replacing the Trimmer Line in a Stihl Weed Eater
Replacing the trimmer line in a Stihl weed eater is a simple process that can be completed quickly. Here’s how to do it:
Preparing the Weed Eater
Gather the necessary supplies and disconnect the old trimmer line from the spool guard. Use the screwdriver to remove the screws from the guard, and the Allen wrench to loosen and remove the nut holding the spool in place.
Removing the Old Trimmer Line
Slide the spool off the shaft and cut the old trimmer line away from the spool. Discard the old line.
Installing the New Trimmer Line
Cut the replacement line to the desired length and thread one end through the hole in the center of the spool. Wind the line around the spool in a clockwise direction and tie a knot to secure it in place.
Reattaching the Spool
Slide the spool back onto the shaft and reattach the nut to hold it in place. Replace the spool guard and tighten the screws to secure it.
Tips and Tricks for Changing the Trimmer Line in a Stihl Weed Eater
Here are some tips and tricks for ensuring proper installation and maintenance of trimmer line in your Stihl weed eater:
Use Heavy Duty Line
When purchasing replacement trimmer line, make sure to get a heavy duty line that is designed for your particular model of weed eater. Heavy duty lines are more durable and less likely to break during use.
Cut the Line Evenly
When cutting the line to the desired length, make sure to cut it evenly. Uneven lines can cause the trimmer to vibrate excessively and may lead to damage over time.
Replace the Line Regularly
Regularly inspect and replace the trimmer line when it becomes worn or frayed. Worn or frayed lines can cause the trimmer to become less efficient and can also lead to damage over time.
An Illustrated Guide to Winding New String into a Stihl Weed Eater
To help you understand the process of winding new string into a Stihl weed eater, here is an illustrated guide:
Identifying the Parts
Before beginning the process, familiarize yourself with the parts of the weed eater. The main components are the spool, the spool guard, and the shaft.
Preparing the Weed Eater
Gather the necessary supplies and disconnect the old trimmer line from the spool guard. Use the screwdriver to remove the screws from the guard, and the Allen wrench to loosen and remove the nut holding the spool in place.
Winding the Line
Cut the replacement line to the desired length and thread one end through the hole in the center of the spool. Wind the line around the spool in a clockwise direction and tie a knot to secure it in place.
Checking for Proper Installation
Once the line is installed, check for proper tension and alignment. Make sure the line is not too loose or too tight, and that it is aligned correctly on the spool.
Conclusion
Replacing the string in a Stihl weed eater is a relatively simple task that can be accomplished in just a few minutes. By following the steps outlined in this article, you can easily install new string in your weed eater. Additionally, we provided some tips and tricks for ensuring proper installation and maintenance of trimmer line. Now you have all the information you need to safely and effectively change the string in your Stihl weed eater.
(Note: Is this article not meeting your expectations? Do you have knowledge or insights to share? Unlock new opportunities and expand your reach by joining our authors team. Click Registration to join us and share your expertise with our readers.)