
Introduction
Weed eaters are an essential tool for anyone who wants to keep their yard looking neat and tidy. They make trimming grass and weeds around the edges of your lawn much easier than using a traditional trimmer or mower. However, if you want your weed eater to work properly, it’s important to keep the line in good condition. Over time, the line can become worn or frayed, which can cause your weed eater to not work as efficiently as it should. In this article, we’ll explore how to put line on a weed eater so that you can keep your lawn looking its best.
What is a Weed Eater?
A weed eater, also known as a string trimmer or a weed whacker, is a handheld power tool used to cut grass and other vegetation. It typically consists of a long shaft with a cutting head at one end and a motor at the other. The cutting head is equipped with nylon line, which spins at high speed and cuts through vegetation. Weed eaters are ideal for trimming areas that are hard to reach with a mower, such as around trees, fences, and landscaping.
Why Is It Important to Replace Line in a Weed Eater?
The line in a weed eater is designed to wear out over time. As it wears down, it can become brittle and break easily. If the line is too short or too thin, it won’t be able to cut through vegetation effectively. Replacing the line in a weed eater is a relatively simple task that can be done in just a few minutes. Doing so will help ensure that your weed eater is working at its optimum level.
Step-by-Step Guide to Replacing Line in a Weed Eater
Replacing the line in a weed eater is a straightforward process. Follow these steps to get the job done quickly and easily:
Prepare the Weed Eater
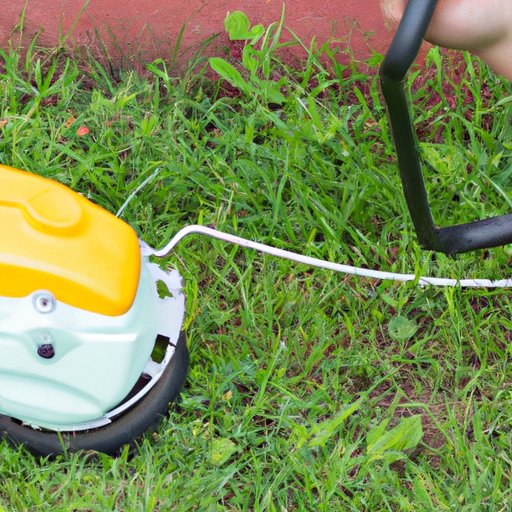
Before you start replacing the line, make sure the weed eater is turned off and unplugged. Remove any debris from the cutting head and inspect the line for signs of wear or damage. If you notice any issues, replace both pieces of line.
Remove Old Line
Once the weed eater is prepped, you can begin removing the old line. Most models have an access panel on the bottom of the cutting head. Use a screwdriver to remove the screws and open the panel. Then, pull the old line out of the head and discard it.
Install New Line
To install the new line, begin by threading it through the hole in the cutting head. Then, wind the line around the spool, making sure to leave some slack between each pass. When you’re finished winding the line, secure the ends to the spool with the retaining clips.
Test and Adjust
Once the line is installed, close the access panel and plug the weed eater in. Turn it on and test the line to make sure it’s spinning correctly. If it’s not spinning evenly, you may need to adjust the tension on the spool. Refer to the manufacturer’s instructions for specific instructions on how to do this.
How to Quickly and Easily Put New Line in a Weed Eater
Putting new line in a weed eater doesn’t have to be a complicated process. Here are some tips to help you get the job done quickly and easily:
Start with the Right Line
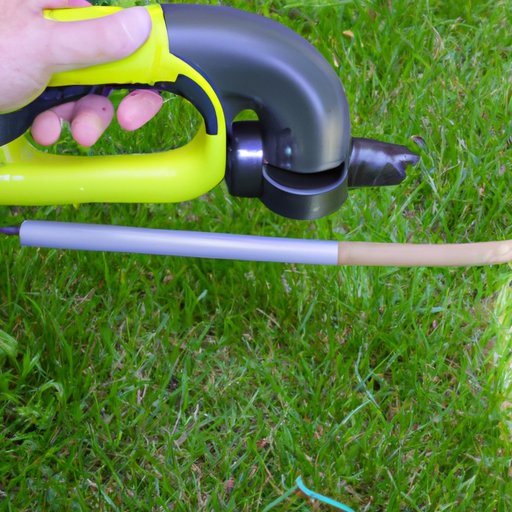
When shopping for new line, make sure to buy the right type for your weed eater. Different models require different types and sizes of line. Check the owner’s manual or the label on the weed eater to determine which type of line you need.
Make Sure You Have All Necessary Tools
You’ll need a few tools to replace the line in your weed eater. These include a screwdriver, pliers, and a pair of scissors. Having all of these tools handy before you start will help the process go more smoothly.
Load the Line onto the Spool
Once you have the right line and the necessary tools, you’re ready to load the line onto the spool. Begin by feeding the line through the hole in the cutting head. Then, wind the line around the spool, leaving some slack between each pass. When you’ve finished winding the line, secure the ends to the spool with the retaining clips.
Secure the Ends of the Line
Once the line is loaded onto the spool, it’s important to secure the ends. This will help prevent the line from coming loose during use. To secure the ends, use a pair of pliers to crimp the retaining clips onto the spool.
Expert Tips on Installing Line in Your Weed Eater
If you want your weed eater to work properly, it’s important to follow a few expert tips when replacing the line. Here are some things to keep in mind:
Check the Line’s Length
Before installing the line, make sure it’s the correct length. The line should be long enough to reach the ground when the weed eater is in use. Too short of a line can cause the cutting head to vibrate excessively, which could result in damage to the weed eater.
Use the Correct Size Line
Using the wrong size line can have a negative impact on the performance of your weed eater. Make sure to use the size of line recommended by the manufacturer. This information can usually be found in the owner’s manual or on the label of the weed eater.
Don’t Overfill the Spool
When replacing the line, don’t fill the spool past the maximum fill line. This can cause the line to bunch up, which can result in poor performance and decreased efficiency.
Take Time to Double-Check Your Work
After you’ve installed the line, take a few minutes to double-check your work. Make sure the line is properly secured to the spool and that the ends aren’t frayed or damaged. This will help ensure that your weed eater is running at peak performance.
DIY: Learn How to Refill Your Weed Eater with Line
Refilling your weed eater with line is a simple process that can be done in just a few minutes. Follow these steps to get the job done quickly and easily:
Follow Manufacturer Instructions
Before starting, make sure to read the owner’s manual for your weed eater. This will provide information about the type and size of line you need, as well as instructions for loading the line onto the spool.
Prepare the Weed Eater
Next, make sure the weed eater is turned off and unplugged. Then, remove any debris from the cutting head and check the line for signs of wear or damage.
Load the Line onto the Spool
Thread the line through the hole in the cutting head and begin winding it around the spool. Make sure to leave some slack between each pass. When you’ve finished winding the line, secure the ends to the spool with the retaining clips.
Secure the Line
Finally, use a pair of pliers to crimp the clips onto the spool. This will help keep the line secure during use. When you’re finished, close the access panel and plug the weed eater in.
A Beginner’s Guide to Loading Line into a Weed Eater
Replacing the line in a weed eater is a relatively simple task that anyone can do. Here are some tips to help beginners get started:
Choose the Right Line
Before you start replacing the line, make sure to buy the right type for your weed eater. Different models require different types and sizes of line. Check the owner’s manual or the label on the weed eater to determine which type of line you need.
Prepare the Weed Eater
Before beginning, make sure the weed eater is turned off and unplugged. Remove any debris from the cutting head and inspect the line for signs of wear or damage.
Load the Line onto the Spool
Once you have the right line and the necessary tools, you’re ready to load the line onto the spool. Begin by feeding the line through the hole in the cutting head. Then, wind the line around the spool, leaving some slack between each pass. When you’ve finished winding the line, secure the ends to the spool with the retaining clips.
Secure the Line
Once the line is loaded onto the spool, it’s important to secure the ends. This will help prevent the line from coming loose during use. To secure the ends, use a pair of pliers to crimp the retaining clips onto the spool.
Conclusion
Replacing the line in a weed eater is a relatively simple task that can be done in just a few minutes. By following the steps outlined in this article, you can quickly and easily put new line in your weed eater.
(Note: Is this article not meeting your expectations? Do you have knowledge or insights to share? Unlock new opportunities and expand your reach by joining our authors team. Click Registration to join us and share your expertise with our readers.)