Introduction
Are you tired of searching for the perfect remote control car but not finding one that fits your needs? Why not make your own? Building a remote control car at home can be a rewarding and fun experience. In this article, we will provide a comprehensive guide on how to make your own remote control car from scratch or transform an existing toy car into a remote control vehicle.
DIY Guide: How to Create Your Own Remote Control Car in 4 Easy Steps!
Building your own remote control car may sound like a daunting task, but it can be done in four easy steps:
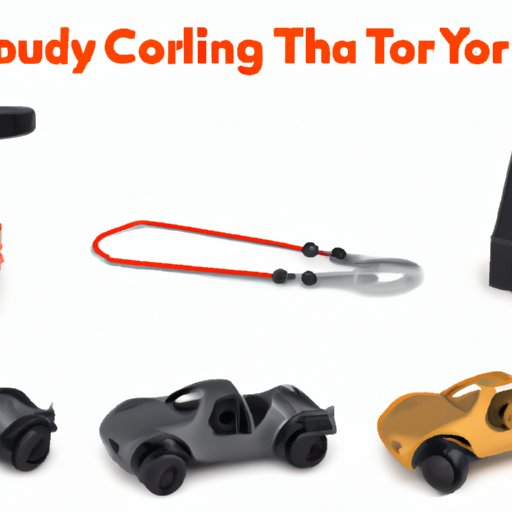
Step 1: Gather materials and tools
Before starting, gather all necessary materials and tools. Basic materials include plywood, screws, a motor, wheels, aluminum, and a remote control module. Tools include a saw, a screwdriver, pliers, and a soldering iron.
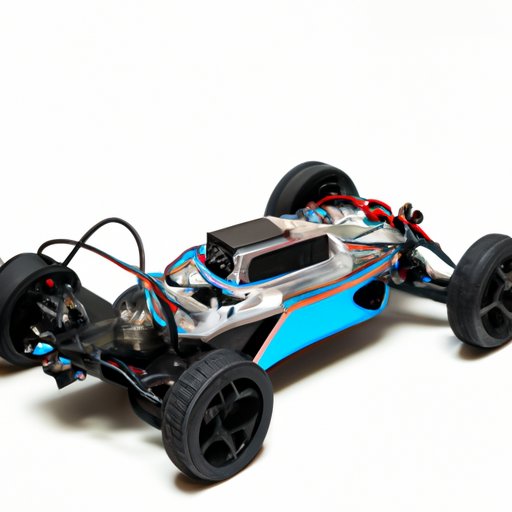
Step 2: Build the car chassis
Start building the car chassis by cutting the plywood according to the desired size and shape. Use screws to attach the pieces to make the basic frame. Then, attach aluminum brackets to hold the motor and wheels in place.
Step 3: Install the motor and wheels
Install the motor and wheels into the car chassis. Use pliers to attach the wheels to the axle, and secure the motor to the brackets using screws. Be sure to position the wheels evenly on both sides.
Step 4: Add the remote control module
Last but not least, add the remote control module to the car. Solder the wires from the motor to the module, then follow the user manual to set up the controller and test the car. Congratulations! You have just built your own remote control car!
Expert Tips: Building an RC Car from Scratch for Beginners
For beginners, building an RC car from scratch can be a challenge. Here are some expert tips to help you get started:
Consider the type of motor, wheels, and remote control module
Choosing the right motor, wheels, and remote control module is critical to building a successful remote control car. Consider factors such as speed, weight, and performance before making a purchase. Research online or ask an expert for advice if needed.
Invest in a good-quality soldering iron
Soldering is a necessary skill in building remote control cars. Investing in a good-quality soldering iron will make the process much easier and efficient. Practice by soldering simpler items before moving on to more complex circuits.
Transforming Your Toy Car into a Remote Control Car in 3 Simple Steps
Do you have an existing toy car that you want to transform into a remote control car? It’s easy and can be done in three simple steps:
Step 1: Choose a toy car to modify
Choose a toy car that is the right size and shape to be transformed into a remote control car. Make sure it has a hollow center to house the motor and batteries.
Step 2: Install a motor and wheels
Install a motor and wheels into the toy car’s hollow center. Use pliers to attach the wheels to the axle and secure the motor in place using screws.
Step 3: Add the remote control module
Add the remote control module to the toy car. Follow the user manual to set up the controller and test the car. Now, you have transformed your regular toy car into a cool remote control car!
The Ultimate Guide for RC Car Enthusiasts: Building Your Own Car
If you are an RC car enthusiast looking to build your own car, here are some advanced tips and techniques:
Customization options
Consider customizing your RC car with accessories like LED lights, decals, or a camera. These will make your car look more unique and impressive.
Optimize performance
Optimize your RC car’s performance by choosing the right battery, upgrading the motor, and balancing the weight. Experiment with different settings until you achieve the best performance possible.
Get Creative! How to Make a Customized Remote Control Car at Home
Customizing your own remote control car can be fun and creative. Here are some ideas to get you started:
Add a camera
Add a camera to the car to capture videos or images of the car’s movements. This is a great way to record stunts or races.
Use decals
Customize your car’s design using decals with your favorite logos or graphics. You can create your own decals or purchase them online.
DIY Fun for Kids: Building a Remote Control Car with Basic Materials
Building a remote control car is a fun activity for kids, but it’s important to supervise them and take safety precautions. Here’s a simplified guide using basic materials:
Materials needed
Gather basic materials like cardboard, a motor, a 9-volt battery, wheels, and wires. You can also use a toy car if you have one.
Steps to follow:
- Start by cutting a rectangular shape from the cardboard. This will be the car’s base.
- Attach the motor to the base using glue or tape. Then, attach the wheels to the motor’s shaft.
- Connect the motor to the battery using wires. Try to keep the wires from getting tangled, as this can cause a short circuit.
- Add a switch and a remote control module to control the car’s movements.
- Test the car and have fun! Remember to supervise kids during the building and testing process.
Conclusion
Building your own remote control car can be a fun, creative and rewarding experience. You can start from scratch, transform an existing toy car, or customize your own vehicle. Whether you are a beginner or an expert, there are many tips and techniques to help you succeed in building the perfect remote control car.
(Note: Is this article not meeting your expectations? Do you have knowledge or insights to share? Unlock new opportunities and expand your reach by joining our authors team. Click Registration to join us and share your expertise with our readers.)