Introduction
Rock candy is a type of confectionery made from sugar crystals. It’s an old-fashioned treat that has been around for centuries, and making it is a great way to teach kids about science. Not only is it a fun DIY project, but it’s also an edible science experiment!
In this article, we’ll explore the benefits of a rock candy science experiment, provide a step-by-step guide on how to make it, share a simple recipe with pictures, explain how to set up the experiment, offer tips and tricks for a delicious result, and more. So let’s get started!
What is Rock Candy?
Rock candy is a type of sugar candy made by crystallizing sugar syrup. It can be flavored and colored in various ways, and is often formed into shapes or sticks. The first known recipe for rock candy dates back to 15th century England, and the treat has since become popular all over the world.
According to food historian Peter Opie, rock candy was originally used to sweeten beverages like tea and coffee. It was also used as medicine and to make toothpaste. Today, it’s still enjoyed as a treat, but it’s also used in science experiments to teach kids about the process of crystallization.
Benefits of a Rock Candy Science Experiment
A rock candy science experiment is a great way to introduce kids to the basics of chemistry. It teaches them about the formation of crystals and how different ingredients interact with each other. It also encourages them to observe and record data, which is an important skill for any scientist.
“This activity is a great way to learn about the properties of sugar,” says Dr. Mary Ann Rankin, a professor of chemistry at the University of Maryland. “It’s also a fun and tasty way to explore the concept of crystallization.”
Step-by-Step Guide to Making Rock Candy: A Fun Science Experiment for Kids
Making rock candy is a relatively simple process. All you need is a few basic ingredients, some patience, and a little bit of time. Here’s a step-by-step guide on how to make your own rock candy at home:
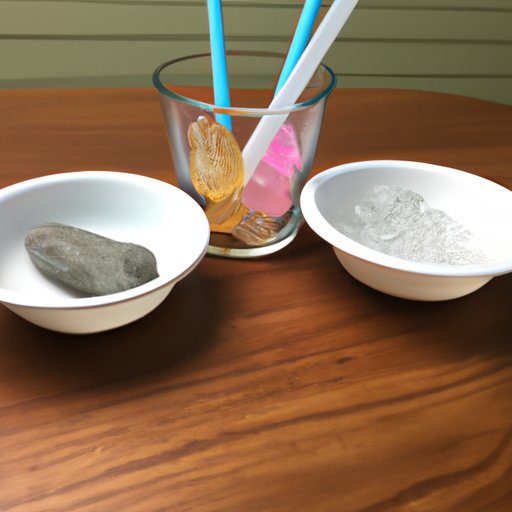
Gather Materials
The first step is to gather the materials you’ll need to make your rock candy. You’ll need white granulated sugar, lukewarm water, a glass jar, a wooden skewer, string, and food coloring (optional).
Prepare the Solution
Next, mix the sugar and water together in the glass jar. Stir until the sugar is completely dissolved. If you want to add flavor or color to your rock candy, now is the time to do it. Just add a few drops of food coloring and/or flavoring extract to the solution.
Add Flavoring and Color
At this point, you can add flavorings and colors to your rock candy. Add a few drops of food coloring and/or flavoring extract to the solution and stir until everything is combined. You can also add a few drops of essential oils if you want to give your rock candy a unique aroma.
Suspend the String in the Solution
Once the solution is ready, take the wooden skewer and tie one end of the string around it. Then slowly lower the skewer into the solution until the string is completely submerged. Make sure the string isn’t touching the sides of the jar or the bottom of the jar.
Let the Candy Form
Now it’s time to let the candy form. Place the jar in a warm, dry place and let it sit for several days. As the water evaporates, crystals will begin to form on the string. The longer you let it sit, the bigger the crystals will get.
An Easy Recipe for Making Rock Candy with Pictures
Ready to make your own rock candy? Here’s an easy recipe with pictures:
Ingredients Needed
- 2 cups white granulated sugar
- 1 cup lukewarm water
- Food coloring (optional)
- Flavoring extract (optional)
- 1 glass jar
- 1 wooden skewer
- 1 piece of string
Step-by-Step Instructions
- Mix the sugar and water together in the glass jar. Stir until the sugar is completely dissolved.
- Add a few drops of food coloring and/or flavoring extract to the solution and stir until everything is combined.
- Take the wooden skewer and tie one end of the string around it. Slowly lower the skewer into the solution until the string is completely submerged.
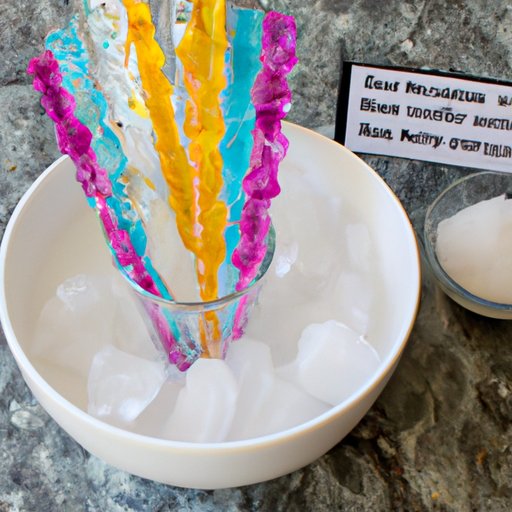
- Place the jar in a warm, dry place and let it sit for several days. As the water evaporates, crystals will begin to form on the string.
- When the crystals are the desired size, carefully remove the string from the jar. Let the rock candy dry before serving.
Rock Candy Science Project: How to Make It With Simple Materials
Making rock candy is a great science project for kids. All you need are a few simple materials and some patience. Here’s how to set up the experiment:
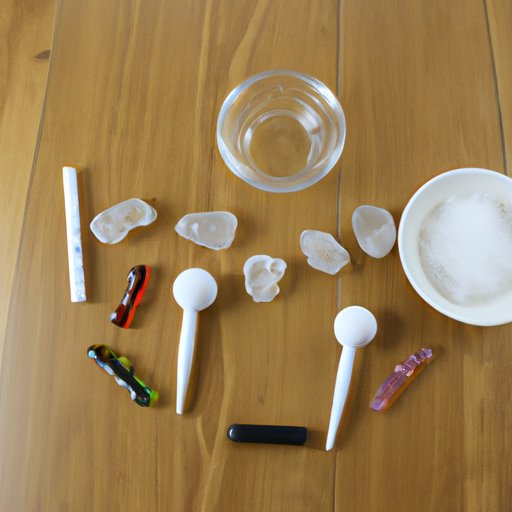
Supplies Needed
- White granulated sugar
- Lukewarm water
- Glass jars
- Wooden skewers
- Strings
- Food coloring (optional)
- Flavoring extract (optional)
Setting Up the Experiment
Start by gathering all the supplies you’ll need. Then mix the sugar and water together in the glass jar. Stir until the sugar is completely dissolved. If you want to add flavor or color to your rock candy, now is the time to do it. Just add a few drops of food coloring and/or flavoring extract to the solution.
Next, take the wooden skewer and tie one end of the string around it. Then slowly lower the skewer into the solution until the string is completely submerged. Make sure the string isn’t touching the sides of the jar or the bottom of the jar.
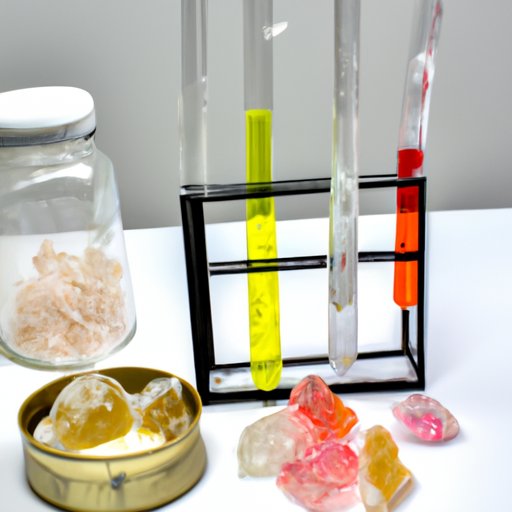
Observing the Formation of Crystals
Now it’s time to observe the formation of crystals. Place the jar in a warm, dry place and let it sit for several days. As the water evaporates, crystals will begin to form on the string. The longer you let it sit, the bigger the crystals will get.
When the crystals are the desired size, carefully remove the string from the jar. Let the rock candy dry before serving.
Rock Candy Making: Tips and Tricks for a Delicious Science Experiment
Making rock candy is a fun and delicious science experiment. Here are a few tips and tricks to help you get the best results:
Choosing the Right Flavor and Color
When adding flavor and color to your rock candy, it’s important to choose the right ones. Natural flavors and colors work best, as they won’t alter the taste or texture of the candy. And if you’re using food coloring, stick to the liquid kind – the gel type won’t dissolve in the solution.
Storing Your Finished Candy
Once your rock candy is finished, it’s important to store it properly. Keep it in an airtight container in a cool, dry place. This will help prevent the candy from melting or becoming stale.
Rock Candy Recipe: A Fun and Edible Science Experiment for Kids
Ready to make your own rock candy? Here’s an easy recipe with pictures:
Ingredients Needed
- 2 cups white granulated sugar
- 1 cup lukewarm water
- Food coloring (optional)
- Flavoring extract (optional)
- 1 glass jar
- 1 wooden skewer
- 1 piece of string
Step-by-Step Instructions
- Mix the sugar and water together in the glass jar. Stir until the sugar is completely dissolved.
- Add a few drops of food coloring and/or flavoring extract to the solution and stir until everything is combined.
- Take the wooden skewer and tie one end of the string around it. Slowly lower the skewer into the solution until the string is completely submerged.
- Place the jar in a warm, dry place and let it sit for several days. As the water evaporates, crystals will begin to form on the string.
- When the crystals are the desired size, carefully remove the string from the jar. Let the rock candy dry before serving.
Conclusion
Making rock candy is a fun and delicious way to teach kids about science. It’s a relatively simple process that only requires a few basic ingredients, some patience, and a little bit of time. With our step-by-step guide and easy recipe with pictures, you’ll have no trouble making your own rock candy at home. So why not give it a try today?
From learning about the properties of sugar to observing the formation of crystals, a rock candy science experiment is a great way to introduce kids to the basics of chemistry.
(Note: Is this article not meeting your expectations? Do you have knowledge or insights to share? Unlock new opportunities and expand your reach by joining our authors team. Click Registration to join us and share your expertise with our readers.)