Introduction
If you’ve ever wanted to build a remote-controlled car but didn’t know where to start, you’re in the right place. In this article, we’ll share step-by-step instructions on how to build a remote-controlled car at home. Building a remote-controlled car is an excellent way to explore your creativity, learn new skills, and have fun in the process. So, let’s get started!
Getting Started: What You’ll Need
Before you begin building your remote-controlled car, you’ll need some tools and materials. Here’s a list:
- RC Car Kit or RC components
- Battery Pack
- Remote Control or Remote Control Kit
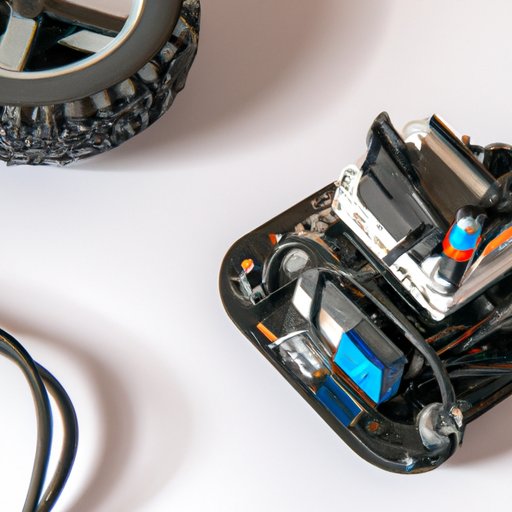
- Motor or Engine
- Wheels
- Plastic or Metal Casing
- Screws and Screwdrivers
- Wire Cutters
- Soldering Iron and Soldering Wire
- Glue Gun and Glue Sticks
Most of these items can be found at hobby shops or online. If you’re not sure where to start, a quick internet search should yield plenty of options.
Designing Your Remote-Controlled Car
Before you start building your remote-controlled car, it’s essential to have a design plan. Having a design plan will help ensure that your car is both aesthetically pleasing and functional. Here are some tips for designing your remote-controlled car:
- Think about the type of car you want to build and its purpose. Do you want a fast, sporty car or a more rugged off-road vehicle? Keeping the purpose in mind will help you make better design choices.
- Consider the materials you have and how they can be used to design the car. For example, if you have a lot of metal casing, you may want to design a car that features metallic elements.
- Create a basic sketch to help you visualize the car’s overall design. This doesn’t need to be a work of art, but it should give you a general idea of what you want the car to look like.
- Once you have a basic design in mind, review it and make adjustments as needed. This could involve adding or removing elements that don’t fit with the overall aesthetic or tweaking parts to improve functionality.
Building the Remote-Controlled Car
Now that you have a design plan, it’s time to start building your remote-controlled car. Follow these steps:
- Assemble the wheels. Attach them to the axles using screws and screwdrivers.
- Install the motor or engine according to the manufacturer’s instructions. This may involve mounting brackets, screws, and other components.
- Install the battery pack and connect it to the motor or engine using wires. Be sure to double-check that the wires are correctly connected and secured in place.
- Install the remote control or remote control kit. This may require some additional wiring and assembly, depending on the type of remote control you’re using.
- Attach the plastic or metal casing to the body of the car. This may involve glue, screws, or other fasteners.
Remember to take your time with each step and double-check your work as you go. If you’re not sure about something, don’t hesitate to consult the instruction manual or look for guidance online.
Testing and Troubleshooting
Once your remote-controlled car is built, it’s essential to test its functionality before using it. Follow these steps:
- Double-check that the battery pack is fully charged and properly connected to the motor or engine.
- Power on the remote control and test each function, such as the forward, backward, left, and right controls.
- Test the car’s overall responsiveness and adjust the controls and motor or engine as needed.
- Address any issues that may arise, such as connectivity or power issues. This may involve troubleshooting the remote control, wires, or other components.
Remember to take your time and be patient as you troubleshoot any issues. It’s better to take extra time to address a problem than to rush through it and risk damaging your remote-controlled car.
Advanced Remote-Controlled Car Building
For those who want to take their remote-controlled car building to the next level, there are many advanced steps and techniques to explore. Here are a few examples:
- Customize the car’s design with paint, decals, or other design elements.
- Upgrade the motor or engine to increase your car’s speed and power.
- Add additional features, such as headlights, taillights, or other lighting effects.
- Explore different terrains and environments, such as off-road racing or indoor obstacle courses.
Remember to have fun and explore your creativity as you build your remote-controlled car. Don’t be afraid to try new things and test the limits of what your car can do.
Conclusion
Building a remote-controlled car at home is a rewarding and exciting experience. With some basic tools and materials, you can create a functional and aesthetically pleasing car that reflects your style and personality. Remember to take your time, plan carefully, and test your car’s functionality before using it. We hope this article has inspired you to try building your remote-controlled car and share your results with others.
(Note: Is this article not meeting your expectations? Do you have knowledge or insights to share? Unlock new opportunities and expand your reach by joining our authors team. Click Registration to join us and share your expertise with our readers.)