Introduction
Are you fascinated by remote control cars and would like to build your own? Building your own remote control car at home can be an exciting project to embark on. Not only do you get to customize the car to your liking, but you also learn about electronics and how they work. This article aims to provide a simple guide for beginners on how to make a remote control car at home. Here are the six topics that we will cover:
– Materials required
– Safety precautions
– Step-by-step guide
– Tips and tricks
– Video tutorials
– Repair and maintenance
Materials Required
Before we delve into the details of how to make a remote control car at home, it’s important to have all the materials needed. The following is a list of materials you’ll need:
– Remote control car kit
– Screwdrivers
– Soldering iron
– Hot glue gun
– Battery holder
– Batteries
– Receiver
– Motor
– Wheels
– Chassis
Most of the materials can be found in electronic stores or online marketplaces like Amazon. You may also opt to purchase the entire remote control car kit, which has most of these materials included. The estimated cost of all the materials is around $60.
Safety Precautions
It’s important to practice safety precautions when handling electronics and small parts. Here are some tips to ensure your safety:
– Wear safety glasses to protect your eyes
– Keep your work area clean and organized to avoid injuries
– Turn off all electronics when not in use
– Never touch a hot soldering iron
– Work in a well-lit area
– Use gloves when necessary
Safety should always come first when working on any project.
Step-by-Step Guide
Now that you have all the materials and are aware of the safety precautions, it’s time to build your remote control car. Here’s a step-by-step guide:
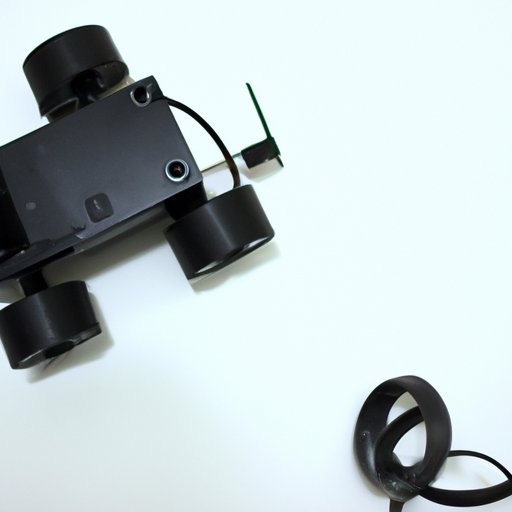
1. Begin by assembling the car chassis. This usually involves attaching the motor and wheels to the chassis.
2. Solder the wires to the battery holder, receiver and motor. Ensure that the wires are connected to the correct ports.
3. Attach the receiver to the chassis using screws.
4. Connect the battery holder to the receiver.
5. Mount the motor on the chassis using zip ties.
6. Connect the motor to the receiver using wires.
7. Attach the wheels to the motor.
8. Test the remote control car to see if it’s functioning properly.
Tips and Tricks
While making a remote control car at home can be exciting, it can also be overwhelming for beginners. Here are some tips and tricks to make the process smoother:
– Read the instructions carefully before starting the project.
– Take your time when assembling the car to avoid making mistakes.
– Arrange all the components in an orderly manner to avoid confusion.
– Follow the wiring diagrams to ensure that everything is connected to the right port.
– Test the car frequently to detect any faults.
Video Tutorials
For visual learners, here’s a video tutorial on how to make a remote control car at home. This tutorial is beginner-friendly and easy to follow.
Repair and Maintenance
After building your remote control car, you want it to last long. Here are some tips on how to maintain and repair your remote control car:
– Perform regular maintenance checks to keep the car in good condition.
– Clean the car after every use to get rid of any dirt or debris.
– Replace any faulty parts immediately to avoid further damage.
– Lubricate the wheels and motor to reduce friction.
– Keep the battery charged to avoid damage.
Conclusion
Building a remote control car at home can be a fun and educational project. This article has provided you with a simple guide on how to make a remote control car at home. We covered six topics, including materials required, safety precautions, step-by-step guide, tips and tricks, video tutorials, and repair and maintenance. Remember to follow safety precautions, take your time, and enjoy the process.
(Note: Is this article not meeting your expectations? Do you have knowledge or insights to share? Unlock new opportunities and expand your reach by joining our authors team. Click Registration to join us and share your expertise with our readers.)