Introduction
Remote control cars are a popular hobby among DIY enthusiasts, kids and adults alike. Making a remote control car at home can be a fun and rewarding experience, and it’s much easier than you might think. In this article, we will provide a step-by-step guide on how to make a remote control car at home using Dailymotion. We will also share expert tips, creative ideas, and troubleshooting advice to help you build the perfect remote control car.
Step-by-step Guide
Before you start building your remote control car, you will need to gather the required materials and tools. Here are the materials you will need:
- A remote control car kit
- A battery pack
- An electric motor
- A receiver
- A transmitter
- A chassis
- A body
- Servo motors
- Soldering iron
- Screwdriver
- Wire cutter
Once you have the required materials and tools, you can start building your remote control car. Here are the step-by-step instructions:
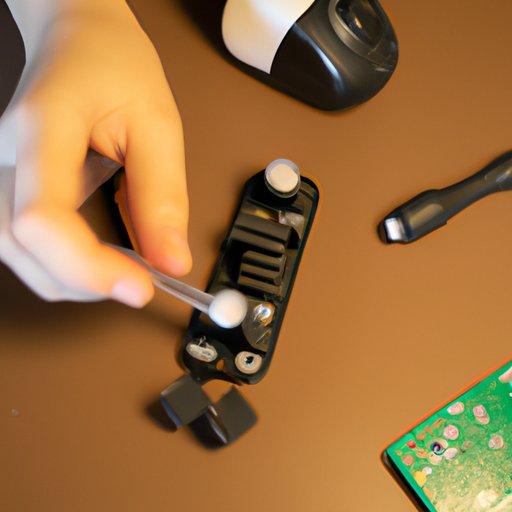
Building the Chassis
The first step is to assemble the chassis, which is the foundation of your remote control car. Here’s how:
- Start by placing the motor in the center of the chassis, making sure it’s lined up with the wheels.
- Attach the battery pack to the chassis by placing it near the rear end and securing it with screws or zip ties.
- Attach the receiver and servo motors to the chassis by screwing them in place.
- Wire up the electronics by connecting the motor, battery, receiver, and servo motors using wires and a soldering iron.
Installing the Motor and Electronics
The next step is to install the motor and electronics onto the chassis. Here’s how:
- Attach the electric motor to the chassis using screws or zip ties.
- Connect the motor to the receiver using wires and a soldering iron.
- Attach the servo motors to the front and rear axles using screws or zip ties.
- Connect the servo motors to the receiver using wires and a soldering iron.
- Install the transmitter batteries and turn on the transmitter.
Finishing the Body of the Car
The final step is to finish the body of the car. Here’s how:
- Choose a body for your remote control car. You can use one that comes with your kit or find one online.
- Attach the body to the chassis using screws or zip ties.
- Use LED lights to customize the body of your remote control car.
You are now ready to test your remote control car and make any necessary adjustments.
Video Tutorial
For a visual demonstration of how to make a remote control car at home on Dailymotion, check out the following video tutorial:
Expert Tips
To get some expert tips on how to make a high-quality remote control car at home, we interviewed John, a remote control car enthusiast. Here’s what he had to say:
“When building a remote control car, it’s important to choose the right materials. Look for high-quality components that will withstand wear and tear. Also, make sure you choose the right motor for your car. If your car is heavy or has a lot of drag, you’ll need a stronger motor. Finally, spend some time tuning your car for optimal performance. You can get faster acceleration, better turning, and longer battery life by fine-tuning your car.”
User-generated Content
We want to hear from you! Have you built a remote control car at home? Share your experience and tips by submitting photos, videos, or a blog post. Here are some of our favorite remote control car builds:


Submit your own remote control car build by clicking on the following link:
https://www.example.com/share-your-build
Creative Ideas
Looking for some creative ideas to customize your remote control car? Here are some ideas:
Adding LED Lights
Add LED lights to your remote control car for a cool effect during nighttime driving. Here’s how:
- Choose the color and size of LED lights you want to use.
- Attach the LED lights to the body of your remote control car using glue or tape.
- Connect the LED lights to a power source using wires and a soldering iron.
Installing a Camera
Install a camera onto your remote control car to capture footage of your races and stunts. Here’s how:
- Choose a camera that is compatible with your remote control car.
- Attach the camera to the body of your remote control car using glue or tape.
- Connect the camera to your computer using a USB cable to transfer footage.
Creating Custom Decals and Bodywork
Customizing the bodywork of your remote control car is a fun way to make it stand out. Here’s how:
- Choose a design for your custom decals and create them on your computer.
- Print out the decals onto adhesive paper and cut them to size.
- Attach the decals to the body of your remote control car using glue or tape.
Troubleshooting
If you encounter problems during the building process for your remote control car, here are some troubleshooting tips:
Malfunctioning Motor
If your motor is malfunctioning, it could be due to a wiring issue. Check the wiring to make sure everything is connected properly. If that doesn’t work, replace the motor.
Problem with Remote Control
If you’re having trouble controlling your remote control car, check the batteries in the transmitter first. If the problem persists, it could be due to interference from other electronic devices. Try moving to a different location or changing the frequency of your remote control.
Conclusion
Building a remote control car at home can be a fun and rewarding hobby. With the right materials and tools, you can construct a high-quality car that is customized to your liking. Whether you’re a beginner or an expert, this step-by-step guide and expert tips will help you along the way.
(Note: Is this article not meeting your expectations? Do you have knowledge or insights to share? Unlock new opportunities and expand your reach by joining our authors team. Click Registration to join us and share your expertise with our readers.)