Introduction
Making your own RC remote control car is a fun and rewarding project that can be done at home. This article will provide a step-by-step guide on how to build an RC car from scratch, from gathering materials and assembling the chassis, to connecting the electronics and programming the controller. Finally, suggestions for customizing the car will be discussed, so you can create a unique and personalized vehicle.
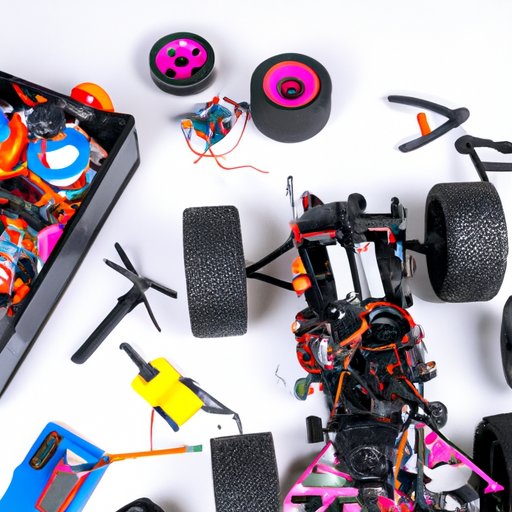
Gather Supplies
The first step in making an RC car is to gather the necessary supplies. You will need a motor, wheels, battery, and a controller. These components can be purchased online or at your local hobby store. Make sure to buy parts that are compatible with each other, as some motors, batteries, and controllers may not work together.
Assemble the Chassis
Once you have gathered the necessary components, it’s time to assemble the chassis. Start by connecting the motor to the chassis. Make sure to use the appropriate screws and nuts to secure the connection. Next, mount the wheels to the chassis. Again, use the appropriate screws and nuts to ensure a tight connection.
Connect the Electronics
Now that the chassis is assembled, it’s time to connect the electronics. First, connect the battery to the motor. Make sure to check the polarity of the connections to ensure they are correct. Next, connect the motor to the controller. The connections should be labeled on the controller, so make sure to follow the instructions. Finally, connect the controller to the battery. Be sure to take safety precautions when connecting the electronics, as incorrect wiring can cause damage to the components.
Program the Controller
Once the electronics are connected, it’s time to program the controller. Depending on the type of controller, the programming process may vary. Some controllers require specific software to be installed on a computer, while others may have their own programming interface. Refer to the controller’s manual for more information on how to program it.
Test It Out
Once the controller is programmed, it’s time to test the car. Turn on the power switch and press the throttle. The car should move forward or backward depending on which way the throttle is pressed. If the car does not move, check the connections and troubleshoot any issues that arise.
Customize the Car
Now that the car is operational, it’s time to customize it. There are many ways to customize an RC car, such as painting the body or adding decals. Paint can be applied using a brush or an airbrush, while decals can be applied using a heat gun. Any tools needed for customization can be found at your local hobby store.
Conclusion
Making an RC remote control car at home is a great way to learn about electronics, programming, and mechanics. By following this step-by-step guide, you can create a unique and personalized RC car. If you have any questions or comments about the process, please feel free to leave them in the comments section below.
(Note: Is this article not meeting your expectations? Do you have knowledge or insights to share? Unlock new opportunities and expand your reach by joining our authors team. Click Registration to join us and share your expertise with our readers.)