Introduction
Looking for a fun, creative activity that both kids and adults can enjoy? Making matchbox cars at home is a great way to exercise your imagination and crafting skills, all while creating a toy that’s sure to provide hours of entertainment. In this article, we’ll walk you through the process of making your own matchbox cars, from shaping the car body to creating custom decorations and race tracks. We’ll also explore some of the benefits of DIY toy-making and offer tips for engaging kids in the process. So gather up your materials and let’s get started!
DIY Matchbox Cars: A Step-by-Step Guide to Making Your Own Toys
The first step in making your matchbox car is gathering the necessary materials. You’ll need:
- Cardboard (or boxboard)
- Scissors
- Tape (preferably double-sided tape)
- Paint (optional)
- Markers or stickers (optional)
- Q-tips or toothpicks (optional)
Once you have your materials in order, follow these simple steps:
- Cut a rectangular piece of cardboard for the car body and fold it in half lengthwise. This will form the basic shape of your car.
- Cut out four smaller rectangular pieces of cardboard for the wheels. You can use the same color as the car body or paint them separately for a more custom look.
- Using tape, attach the wheels to the car body. Make sure they are evenly spaced and securely fastened.
- To create additional details, paint or decorate the car using markers or stickers. For example, you can add a front grille, racing stripes, or a personalized license plate.
- For a finishing touch, use a Q-tip or toothpick to add small accents or details, such as headlights or tailpipes.
And there you have it – your very own homemade matchbox car!
Upcycling Fun: How to Turn Old Boxes into Customized Toy Cars
In addition to creating new cars from scratch, you can also upcycle old boxes and other materials to make unique and sustainable toy cars. Here are some tips for selecting appropriate boxes and decorating them:
- Look for boxes that are roughly the same size and shape as traditional matchbox cars. Cereal boxes, juice cartons, and tissue boxes can all work well.
- Use paint or markers to give the box a new look. You can also add paper cutouts, stickers, or other embellishments for extra detail.
- Add wheels using bottle caps, buttons, or other round objects. You can attach them with tape or glue.
- To create a more polished look, cover the box with colored tape or patterned paper. This can also help to reinforce the structure.
With a little creativity, you can transform any old box into a one-of-a-kind matchbox car!
Get Creative with Matchbox Cars: Ideas for Decorating and Building Your Own Fleet
If you’re looking to take your matchbox car-making skills to the next level, consider customizing your cars with paint, decals, and other unique details. Here are some ideas for building a fleet of cars based on different themes:
- Vintage cars: Create models of classic cars from the 1920s, 30s, and 40s using reference photos and careful painting techniques.
- Sports cars: Get inspired by Formula One and IndyCar racers to create sleek and speedy matchbox cars with racing stripes and custom paint jobs.
- Monster trucks: Use oversized wheels and bold graphics to create a fleet of monster trucks fit for crushing anything in their path.
- Fantasy cars: Let your imagination run wild with fantastical designs featuring dragons, unicorns, or other mythical creatures.
Experiment with different colors, patterns, and materials to come up with your own unique designs!
Teaching Kids about Engineering and Design with Homemade Toy Cars
Not only is making matchbox cars a fun and engaging activity for kids, but it can also provide valuable lessons in engineering, problem-solving, and design. Here are some tips for engaging kids in the process:
- Encourage experimentation by giving kids different materials to work with (such as straws or bottle caps) and challenging them to come up with their own designs.
- Ask questions about the design process, such as “What made you choose that color?” or “How did you decide on the shape of the car?” This can help kids think more deeply about their creative choices.
- Consider building a matchbox car with your child and talking through each step of the process together. This can help them learn about basic engineering concepts, such as how wheels and axles work.
By making matchbox cars with your kids, you can help them discover the joy of creating something from scratch and build their confidence in their own creative abilities.
Budget-Friendly Fun: Making Matchbox Cars with Materials You Have at Home
One of the best things about making matchbox cars at home is that you can often use materials that are already lying around the house. Here are some ideas for using household items to make your own toys:
- Use cardboard from cereal boxes or shipping packages to create the car body. You can also use paper tubes or toilet paper rolls.
- Attach wheels using bottle caps, buttons, or other round objects. You can also use straws or plastic skewers as axles.
- Experiment with other materials for decoration, like stickers, washi tape, or fabric scraps. These can be great for adding small details or patterns.
- Try cutting out different shapes and sizes of cardboard to create a variety of car designs. You can also mix and match colors and textures.
Making matchbox cars with household items is not only fun, but it can also be a great way to introduce kids to the idea of recycling and reusing materials in creative ways.
Race to the Finish: How to Set up Your Own Matchbox Car Race Track
No matchbox car collection is complete without a race track to test out your creations on. Here are some tips for creating your own DIY race track:
- Start with a large piece of cardboard or foam board as the base. You can also use construction paper or a felt sheet as the surface.
- Create a shape for your track using markers or draw lines on the surface to indicate the turns and curves.
- Add ramps, obstacles, and other features to make the race more interesting. For example, you could create a ramp out of paper tubes or use blocks to create a tunnel.
- Set up a finish line and timer using household items like paper clips or rubber bands. You can also use a stopwatch app on your phone.
With a little creativity, you can create a fun and exciting race track that’s perfect for testing out all your matchbox cars.
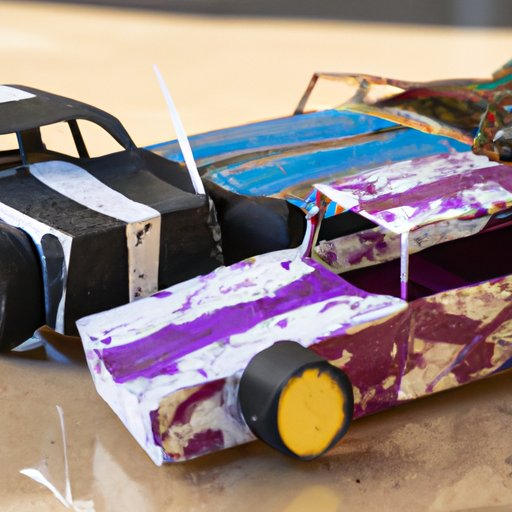
From Scratch to Finish Line: Building and Painting Matchbox Cars for Playtime Fun
Making matchbox cars from scratch is a great way to practice your crafting skills and get creative. Here are some tips for adding paint and other finishing touches to your homemade toys:
- Start by sanding down any rough edges on the car body. This will help the paint adhere smoothly.
- Choose a color scheme and start adding paint, using a small brush or spray paint for even coverage. You can also use painter’s tape to create stripes or other patterns.
- Add custom decals or stickers to give the car a personalized touch. You can find these online or create your own using printable sticker paper.
- For a more advanced project, create a customized spoiler or other accessory using extra cardboard or other materials.
By taking the time to add unique details and finishing touches to your matchbox cars, you can create toys that feel truly one-of-a-kind.
Conclusion
Making matchbox cars at home is a fun and engaging activity that offers a host of benefits, from teaching kids about engineering and design to providing an affordable alternative to buying toys. By following the steps and ideas outlined in this article, you can create your own fleet of custom matchbox cars that are sure to provide hours of entertainment.
(Note: Is this article not meeting your expectations? Do you have knowledge or insights to share? Unlock new opportunities and expand your reach by joining our authors team. Click Registration to join us and share your expertise with our readers.)