Introduction
Making car mats at home is a great way to customize your vehicle and save money. This article aims to provide an easy-to-follow guide on how to make car mats yourself, with just a few simple materials. Whether you are looking to replace worn-out mats or just want to spruce up your car’s interior, this guide will help you get started.
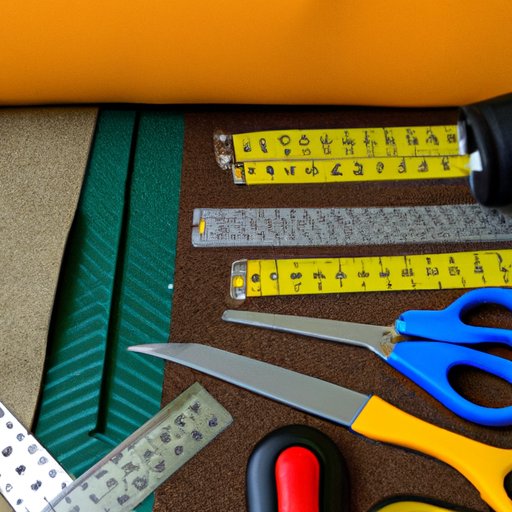
Gather Materials
Before you begin, make sure you have all the necessary materials and tools needed to make car mats. You will need fabric, scissors, a measuring tape, and glue. You can find these items at any craft store or online. To ensure a professional-looking finish, choose a fabric that is durable and water-resistant. Depending on the size of your car, you may also need additional materials such as batting or foam for extra padding.
Measure Your Car
Before you start cutting out pieces of fabric, it is important to measure your car’s floor and trunk area so you know what size pieces to cut out. Use a measuring tape to measure the length and width of each area. Make sure to measure twice to ensure accuracy.
Cut Out Pieces of Fabric
Once you have taken measurements, you can begin cutting out pieces of fabric in the sizes needed for each mat. It is best to use a sharp pair of scissors and cut along a straight line. Keep in mind that the pieces should be slightly larger than the measurements taken to account for seams and edges.
Sew the Pieces Together
To form the shape of the mats, you will need to sew the pieces of fabric together. Start by laying the pieces out on a flat surface and pinning them together. Then, using a sewing machine or a needle and thread, stitch the pieces together. If you are using batting or foam for extra padding, make sure to add it before sewing.
Glue the Mats
Once the pieces of fabric have been sewn together, it is time to glue the mats into place. Apply a thin layer of glue to the underside of the mats and press them firmly onto the floor or trunk area. Allow the glue to dry completely before adding any additional layers of fabric or padding.
Add Finishing Touches
If desired, you can add any finishing touches to the mats such as trim or fringe. This will give them a more personalized look. Be sure to use strong glue to secure the trim or fringe in place.
Conclusion
Making car mats at home is a great way to customize your vehicle and save money. With some basic materials and tools, you can easily create unique mats that are tailored to fit your car. By following the steps outlined in this article, you can make car mats quickly and easily.
(Note: Is this article not meeting your expectations? Do you have knowledge or insights to share? Unlock new opportunities and expand your reach by joining our authors team. Click Registration to join us and share your expertise with our readers.)