
Introduction
An Arduino robot is a type of robot that is programmed using the Arduino microcontroller board, which is an open-source electronic platform. It can be used to build robots that are capable of performing various tasks, such as navigating around obstacles, sensing their environment, following lines, and much more. Building an Arduino robot at home is an enjoyable and educational project that can be completed in a relatively short amount of time.
What is an Arduino Robot?
An Arduino robot is a type of robot that is programmed using an Arduino microcontroller board. Arduino boards are open-source electronic platforms that can be used to build robots that are capable of performing various tasks, such as navigating around obstacles, sensing their environment, following lines, and much more. An Arduino robot typically consists of a frame, motors, sensors, and a circuit board with the Arduino microcontroller.
Benefits of Building an Arduino Robot
The primary benefit of building an Arduino robot is that it can be a fun and educational experience. It provides an opportunity to learn about electronics, programming, and robotics, which can be useful skills for many different professions. Additionally, it can provide an entertaining and creative outlet for those who enjoy tinkering with electronics and programming. Furthermore, building an Arduino robot can be relatively inexpensive compared to purchasing a pre-assembled robot.
Overview of Steps to Build Arduino Robot
Building an Arduino robot involves several steps, including gathering components and tools, planning and designing the robot, assembling the physical parts, programming the Arduino board, testing the robot, troubleshooting and optimizing the robot, and adding extra features. Below is a more detailed overview of each step.

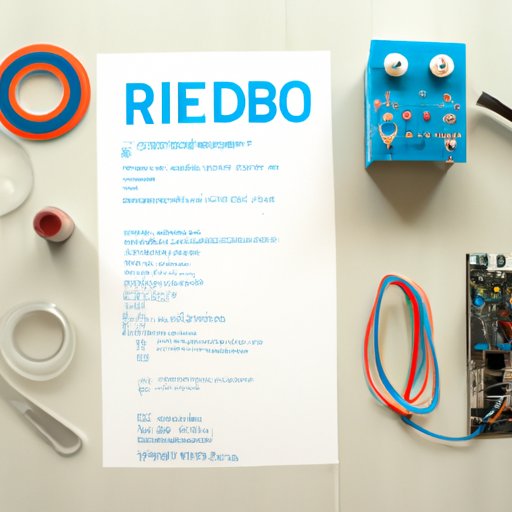
Gather Components and Tools Needed for Arduino Robot Building
The first step in building an Arduino robot is to gather all of the necessary components and tools. This includes the frame, motors, sensors, Arduino microcontroller board, circuit board, soldering iron, wires, and other tools. It is important to make sure that all of the components are compatible with each other, so it is advisable to research each component before purchasing. Additionally, many of the components and tools can be found online or at local electronics stores.
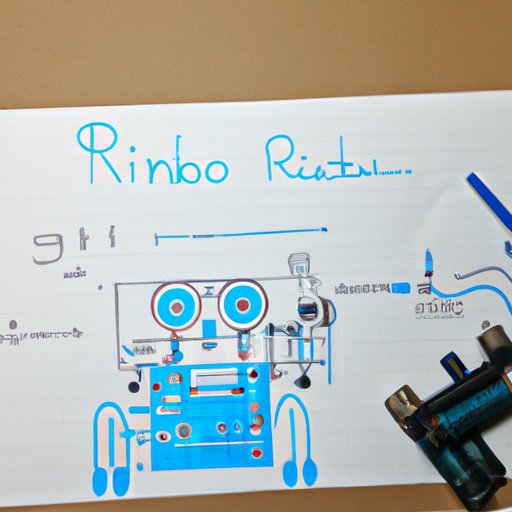
Plan and Design Your Arduino Robot
The next step is to plan and design your Arduino robot. This includes considering the size and shape of the robot, determining the number and type of motors and sensors needed, and designing a circuit board for the robot. It is important to take into account the capabilities of the robot and the types of tasks it will need to perform. Additionally, it is advisable to consult tutorials and guides to ensure that the robot is designed correctly.
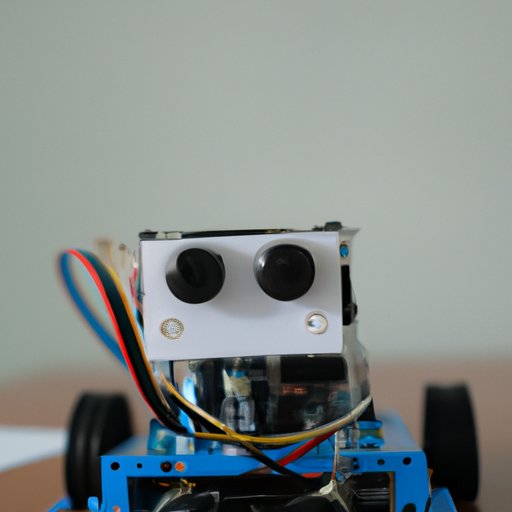
Assemble the Physical Parts of the Arduino Robot
Once the components and tools have been gathered and the robot has been planned and designed, the next step is to assemble the physical parts of the robot. This includes connecting the motors and sensors to the circuit board, mounting the circuit board to the robot’s frame, and making any necessary adjustments to ensure the robot is stable. It is important to follow the instructions carefully to ensure the robot is assembled correctly.
Program the Arduino Board for Your Robot
The next step is to program the Arduino board for your robot. This includes downloading the necessary software, writing code to control the robot, and uploading the code to the Arduino board. It is important to understand the basics of programming and familiarize yourself with the Arduino programming language before attempting to program the robot. Additionally, there are many tutorials and guides available that can provide helpful tips and advice.
Test the Arduino Robot
Once the robot is programmed, the next step is to test the robot to make sure it is functioning properly. This includes performing basic tests to ensure the robot is able to move and respond to its environment. Additionally, it is important to make any necessary adjustments to ensure the robot is operating correctly.
Troubleshoot and Optimize the Arduino Robot
If the robot is not functioning properly, the next step is to troubleshoot and optimize the robot. This includes identifying and resolving common issues, utilizing debugging tools to pinpoint problems, and updating the firmware to enhance performance. Additionally, it is important to consult tutorials and guides to ensure the robot is operating correctly.
Add Extra Features to Your Arduino Robot
Once the robot is functioning properly, the next step is to add extra features to the robot. This includes using additional sensors and motors, incorporating advanced programming concepts, and integrating Wi-Fi and Bluetooth capabilities. Additionally, it is important to research each component and feature to ensure it is compatible with the robot.
Conclusion
Building an Arduino robot at home can be a fun and educational experience. The process involves gathering components and tools, planning and designing the robot, assembling the physical parts, programming the Arduino board, testing the robot, troubleshooting and optimizing the robot, and adding extra features. With the right components and tools, and a bit of patience, anyone can build an Arduino robot at home.
(Note: Is this article not meeting your expectations? Do you have knowledge or insights to share? Unlock new opportunities and expand your reach by joining our authors team. Click Registration to join us and share your expertise with our readers.)