Introduction
Having a remote start system in your vehicle can make life much easier, especially if you live in an area with extreme temperatures. Viper is one of the leading brands when it comes to car security and remote start systems. Installing a Viper remote start is not as difficult as it may seem. With a few tools and some time, you can have a remote start system up and running in no time.
Overview of Viper Remote Start
Viper remote start systems are designed to provide added convenience and safety to your vehicle. With a remote start system, you can start your car from a distance, allowing it to warm up in cold weather or cool down in hot weather before you get in. In addition, many Viper remote start systems come with additional features such as keyless entry, alarm systems, and trunk release.

Benefits of Installing a Viper Remote Start
Having a Viper remote start installed in your vehicle has many advantages. For starters, it adds an extra layer of security to your vehicle. If someone tries to break into your car, the alarm will sound, alerting you to the attempted intrusion. Additionally, you can keep your car running without having to leave the ignition on, which saves fuel. Finally, you can also enjoy the convenience of being able to start your car from a distance.
Step-by-Step Guide to Installing a Viper Remote Start
Installing a Viper remote start is relatively simple and straightforward. Before you begin, make sure you have all the necessary tools and supplies. You will need a Phillips head screwdriver, electrical tape, wire cutters, and a soldering iron. Additionally, you will need the appropriate wiring harness and antenna for your vehicle.
Once you have gathered all the necessary tools and supplies, you can begin the installation process. The first step is to locate the proper wiring in your vehicle. This can usually be found under the dashboard or near the steering column. It is important to identify the right wires so that you can connect them correctly. Once you have identified the correct wires, use the wire cutters to strip the insulation off the ends. Then, use the electrical tape to secure the connections.
The next step is to connect the wiring harness and antenna to the correct wires. Make sure to follow the instructions carefully so that you don’t damage any of the components. Once everything is connected, it is time to test the installation. Turn the ignition switch to the “on” position and see if the remote start system works. If it does, then you have successfully installed your Viper remote start.

DIY Installation of a Viper Remote Start in 5 Easy Steps
Installing a Viper remote start is not as difficult as it may seem. With a few tools and some patience, you can have a remote start system up and running in no time. Here are five easy steps to help you get started:
Step 1: Research Needed Components
Before you begin the installation process, you should research the necessary components. Different vehicles require different wiring harnesses and antennas. Make sure you have the right parts for your vehicle before starting the installation.
Step 2: Disconnect the Negative Battery Cable
The next step is to disconnect the negative battery cable. This is an important safety measure to prevent any short circuits or other electrical issues during the installation process.
Step 3: Connect the Wiring Harness
Now that the negative battery cable is disconnected, you can begin connecting the wiring harness. Make sure to connect the wires to the correct terminals and use the electrical tape to secure the connections.
Step 4: Install the Antenna and Control Module
The next step is to install the antenna and control module. Follow the instructions carefully to ensure that both components are securely mounted.
Step 5: Reconnect the Negative Battery Cable
The last step is to reconnect the negative battery cable. Make sure the connection is secure before moving on to the next step.
A Comprehensive Tutorial on Installing a Viper Remote Start
If you are looking for a comprehensive tutorial on installing a Viper remote start system, there are several resources available online. The first step is to determine if your vehicle is compatible with a Viper remote start system. After you have determined compatibility, you can choose the appropriate remote start system for your vehicle. Once you have selected the right system, you can acquire the necessary parts and tools.
The next step is to perform the installation. Depending on the complexity of your vehicle, this could take anywhere from a few hours to a full day. Make sure to read the instructions carefully and double check all the connections before testing the installation. Once you have tested the installation, you can enjoy the convenience of a remote start system.

How to Install a Viper Remote Start with Illustrated Instructions
If you want a more visual guide on how to install a Viper remote start, there are several resources available online. Most of these guides feature illustrated instructions to help you along the way. Here are five steps to help you get started:
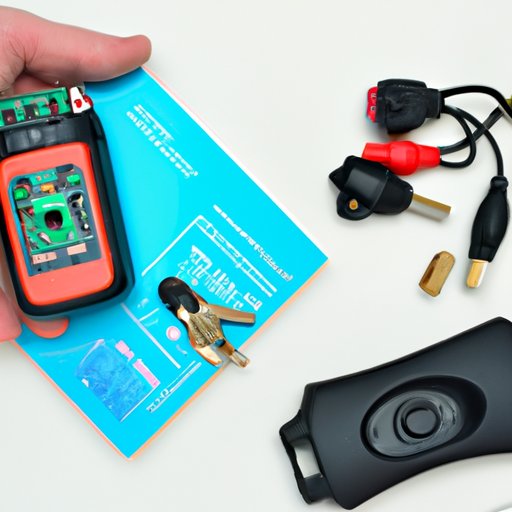
Step 1: Take Inventory of Parts
Before you begin the installation process, make sure you have all the necessary parts and tools. Gather all the components and lay them out in front of you. This will allow you to easily identify each part and avoid any confusion later on.
Step 2: Connect the Wiring Harness
The next step is to connect the wiring harness to the correct wires. Make sure to refer to the instructions carefully and use the electrical tape to secure the connections.
Step 3: Install the Antenna and Control Module
After the wiring harness is connected, it is time to install the antenna and control module. Make sure to follow the instructions carefully and double check all the connections.
Step 4: Program the Remote Starter
Once the antenna and control module are installed, it is time to program the remote starter. Refer to the instructions for the specific model of your remote starter for programming instructions.
Step 5: Test the Installation
The last step is to test the installation. Turn the ignition switch to the “on” position and see if the remote start system works. If it does, then you have successfully installed your Viper remote start.
Get Ready for Winter: Installing a Viper Remote Start Made Easy
Winter is coming and it’s time to get your vehicle ready. Installing a Viper remote start is one of the best ways to prepare for cold weather. Here are four steps to help you get started:
Step 1: Select the Appropriate Viper Remote Start System
The first step is to select the appropriate Viper remote start system for your vehicle. Make sure to research the necessary components and double check that they are compatible with your vehicle.
Step 2: Gather All the Necessary Supplies and Tools
Once you have selected the right system, you can gather all the necessary supplies and tools. Make sure to have a Phillips head screwdriver, electrical tape, wire cutters, and a soldering iron.
Step 3: Follow the Installation Instructions
The next step is to follow the installation instructions. Make sure to double check all the connections and refer to the instructions for programming the remote starter.
Step 4: Test the Installation and Enjoy the Convenience
The last step is to test the installation. Turn the ignition switch to the “on” position and see if the remote start system works. If it does, then you have successfully installed your Viper remote start and can enjoy the convenience of having a remote start system.
Conclusion
Installing a Viper remote start system is a great way to add convenience and safety to your vehicle. With the right tools and some patience, you can have a remote start system up and running in no time. Whether you choose to follow a comprehensive tutorial or an illustrated guide, you will be sure to enjoy the benefits of having a remote start system.
For those who run into any issues while installing their Viper remote start system, there are numerous resources available online. There are forums and YouTube videos dedicated to troubleshooting common issues with remote start systems. With a little bit of research, you should be able to find the answers you need.
(Note: Is this article not meeting your expectations? Do you have knowledge or insights to share? Unlock new opportunities and expand your reach by joining our authors team. Click Registration to join us and share your expertise with our readers.)