Introduction
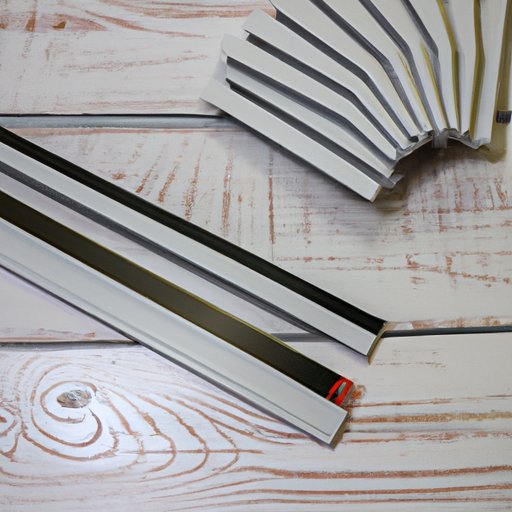
Vinyl siding starter strips are a necessary component of any home exterior project, providing a secure base for siding installation. Starter strips are typically made of metal or plastic, and they come in a variety of sizes to fit your needs. Installing vinyl siding starter strips may seem intimidating at first, but with the right preparation and knowledge, you can easily complete the job yourself.
Step-by-Step Guide to Installing Vinyl Siding Starter Strips
Before you begin, it’s important to have all the necessary materials and tools on hand. You’ll need a tape measure, level, utility knife, hammer, pry bar, nails, and caulking gun. Additionally, make sure you have enough starter strips to cover the area.
Once you have all the materials, it’s time to get started. Begin by measuring and marking the area where you want to install the starter strip. Make sure the measurements are accurate, as this will ensure a successful installation.
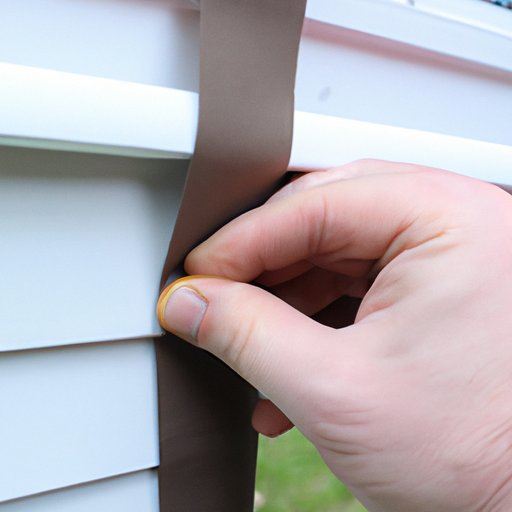
Next, attach the starter strip to the wall using nails. Be sure to leave a gap between the strip and the wall, as this will help prevent moisture buildup. After the strip is attached, use a utility knife to cut the strip to fit the area.
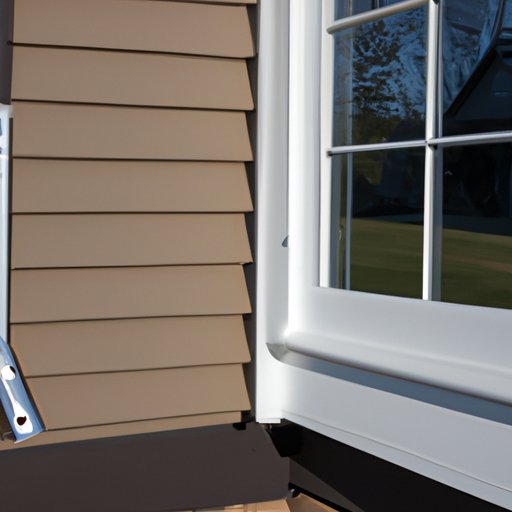
Once the strip is cut, it’s time to install the vinyl siding. Start by attaching the bottom strip, then work your way up the wall. Secure the siding with nails, making sure to leave a gap between the siding and the wall.
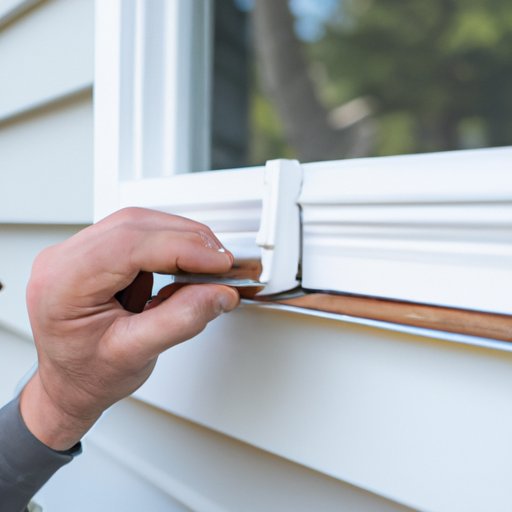
Finally, trim the edges of the starter strip and caulk them. This will help prevent moisture from seeping into the walls. Once the edges are sealed, install the trim pieces to give the siding a finished look.
Get Started on Your Exterior Project: Installing Vinyl Siding Starter Strips
When it comes to installing vinyl siding starter strips, there are several factors to consider. First, choose the right type of starter strip for your project. There are a variety of options available, so make sure to select one that fits your needs.
Additionally, consider the climate and environment of your area. If you live in a humid climate, choose a starter strip that won’t be susceptible to warping or cracking due to moisture. Finally, make sure you have the proper tools for the job. A tape measure, level, utility knife, hammer, pry bar, nails, and caulking gun are essential for successful installation.
DIY Vinyl Siding Installation: How to Install Starter Strips
Now that you have the necessary materials and tools, it’s time to prepare the surface. Begin by removing any debris from the area, such as dirt, leaves, and other debris. Then, inspect the walls for any cracks or damage. If any exist, repair them before continuing.
Next, cut the starter strip to size using a utility knife. Make sure to leave a gap between the strip and the wall, as this will help prevent moisture buildup. Once the strip is cut, attach the bottom strip to the wall using nails.
Then, install the side strips. Again, make sure to leave a gap between the siding and the wall. Finally, secure the starter strip with nails. Be sure to drive the nails into the wall, not the siding, to ensure a secure hold.
The Basics of Installing Vinyl Siding Starter Strips
Once the starter strip is installed, it’s time to finish the job. Begin by trimming the edges of the starter strip, using a utility knife. This will give the siding a neat, finished appearance. Then, caulk the edges of the strip to seal the gaps and prevent moisture from seeping in.
Finally, install the trim pieces. These will provide an extra layer of protection and give the siding a finished look. Make sure the trim pieces are securely attached to the wall to ensure a long-lasting installation.
Preparing Your Home for Vinyl Siding: Installing Starter Strips
Before beginning your vinyl siding project, it’s important to check the existing siding. If it’s in good condition, you may be able to reuse it. However, if it’s damaged or warped, it’s best to replace it with new siding.
Next, inspect the walls for any cracks or damage. If any exist, repair them before continuing. Finally, remove any debris from the area, such as dirt, leaves, and other debris.
Expert Tips for Installing Vinyl Siding Starter Strips
Installing vinyl siding starter strips is a straightforward process, but there are a few tips and tricks that can make the job easier. First, wear protective gear when working with tools, such as gloves and safety glasses. This will help prevent injury.
Additionally, take measurements twice before cutting. This will ensure accuracy and prevent mistakes. Finally, use a level to ensure that the starter strip is installed correctly. This will help ensure a successful installation.
Conclusion
Installing vinyl siding starter strips is an important part of any home exterior project. With the right preparation and knowledge, you can easily complete the job yourself. Gather the necessary materials, prepare the surface, and follow the steps outlined above to get started. And don’t forget to wear protective gear and take measurements twice before cutting to ensure a successful installation.
(Note: Is this article not meeting your expectations? Do you have knowledge or insights to share? Unlock new opportunities and expand your reach by joining our authors team. Click Registration to join us and share your expertise with our readers.)