Introduction
Installing starter shingles is an important part of any roofing project. Starter shingles provide a secure foundation for the rest of the roofing materials, ensuring that the roof is installed correctly and will last for years to come. This article provides a step-by-step guide to installing starter shingles, as well as helpful tips and advice for beginners.
Step-by-Step Guide to Installing Starter Shingles
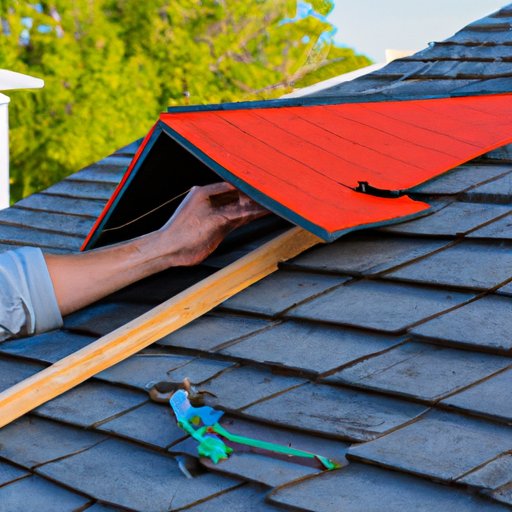
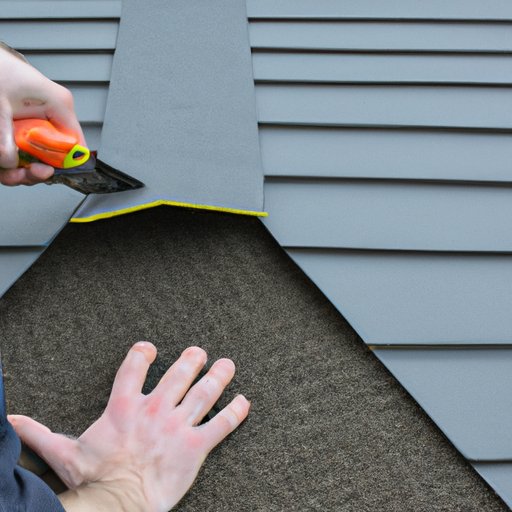
The first step in installing starter shingles is to prepare the area. Remove any old shingles or debris from the area, and ensure that the surface is clean and level. Next, measure and cut the starter shingles according to the manufacturer’s instructions. Finally, use nails or screws to secure the shingles in place.
A Beginner’s Guide to Installing Starter Shingles
If you are new to installing starter shingles, there are a few things you should know before you get started. First, make sure you have all the necessary tools, such as a hammer, nails, and a tape measure. Additionally, always follow safety protocols and wear protective gear. Lastly, familiarize yourself with the installation process by reading the manufacturer’s instructions.
Essential Tips for Installing Starter Shingles
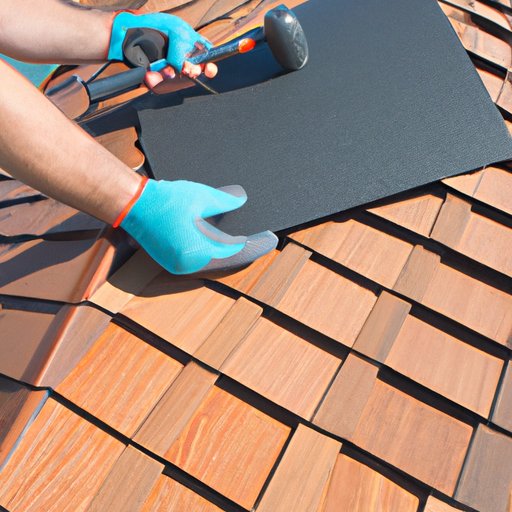
When installing starter shingles, it is important to take your time and do the job right. Measure twice and cut once to ensure accuracy. Additionally, take time to securely fasten each shingle in place. Finally, be sure to use quality materials to ensure the longevity of your roof.
The Basics of Installing Starter Shingles
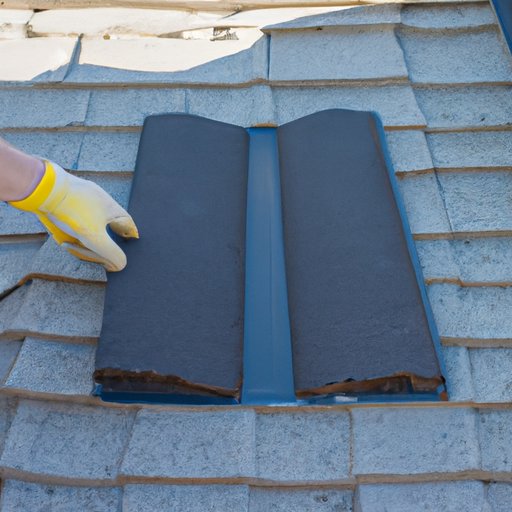
Before beginning the installation process, it is important to understand the layout of the roof. Make sure that all measurements are correct before laying down underlayment. Then, install the starter shingles according to the manufacturer’s instructions. Be sure to overlap each shingle to ensure a secure fit.
How to Install Starter Shingles: A Comprehensive Guide
When installing starter shingles, there are a few key steps you should follow. First, choose the right type of shingles for your roof. It is also important to check local building codes to ensure that your roof meets all legal requirements. Finally, follow the manufacturer’s guidelines when installing the shingles.
From Start to Finish: How to Install Starter Shingles
Begin by inspecting the roof to make sure that it is in good condition. Lay down the underlayment, then install the starter shingles. When the installation is complete, do a final inspection to ensure that everything was done correctly.
Conclusion
Installing starter shingles is an important part of any roofing project. By following the steps outlined in this article, you can ensure that your roof is installed correctly and will last for years to come. For more information, be sure to consult the manufacturer’s instructions and local building codes.
(Note: Is this article not meeting your expectations? Do you have knowledge or insights to share? Unlock new opportunities and expand your reach by joining our authors team. Click Registration to join us and share your expertise with our readers.)