Introduction
Cultured stone is a popular material used in exterior and interior design. It offers a variety of textures, colors, and shapes that can be used to create stunning design elements. Installing cultured stone is relatively easy and can be done by even the most novice do-it-yourselfer. In this article, we’ll provide a step-by-step guide to installing cultured stone, as well as some tips for a successful DIY installation.
What is Cultured Stone?
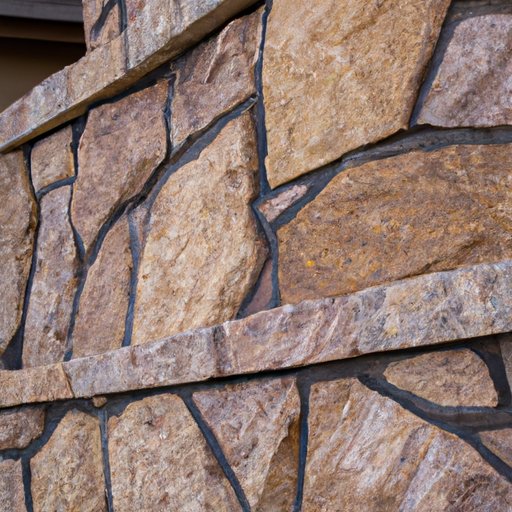
Cultured stone is a manufactured stone product that is made from a combination of concrete, sand, and other aggregates. The mixture is then poured into molds to form various shapes and sizes of stones. These stones are then cured and treated with a sealant to give them a natural look and feel. Cultured stone is available in a wide range of colors and textures, making it an ideal choice for both exterior and interior design projects.
Benefits of Installing Cultured Stone
Installing cultured stone can add beauty and character to any home or landscape. It is durable and low maintenance, so it will last for years with minimal upkeep. Cultured stone is also much lighter than natural stone, making it easier to install. Additionally, cultured stone is more affordable than natural stone, making it a great option for those on a budget.
Step-by-Step Tutorial on Installing Cultured Stone
Installing cultured stone is not a difficult process, but it does require some preparation and planning. Here are the steps you need to take for a successful installation:
Preparing Your Space
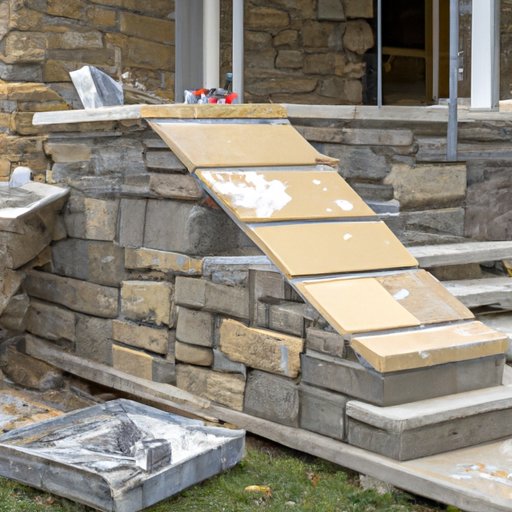
The first step in installing cultured stone is to prepare the space. This includes measuring the area where the stone will be installed and marking off the boundaries. You should also remove any existing walls, flooring, or other materials that could interfere with the installation. Once the space is clear, you can begin laying down a bed of mortar or a foundation of sand. This will help secure the stones in place.
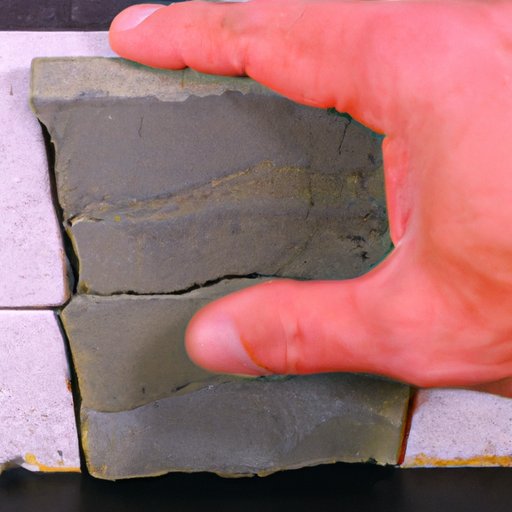
Measuring and Cutting the Stones
Once the space is prepared, you can begin measuring and cutting the stones to fit your desired layout. To ensure a secure fit, use a tape measure and carpenter’s square to make sure each stone is cut correctly. If you are using a circular saw, use a diamond blade to ensure a clean cut.
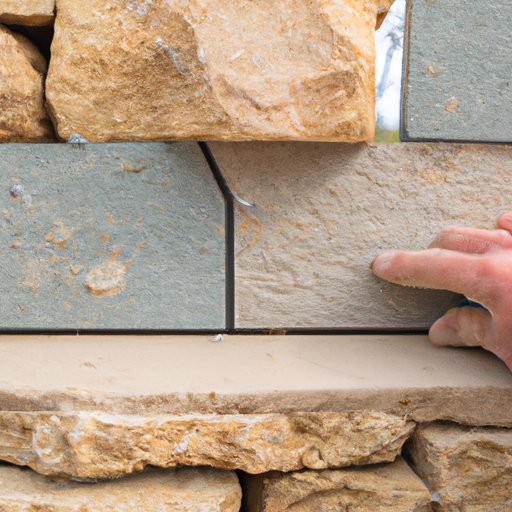
Applying Mortar and Setting the Stones
Once the stones are cut, you can begin applying the mortar. Use a trowel to spread the mortar evenly across the surface. Then, place the stones in the desired layout and press down to ensure a secure fit. Make sure to leave a small gap between each stone to allow for expansion and contraction.
Cleaning and Sealing the Stones
Once the stones are set, you can begin cleaning and sealing them. Use a brush and mild detergent to remove any dirt or debris. Then, use a sealant designed specifically for cultured stone to protect it from weathering and staining. Allow the sealant to dry completely before using the area.
How to Install Cultured Stone: A Visual Guide
Installing cultured stone is a straightforward process that can be completed in just a few simple steps. Follow along with this visual guide to learn how to install cultured stone like a pro.
Preparing Your Space
The first step in installing cultured stone is to prepare the space. Measure the area where the stone will be installed and mark off the boundaries. Remove any existing walls, flooring, or other materials that could interfere with the installation. Once the space is clear, lay down a bed of mortar or a foundation of sand.
Measuring and Cutting the Stones
Once the space is prepared, you can begin measuring and cutting the stones to fit your desired layout. Use a tape measure and carpenter’s square to make sure each stone is cut correctly. If you are using a circular saw, use a diamond blade to ensure a clean cut.
Applying Mortar and Setting the Stones
Once the stones are cut, you can begin applying the mortar. Use a trowel to spread the mortar evenly across the surface. Then, place the stones in the desired layout and press down to ensure a secure fit. Leave a small gap between each stone to allow for expansion and contraction.
Cleaning and Sealing the Stones
Once the stones are set, you can begin cleaning and sealing them. Use a brush and mild detergent to remove any dirt or debris. Then, use a sealant designed specifically for cultured stone to protect it from weathering and staining. Allow the sealant to dry completely before using the area.
DIY Tips for Installing Cultured Stone
Installing cultured stone is a relatively easy process, but there are a few things you should keep in mind if you’re doing it yourself. Here are some tips for a successful DIY installation:
Gather the Right Materials
Before beginning the installation process, make sure you have all the necessary materials. This includes the stones, mortar, sealant, tools, and any other supplies required for the job. Having the right materials on hand will ensure the project goes smoothly.
Consider Professional Help
If you’re not confident in your ability to install cultured stone, it may be best to seek professional help. An experienced installer will be able to complete the job quickly and efficiently, ensuring a quality result.
Take Safety Precautions
When installing cultured stone, it’s important to take safety precautions. Wear protective gear such as gloves, goggles, and a dust mask when handling stones or mortar. Additionally, use caution when using power tools, such as a circular saw, to avoid injury.
Installing Cultured Stone in 4 Easy Steps
Installing cultured stone is a straightforward process that can be completed in just four easy steps. Here’s a quick overview of what you need to do:
Prepare Your Space
Measure the area where the stone will be installed and mark off the boundaries. Remove any existing walls, flooring, or other materials that could interfere with the installation. Lay down a bed of mortar or a foundation of sand.
Measure and Cut the Stones
Use a tape measure and carpenter’s square to make sure each stone is cut correctly. If you are using a circular saw, use a diamond blade to ensure a clean cut.
Apply Mortar and Set the Stones
Spread the mortar evenly across the surface. Place the stones in the desired layout and press down to ensure a secure fit. Leave a small gap between each stone to allow for expansion and contraction.
Clean and Seal the Stones
Use a brush and mild detergent to remove any dirt or debris. Apply a sealant designed specifically for cultured stone to protect it from weathering and staining. Allow the sealant to dry completely before using the area.
An Overview of the Process for Installing Cultured Stone
Installing cultured stone requires some preparation and planning, but the process itself is relatively simple. Here’s an overview of the steps you’ll need to take:
Preparing Your Space
Measure the area where the stone will be installed and mark off the boundaries. Remove any existing walls, flooring, or other materials that could interfere with the installation. Lay down a bed of mortar or a foundation of sand.
Measuring and Cutting the Stones
Use a tape measure and carpenter’s square to make sure each stone is cut correctly. If you are using a circular saw, use a diamond blade to ensure a clean cut.
Applying Mortar and Setting the Stones
Spread the mortar evenly across the surface. Place the stones in the desired layout and press down to ensure a secure fit. Leave a small gap between each stone to allow for expansion and contraction.
Cleaning and Sealing the Stones
Use a brush and mild detergent to remove any dirt or debris. Apply a sealant designed specifically for cultured stone to protect it from weathering and staining. Allow the sealant to dry completely before using the area.
A Beginner’s Guide to Installing Cultured Stone
Installing cultured stone is a relatively easy process, but there are a few things you should keep in mind if you’re new to this type of work. Here’s a beginner’s guide to installing cultured stone:
Gather the Right Materials
Before beginning the installation process, make sure you have all the necessary materials. This includes the stones, mortar, sealant, tools, and any other supplies required for the job. Having the right materials on hand will ensure the project goes smoothly.
Consider Professional Help
If you’re not confident in your ability to install cultured stone, it may be best to seek professional help. An experienced installer will be able to complete the job quickly and efficiently, ensuring a quality result.
Take Safety Precautions
When installing cultured stone, it’s important to take safety precautions. Wear protective gear such as gloves, goggles, and a dust mask when handling stones or mortar. Additionally, use caution when using power tools, such as a circular saw, to avoid injury.
Understand the Process
It’s important to understand the process for installing cultured stone before you begin. Take the time to familiarize yourself with the steps involved, as well as any special techniques or tools that may be needed. This will help ensure a successful installation.
What You Need to Know Before Installing Cultured Stone
Before beginning an installation of cultured stone, there are a few things you should consider. Here’s what you need to know before installing cultured stone:
Select the Right Type of Stone
Cultured stone comes in a variety of shapes, sizes, and colors. Make sure to select the right type of stone for your project. Consider the size and shape of the area you are working with, as well as the overall design aesthetic.
Choose the Right Color
Cultured stone is available in a wide range of colors and textures. Choose a color that will complement the surrounding area and enhance the overall design. Consider the color palette of the room, as well as the lighting conditions.
Decide on the Layout
Before starting the installation, decide on the layout of the stones. Think about the pattern or design you want to achieve, and draw out a plan on paper. This will help you visualize the end result and make sure everything is placed correctly.
Prepare the Surface
Make sure the surface where the stones will be installed is clean and level. Use a trowel to smooth out any bumps or uneven areas. This will ensure the stones are properly secured and that the finished product looks its best.
Conclusion
Installing cultured stone is a relatively easy process that can be done by even the most novice do-it-yourselfer. With the right materials and a bit of patience, you can create a beautiful and unique design element for your home. Be sure to follow the steps outlined in this article for a successful installation.
(Note: Is this article not meeting your expectations? Do you have knowledge or insights to share? Unlock new opportunities and expand your reach by joining our authors team. Click Registration to join us and share your expertise with our readers.)