Introduction
Folding a fitted sheet can be one of the most daunting tasks of doing laundry. It’s often seen as a mysterious art form that only a few people can master. But fear not – it’s actually pretty easy once you know how! In this article, we’ll provide a comprehensive guide on how to fold a fitted sheet. We’ll start by defining what a fitted sheet is and discussing some of the common struggles associated with folding them. We’ll then move on to step-by-step instructions, a video tutorial, illustrative diagrams, an infographic, a listicle, and a Q&A format.
Definition of Fitted Sheet
A fitted sheet is a type of bedding that is designed to fit the mattress snugly. It typically has elastic all around the edges, which helps keep the sheet in place. Fitted sheets come in various sizes, so it’s important to make sure you have the correct size for your mattress.
Overview of Common Struggles
Folding a fitted sheet can be quite a challenge. According to a survey conducted by The Sleep Judge, “68% of respondents said they find fitting sheets difficult.” Part of the difficulty is due to the fact that the sheet is elasticized, making it harder to maneuver. Additionally, the sheet is large and bulky, making it difficult to fold. Finally, many people don’t know where to start when it comes time to fold the sheet.
Step-by-Step Instructions
Now that we’ve discussed the common struggles associated with folding a fitted sheet, let’s take a look at the step-by-step instructions. These instructions will help you achieve a neat and tidy folded sheet in no time.
Laying Out the Sheet
The first step is to lay out the sheet on a flat surface. This could be a bed, table, or floor. Make sure the sheet is completely smooth and free of wrinkles.
Finding the Corners
Once the sheet is laid out, it’s time to find the corners. Locate the two elastic corners on each side of the sheet. These are usually marked with a label or tag.
Folding in Half
Next, fold the sheet in half, matching up the two elastic corners. This will make it easier to manage the sheet and make the next steps easier.
Tucking in the Sides
Now, tuck in the sides of the sheet. Start with one side, making sure the elastic corner is tucked in securely. Repeat this process with the other side. Once both sides are tucked in, the sheet should be neatly folded.
Video Tutorial
If you prefer learning through videos, there are plenty of tutorials available online. Here is one example: How to Fold a Fitted Sheet. This video provides a detailed walkthrough of the process, including tips and tricks. The video also includes visuals, which can be helpful for visual learners.
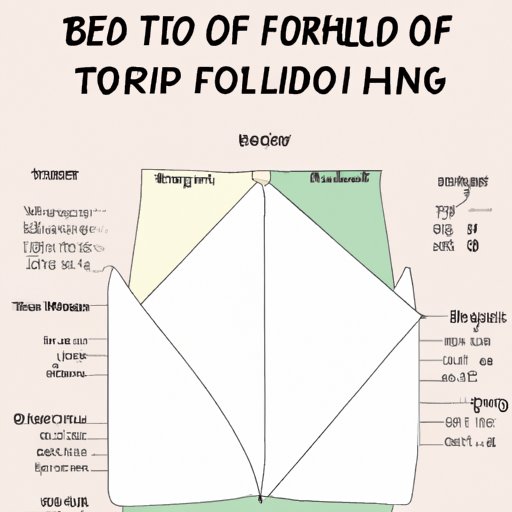
Illustrative Diagrams
In addition to a video tutorial, illustrative diagrams can be helpful when learning how to fold a fitted sheet. These diagrams provide a visual representation of the steps, as well as labeled areas that correspond to the different parts of the sheet. For example, the diagram may include labels for the elastic corners, sides, and center.
Infographic
An infographic is another great way to learn how to fold a fitted sheet. An infographic provides an overview of the process and offers time-saving tips. It also includes visuals, such as images and diagrams, which can be helpful for visual learners.
Listicle
A listicle is a type of article that presents information in a list format. When it comes to folding a fitted sheet, a listicle can be helpful because it can provide pros and cons of fitting sheets, as well as benefits of folding them properly.
Q&A Format
Finally, a Q&A format can be useful when learning how to fold a fitted sheet. This format allows readers to ask questions, such as “What are the benefits of folding a fitted sheet?” and “How do I know when the sheet is properly folded?” Answers to these questions can help clarify any confusion and provide additional insight into the process.
Conclusion
Folding a fitted sheet can be a challenging task, but it doesn’t have to be. With the help of this comprehensive guide, you can now confidently fold a fitted sheet like a pro. We’ve provided step-by-step instructions, a video tutorial, illustrative diagrams, an infographic, a listicle, and a Q&A format.
(Note: Is this article not meeting your expectations? Do you have knowledge or insights to share? Unlock new opportunities and expand your reach by joining our authors team. Click Registration to join us and share your expertise with our readers.)