Introduction
A car starter motor is an essential component of a vehicle that helps kickstart the engine. Without a working starter motor, the car will not be able to start. If you are experiencing difficulty starting your car, it may be due to a faulty car starter motor. Fortunately, it is possible to fix a car starter motor at home with the right knowledge and tools.

Prepare the Necessary Tools and Supplies
Before you begin, make sure to gather the necessary tools and supplies. You will need a socket wrench set, a flathead screwdriver, a pair of pliers, a multimeter, and a can of electrical contact cleaner. Additionally, you may want to have a flashlight handy in case you need to see into tight spaces.
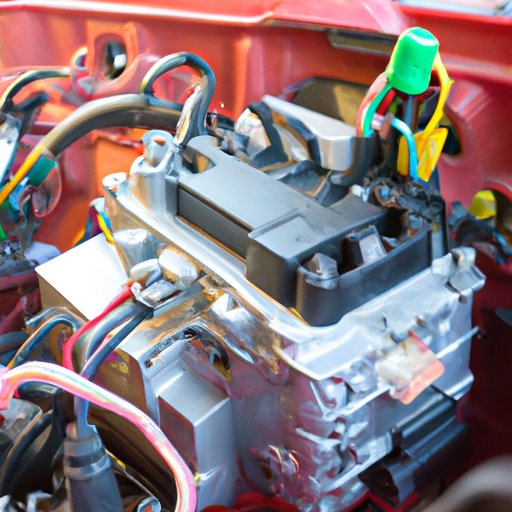
Locate the Car Starter Motor
The first step is to locate the car starter motor. It is typically located in the engine bay near the battery. It should have two wires connected to it – one positive and one negative – and it should also be bolted down with a few screws.

Test the Voltage of the Car Starter
Once you have located the car starter motor, the next step is to test the voltage. To do this, you will need to use a multimeter. Connect the multimeter to the positive and negative terminals of the car starter motor and turn it on. The reading should be between 9-11 volts. If the reading is below 9 volts, then the car starter motor needs to be replaced.
Disconnect the Wiring from the Car Starter
Once you have tested the voltage, the next step is to disconnect the wiring from the car starter motor. Make sure to take all necessary safety precautions before doing this. Unscrew the bolts holding the car starter motor in place and carefully remove the wires. Make sure to note which wire goes where so that you can reconnect them correctly later.
Clean and Inspect the Car Starter for Damage
Once the wiring has been disconnected, the next step is to clean and inspect the car starter for any damage. Start by cleaning the outside of the car starter motor with a damp cloth. Then, inspect the connections for any signs of corrosion or wear and tear. If there is any visible damage, then the car starter motor needs to be replaced.

Reinstall the Car Starter Motor and Reconnect the Wiring
Finally, you can reinstall the car starter motor and reconnect the wiring. Make sure to follow the instructions carefully and double check the connections. Use the socket wrench to tighten the bolts securely. Once everything is in place, turn on the ignition and see if the car starts.
Conclusion
In conclusion, fixing a car starter motor at home can be done with the right knowledge and tools. By following the steps outlined above, you can diagnose and repair the issue quickly and easily. Remember to always take safety precautions when handling the car starter motor and its wiring.
(Note: Is this article not meeting your expectations? Do you have knowledge or insights to share? Unlock new opportunities and expand your reach by joining our authors team. Click Registration to join us and share your expertise with our readers.)