
Introduction
Science bottles are containers used for storing and carrying liquids, such as chemicals and other hazardous materials. They come in various shapes, sizes and colors, and can be found in laboratories, schools and hospitals. Drawing an accurate science bottle is not only a great way to practice your artistic skills, but it can also help to create a more realistic representation of a laboratory environment.
This article provides a comprehensive step-by-step guide on how to draw a science bottle, from gathering materials and sketching outlines to adding shading and details. It also includes a beginner’s guide, a master’s guide and an illustrated guide, to help you visualize the perfect science bottle.
Step-by-Step Tutorial: How to Draw a Science Bottle
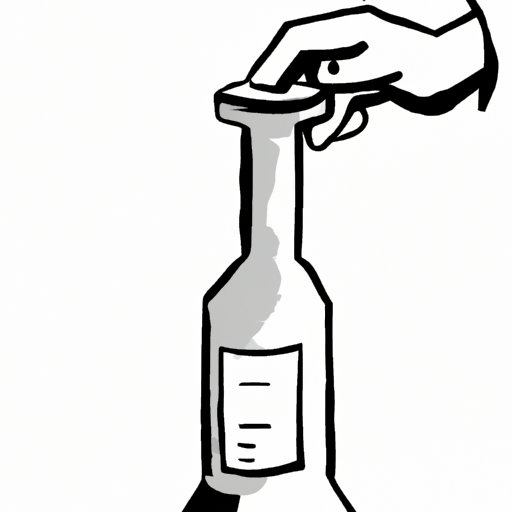
The first step in drawing a science bottle is to gather the necessary materials. This includes paper, pencils, erasers, markers, colored pencils and any other supplies that may be needed. Once the materials are gathered, the next step is to sketch out the outlines of the bottle. Start by drawing a rectangle or oval shape, then add additional details such as the handle and lid.
Once the outlines are complete, it’s time to start adding shading and details. Use light pencil strokes to create shadows and highlights, and use different shades of color to make the bottle look more realistic. Finally, use markers or colored pencils to add labels and other details to the bottle.
The last step is to add the final touches. This includes adding texture to the bottle with lines, dots and other patterns. It’s also important to add any logos or symbols that may be associated with a particular brand of science bottle. Once these steps are completed, the science bottle should be ready to display.
A Beginner’s Guide to Drawing a Science Bottle
If you’re just starting out with drawing a science bottle, it’s important to understand basic proportions. Before beginning any drawing, it’s helpful to measure the dimensions of the bottle and sketch out the shape accordingly. This will ensure that the bottle looks realistic and proportional.
It’s also helpful to find inspiration from existing science bottles. Look at pictures online or in magazines to get an idea of what a realistic science bottle looks like. Once you’ve found some inspiration, try practicing with simple geometric shapes. This will help you become familiar with the shapes and forms that make up a science bottle.
Mastering the Art of Drawing a Science Bottle
Once you’ve become comfortable with the basics of drawing a science bottle, you can start to focus on mastering the art. The key to mastering this art form is to break down complexity into simple steps. Start by focusing on the basics, such as proportions and shading, then move on to more complex elements, such as textures and labels.
It’s also important to learn from mistakes. Don’t be afraid to experiment and make mistakes – this is part of the learning process. As you practice, you’ll become more familiar with different techniques and discover your own style for drawing a science bottle.
An Illustrated Guide to Drawing a Science Bottle
For those who need a visual guide, there are plenty of resources available online. Using reference images is a great way to get an idea of what a realistic science bottle looks like. You can also create your own guide by taking a picture of a science bottle and tracing its outlines. Additionally, referencing popular examples from art galleries or books can be a great source of inspiration.
Visualizing the Perfect Science Bottle: How to Draw It
When drawing the perfect science bottle, it’s important to establish a clear image before beginning. Visualize the bottle in your mind’s eye and take note of the details that make it unique. Once you have a clear image, you can start to utilize color theory to bring the bottle to life. Consider the range of colors that would work best with the bottle and choose accordingly.
Finally, when all the details are in place, it’s time to add the finishing touches. This could include adding a few drops of liquid inside the bottle or highlighting certain areas with a brighter color. These small details can really make the science bottle stand out and give it a more realistic appearance.
Conclusion
Drawing a science bottle is a great way to practice and explore your artistic skills. This article has provided a comprehensive step-by-step guide on how to draw a science bottle, from gathering materials and sketching outlines to adding shading and details. It has also included a beginner’s guide, a master’s guide and an illustrated guide, to help you visualize the perfect science bottle.
With patience, practice and a bit of creativity, anyone can learn to draw a science bottle. So don’t be afraid to experiment and make mistakes – this is part of the learning process. And remember, the key to mastering this art form is to break down complexity into simple steps.
(Note: Is this article not meeting your expectations? Do you have knowledge or insights to share? Unlock new opportunities and expand your reach by joining our authors team. Click Registration to join us and share your expertise with our readers.)