Introduction
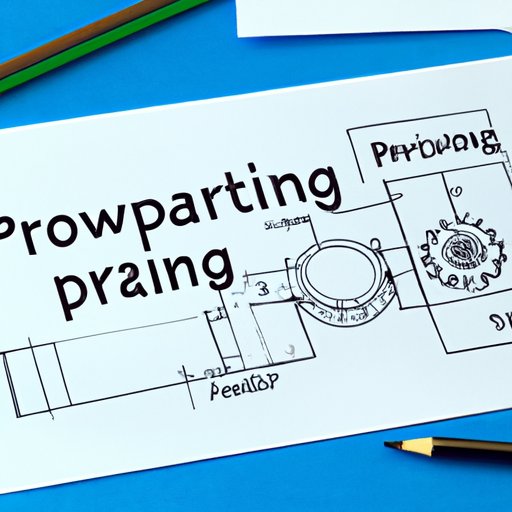
If you’re an inventor, you need to have a blueprint of your invention. A blueprint acts as a plan, it outlines your concept, explains how it works, and guides its development. A well-drawn blueprint can streamline the design process and make it easier for manufacturers to create a prototype. The importance of drawing a blueprint cannot be overemphasized; it’s the difference between an idea and a final product.
This article aims to provide a comprehensive guide on how to draw a blueprint for your invention. From finding inspiration to outlining a final blueprint, we’ll cover everything you need to know to get started.
A Step-By-Step Guide: How to Draw a Blueprint for Your Invention
Finding Inspiration
Before you start drawing your blueprint, you need to have an idea. Inspiration can come from anywhere, from personal challenges to environmental problems, or from technology to art. The key is to identify a problem or need that you can solve through your invention. Once you have an idea, research to ensure similar solutions don’t exist, and refine the concept to make it more robust.
Conducting Research
After identifying your concept, research to see if a similar solution exists. Look for patents to determine if someone has already patented a similar idea. You can also conduct a market analysis to determine if the demand exists. Additionally, research the legal requirements for patenting your invention.
Creating Sketches
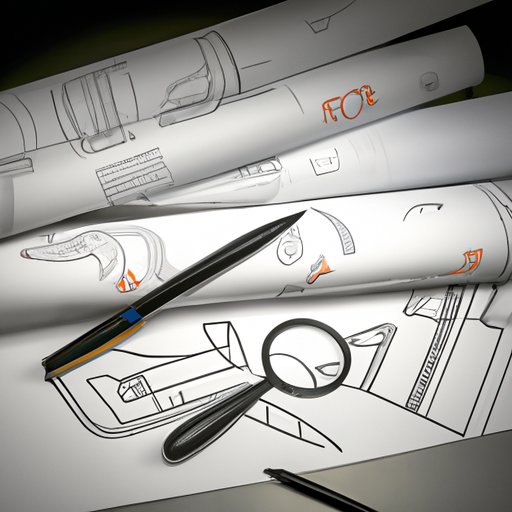
Once you’ve conducted research, create sketches of your invention. Sketching is an effective way of visualizing your concept, identifying problems, and refining your idea. Draw different views of your invention, annotate and label where necessary, and ensure that you incorporate all the details. Take your time drawing and revising the sketches to ensure they convey the correct information.
Outlining the Final Blueprint
After completing the sketches, create a final blueprint with details. The blueprint should clearly outline your invention’s key features, functionality, and materials. Provide measurements and dimensions where necessary, and make sure the blueprint is easy to read. A concise and well-drawn blueprint can make it easier to create a prototype.
The Importance of Detail in Invention Blueprints: Practical Tips and Tricks
Explanation of Why Detail Matters
Detail is crucial in a blueprint because it provides clarity, accuracy, and reduces guesswork. It’s important to include all the necessary details in the blueprint to avoid any confusion during the manufacturing process. A well-detailed blueprint outlines everything in your invention, including its operation, construction, and tolerances.
Tips for Adding Detail Efficiently
To add detail efficiently, identify all the parts and components of your invention. If there are parts that can be purchased off the shelf, include their specifications. Additionally, consider using symbols to indicate tolerance levels and notes to clarify any critical features.
Tricks for Including Necessary Information without Overwhelming the Blueprint
It’s essential to include all the necessary information without overcrowding the blueprint. One way to do this is by using different views, so each view has only the relevant information. You can also use details only where necessary, so they don’t take up too much space. Finally, make use of callouts to provide additional information where context is needed.
DIY Invention Design: Drawing a Blueprint for Beginners
Explanation of the Term “DIY Invention Design”
DIY invention design involves inventors creating blueprints for their concepts. The process is hands-on, and you don’t have to rely on a professional designer to get started.
Advice for Novice Inventors on How to Create Their Own Blueprints
As a novice inventor, start by drawing your idea as accurately as possible. Considerations should include the size, shape, and materials. Then, refine the concept, focus on the user-experience, and create a rough or finalized sketch. With some basic design principles, you’re on your way to drawing a blueprint for your invention.
Basic Guidelines for Drawing a Working Blueprint
To draw a working blueprint, always begin with the basics. Start by drawing the invention’s basic shape and then add more detail. Incorporate all the necessary parts, label each component, and provide measurements. Providing precise and accurate information will make it easier to develop a prototype.
Common Mistakes to Avoid When Drawing a Blueprint for Your Invention
Explanation of Common Mistakes Inventors Make When Designing and Drawing Their Blueprints
Common mistakes include neglecting or missing vital information in the drawing, like measurements, dimensions, or tolerance levels. Also, failing to consider the manufacturing process or not considering the function from the user’s perspective. Incomplete drawings and unclear labeling may also be difficult to follow.
Tips for Avoiding Those Mistakes
To avoid these mistakes, adopt the mindset of a manufacturer, be as detailed as possible, and consider the end-user perspective. Start with a rough sketch and refine it as you add all the details. Finally, proofread your drawings to ensure that there are no errors and that they are easy to understand.
Repercussions of Making Mistakes in the Blueprint Process
Errors or omissions in your blueprint can lead to poor-quality prototypes, manufacturing failures, and legal problems. Ensure your blueprint is as accurate as possible to avoid any mistakes winding up in the final product.
3D Modeling vs. Hand Drawing: Pros and Cons for Invention Blueprints
Explanation of the Differences Between 3D Modeling and Hand Drawing
Hand drawings are 2D, and they provide the foundation for the invention’s design while 3D modeling provides a way to visualize the design concept in a 3D form. 3D modeling’s high level of detail makes it easier to understand how the invention works, allowing problems to be identified before production.
Pros and Cons of Each Method
Hand drawings have a lower barrier to entry and are a faster way to capture an idea. However, they lack depth and can be challenging to read for inexperienced or untrained personnel. On the other hand, 3D modeling software comes with a steep learning curve and typically requires more time to create. However, they provide 3D representation and allow more down-stream prototyping.
Suggestions on How to Decide Which Method to Use
The choice between hand drawings and 3D modeling depends on the inventor’s skill level and the project’s complexity. Experienced inventors may prefer hand drawing, while those with low technical ability may benefit from 3D modeling software.

Simplifying the Process: How to Draw a Blueprint for Your Invention in One Day
Explanation That Drawing a Blueprint Doesn’t Have to Be a Long Process
Drawing a blueprint can take a long time, but it doesn’t have to. With the right planning, you can achieve this feat in less than a day.
Outline of Steps Necessary to Complete a Blueprint in One Day
To create a blueprint in one day, start with an early morning brainstorming session to focus your ideas. Then create a rough sketch and refine it into a final drawing. Spend the remainder of the day polishing the finished blueprint and proofreading it before sharing it with your team.
Tips for Staying on Track
To stay on track when drawing a blueprint in one day set attainable goals, break up your work into manageable chunks, and be realistic about how much time each task will take. Additionally, take rest breaks, avoid distractions like social media, and keep a clear head.
Top Tools and Software for Drawing Invention Blueprints: A Comprehensive Review
Explanation of the Importance of Using Good Software and Tools in Blueprint Creation
Using the right tools and software for your blueprint creation can improve efficiency, reduce errors, and lead to a better product design. Good software and tools can also help you produce high-quality designs that are easier to share with your team.
A List of the Best Tools and Software for Inventors and Designers
The list of the best software and tools for drawing and designing invention blueprints includes SketchUp, SolidWorks, Fusion 360, Inventor, AutoCAD, and Tinkercad.
Detailed Descriptions of Each Tool or Software’s Features and Benefits
Sketchup includes 3D modeling, drafting, and printing functions. Solidworks offers advanced 3D and metal designing, Fusion 360 offers CAD design, simulation, and manufacturing, Inventor is suited for mechanical and product designs. AutoCAD allows design productivity through extensive design features. Finally, Tinkercad is well-suited for beginners, with a simple interface and scope for sculpting, designing, and modeling.
Conclusion
In conclusion, drawing an invention blueprint can seem intimidating, but with some guidance, anyone can do it. The importance of creating a blueprint for your invention cannot be overstated. Don’t rush the process, take your time to ensure you capture everything necessary, and consult your team if you have one. With the information in this article and the right tools at your disposal, you should be well on your way to creating a successful invention.
(Note: Is this article not meeting your expectations? Do you have knowledge or insights to share? Unlock new opportunities and expand your reach by joining our authors team. Click Registration to join us and share your expertise with our readers.)
