Introduction
Cleaning out your Litter Robot can seem like a daunting task, but with the right supplies and a little bit of know-how, it doesn’t have to be. This article will provide a comprehensive guide to cleaning out your Litter Robot, from the basics of disassembly and waste disposal to deep cleaning tips and tricks.
First, let’s start with a definition. A Litter Robot is an automated litter box that self-cleans after each use. It works by sensing when a cat has exited the box and then rotating to sift the litter and separate the waste from the clean litter. The waste is then deposited into a drawer for easy disposal. This clever device helps make cleaning up after cats easier and less time-consuming.
Step-by-Step Guide to Cleaning Your Litter Robot
Now that you know what a Litter Robot is, let’s get down to the basics of cleaning it. Here’s a step-by-step guide to cleaning your Litter Robot:
1. Disassemble the Litter Robot
The first step is to remove the dome cover and the waste drawer. Be sure to do this carefully so as not to damage any of the components. Once the dome cover and waste drawer are removed, you can begin to disassemble the Litter Robot further.
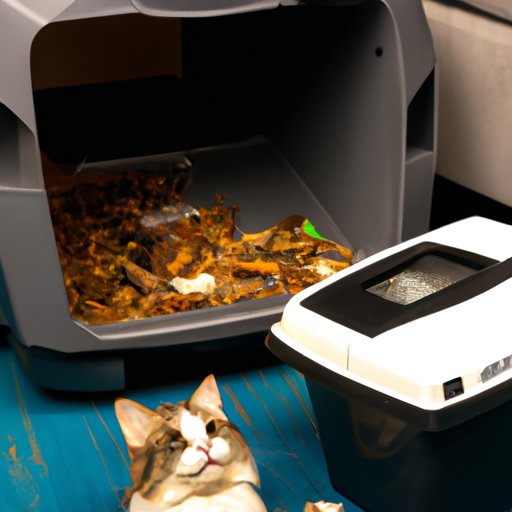
2. Remove the Waste and Dispose of It Properly
Once the waste drawer is removed, take it outside and empty it into a trash bag or other appropriate receptacle. Be sure to dispose of the waste properly, as it can contain parasites or bacteria that could be harmful if ingested or touched. For example, according to a study by the University of Georgia College of Veterinary Medicine, “[t]he prevalence of toxoplasmosis in cats is estimated to be 10% to 45%, and the shedding of oocysts in the feces can be a source of infection for people” (Source).
3. Clean the Parts with Soap and Water
Once the waste has been disposed of, it’s time to start cleaning the parts of the Litter Robot. Start by wiping down the dome cover and waste drawer with a damp cloth and some mild dish soap. Be sure to rinse off any soap residue before reassembling the Litter Robot.
4. Dry the Parts and Reassemble the Litter Robot
Once all the parts have been cleaned and rinsed, dry them thoroughly with a clean cloth and then begin to reassemble the Litter Robot. Make sure everything is securely fastened before plugging it back in and testing it out.
How to Keep Your Litter Robot Looking Its Best
Now that you’ve got the basics of cleaning your Litter Robot down, let’s look at some tips and tricks for keeping it looking its best. Here are some essential steps to follow:
1. Regular Cleanings
Regular cleanings are key to keeping your Litter Robot looking its best. Aim to clean it at least once a week to prevent build-up of waste and ensure the unit is running efficiently. During each cleaning, be sure to disassemble the Litter Robot, remove the waste and dispose of it properly, and clean the parts with soap and water.
2. Clean the Exterior
In addition to regular cleanings, it’s important to also clean the exterior of the Litter Robot. Use a damp cloth and some mild dish soap to wipe away dust and dirt from the outside of the unit. This will help keep it looking its best and prevent the accumulation of debris.
3. Change the Filters
Most Litter Robots come with replaceable filters, which should be changed regularly. Depending on the model, you may need to change the filter every few months or so. Check the manufacturer’s instructions for more information on how often to replace the filter.
Tips and Tricks for Maintaining Your Litter Robot
In addition to regular cleanings and changing the filter, there are some other tips and tricks you can use to help maintain your Litter Robot. Here are some of the most important ones:
1. Use Appropriate Litter
Using the wrong type of litter can cause problems with your Litter Robot. Be sure to use only clumping litter that is non-scented and unscented. Avoid using litter that contains clay, as this can clog the system and prevent it from working properly.
2. Empty the Waste Drawer
The waste drawer should be emptied regularly to prevent the accumulation of waste. Aim to empty it at least once a week, or more often if you have multiple cats using the Litter Robot. This will help keep the system running smoothly and reduce odors.
3. Adjust Sensitivity Settings
Most models of Litter Robot have adjustable sensitivity settings, which can help ensure that the system is working as efficiently as possible. If you find that the Litter Robot isn’t sensing when your cat has exited the box, try adjusting the sensitivity settings to see if this improves performance.
4. Check for Blockages
If the Litter Robot isn’t working properly, it could be due to a blockage in the system. To check for blockages, remove the dome cover and inspect the waste drawer and motor for any signs of obstruction. If you find any blockages, gently remove them and then test the system again.
Deep Cleaning Your Litter Robot: A Comprehensive Guide
Sometimes, your Litter Robot may need a more thorough cleaning than just the basics. Here’s a comprehensive guide to deep cleaning your Litter Robot:
1. Disassemble the Litter Robot
The first step is to remove the dome cover and the waste drawer. Be sure to do this carefully so as not to damage any of the components. Once the dome cover and waste drawer are removed, you can begin to disassemble the Litter Robot further.
2. Remove and Replace the Filter
Next, remove the filter from the motor and replace it with a new one. Be sure to use the correct type of filter for your model of Litter Robot. You can find the correct type of filter listed in the manufacturer’s instructions.
3. Clean the Tray and Liner
After replacing the filter, remove the tray and liner from the Litter Robot and wash them in hot, soapy water. Scrub away any caked-on litter or waste and rinse the tray and liner thoroughly before replacing them.
4. Clean the Motor and Electronics
Next, clean the motor and electronics with a damp cloth and some mild dish soap. Be sure to avoid getting any water or soap into the motor or electronics, as this could damage them. After cleaning, dry the motor and electronics completely.
5. Reassemble the Litter Robot
Once everything is clean and dry, it’s time to begin reassembling the Litter Robot. Start by putting the tray and liner back in place, followed by the filter, dome cover, and waste drawer. Make sure everything is securely fastened before plugging it back in and testing it out.
Cleaning Out Your Litter Robot: What You Need to Know
Cleaning out your Litter Robot doesn’t have to be complicated. Here are some essential things to keep in mind when cleaning out your Litter Robot:
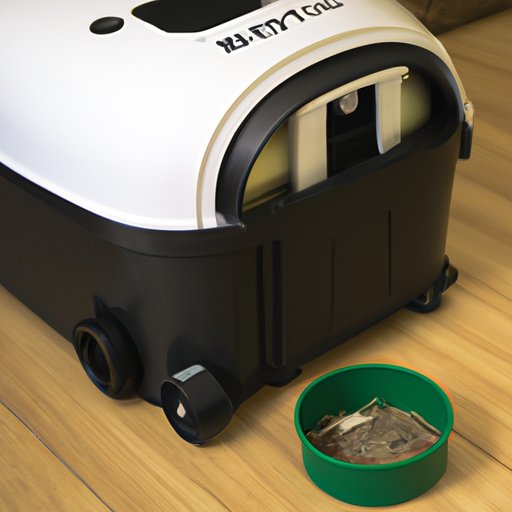
1. Gather the Necessary Supplies
Before you begin, gather the necessary supplies, such as a damp cloth, mild dish soap, and a trash bag. Having the right supplies on hand will make the process much easier.
2. Disassemble the Litter Robot
The first step is to remove the dome cover and the waste drawer. Be sure to do this carefully so as not to damage any of the components. Once the dome cover and waste drawer are removed, you can begin to disassemble the Litter Robot further.
3. Clean the Parts
Once the waste has been disposed of, it’s time to start cleaning the parts of the Litter Robot. Start by wiping down the dome cover and waste drawer with a damp cloth and some mild dish soap. Be sure to rinse off any soap residue before reassembling the Litter Robot.
4. Put Everything Back Together
Once all the parts have been cleaned and rinsed, dry them thoroughly with a clean cloth and then begin to reassemble the Litter Robot. Make sure everything is securely fastened before plugging it back in and testing it out.
Essential Maintenance Tips for Your Litter Robot
In addition to regular cleanings, there are some other essential maintenance tips to keep your Litter Robot looking its best. Here are some of the most important ones:
1. Clean the Tray Regularly
Be sure to clean the tray of the Litter Robot regularly to keep it free of waste and debris. Aim to clean the tray at least once a week, or more often if you have multiple cats using the Litter Robot.
2. Monitor Sensor Settings
Most models of Litter Robot have adjustable sensor settings. If you find that the Litter Robot isn’t sensing when your cat has exited the box, try adjusting the sensitivity settings to see if this improves performance.
3. Replace the Filter Often
Most Litter Robots come with replaceable filters, which should be changed regularly. Depending on the model, you may need to change the filter every few months or so. Check the manufacturer’s instructions for more information on how often to replace the filter.
4. Clean the Exterior
In addition to regular cleanings, it’s important to also clean the exterior of the Litter Robot. Use a damp cloth and some mild dish soap to wipe away dust and dirt from the outside of the unit. This will help keep it looking its best and prevent the accumulation of debris.
Conclusion
Cleaning out your Litter Robot doesn’t have to be intimidating. With the right supplies and a little bit of know-how, it can be done quickly and easily. Remember to always dispose of the waste properly, clean the parts with soap and water, and monitor the sensor settings for optimal performance. Following these tips and tricks will help keep your Litter Robot looking its best for years to come.
(Note: Is this article not meeting your expectations? Do you have knowledge or insights to share? Unlock new opportunities and expand your reach by joining our authors team. Click Registration to join us and share your expertise with our readers.)