Introduction
A starting capacitor is a device used in electric motors to help them start up. The starting capacitor helps the motor to overcome the initial inertia of the rotor and get it spinning. It is usually found inside the housing of the motor, and in some cases, it may be located outside the motor. Testing the starting capacitor is important because it ensures that the motor is functioning properly and that it will not cause any damage to other components.
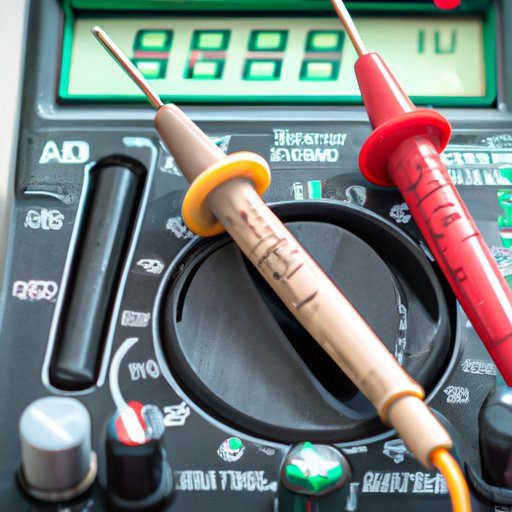
Use a Digital Multimeter to Test the Starting Capacitor
The first step in testing the starting capacitor is to use a digital multimeter. This device can measure the current and voltage of the starting capacitor and give you an accurate reading of its condition. Here’s how to set up the digital multimeter and perform the test:
- Set the digital multimeter to AC volts.
- Connect one lead of the multimeter to the positive terminal of the starting capacitor and the other lead to the negative terminal.
- Turn the dial on the multimeter to the lowest setting possible.
- Turn on the power supply to the starting capacitor.
- Observe the reading on the multimeter. If it reads between 4 and 6 volts, then the starting capacitor is working properly.
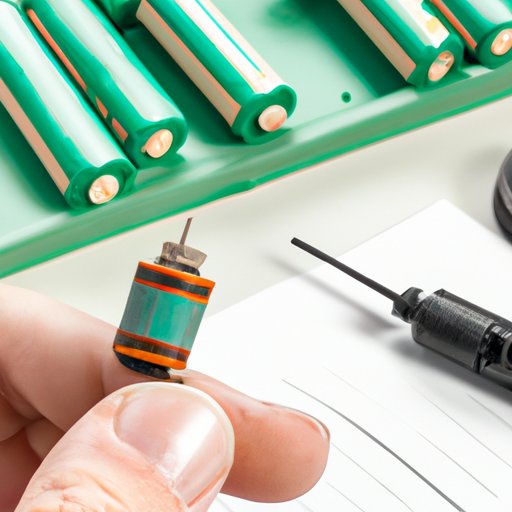
Inspect the Outer Casing for Visual Signs of Damage
It is also important to inspect the outer casing of the starting capacitor for any signs of damage. Damage to the casing can indicate that the starting capacitor is not functioning properly. There are several types of damage to look for, including cracks, breaks, and discoloration. You should also check for any loose connections or wires that may have come loose from the capacitor.

Check for Continuity with an Ohmmeter
Another way to test the starting capacitor is to use an ohmmeter. An ohmmeter measures the resistance of the starting capacitor, which can indicate whether the capacitor is functioning properly or not. Here’s how to set up the ohmmeter and perform the test:
- Set the ohmmeter to the lowest setting.
- Connect one lead of the ohmmeter to the positive terminal of the starting capacitor and the other lead to the negative terminal.
- Observe the reading on the ohmmeter. If it reads a value between 0 and 0.5 ohms, then the starting capacitor is functioning properly.
Perform a Voltage Test on the Starting Capacitor
The next step in testing the starting capacitor is to perform a voltage test. This test will measure the voltage of the starting capacitor, which can tell you if the capacitor is functioning correctly or not. Here’s how to set up the voltage meter and perform the test:
- Set the voltage meter to the highest setting.
- Connect one lead of the voltage meter to the positive terminal of the starting capacitor and the other lead to the negative terminal.
- Turn on the power supply to the starting capacitor.
- Observe the reading on the voltage meter. If it reads between 200 and 400 volts, then the starting capacitor is working properly.
Examine the Internal Components of the Starting Capacitor
It is also important to examine the internal components of the starting capacitor to ensure that they are all functioning properly. To do this, you will need to disassemble the starting capacitor and identify each component. This includes the terminals, the dielectric material, and the capacitors. Once you have identified each component, you can examine it for any signs of damage or wear and tear.

Listen for Abnormal Noises from the Starting Capacitor
Finally, it is important to listen for any abnormal noises coming from the starting capacitor. These noises can indicate that the starting capacitor is not functioning properly. There are several types of abnormal noises to listen for, such as buzzing, humming, and screeching. If you hear any of these noises, then you should troubleshoot the starting capacitor to determine the cause of the problem.
Conclusion
Testing the starting capacitor is an important part of ensuring that your motor is functioning correctly. By following the steps outlined in this guide, you can easily test the starting capacitor and identify any potential problems before they become serious. With regular testing and maintenance, you can keep your motor running smoothly and efficiently for years to come.
(Note: Is this article not meeting your expectations? Do you have knowledge or insights to share? Unlock new opportunities and expand your reach by joining our authors team. Click Registration to join us and share your expertise with our readers.)