Introduction
The starter is an essential part of any vehicle’s ignition system. It is responsible for turning over the engine and allowing the vehicle to start. If the starter fails, the car won’t be able to start. This is why it is important to regularly check the starter to make sure it is functioning properly. In this article, we will explore the steps involved in checking a starter, including inspecting the starter motor for signs of wear or damage, testing the voltage output, checking the wiring and connectors for corrosion, checking the battery voltage, ensuring the flywheel is engaging properly, testing the ignition switch, and verifying the ground connection.
Inspect the Starter Motor for Signs of Wear or Damage
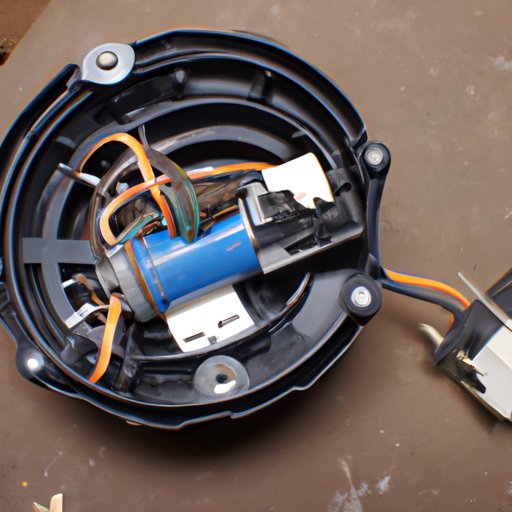
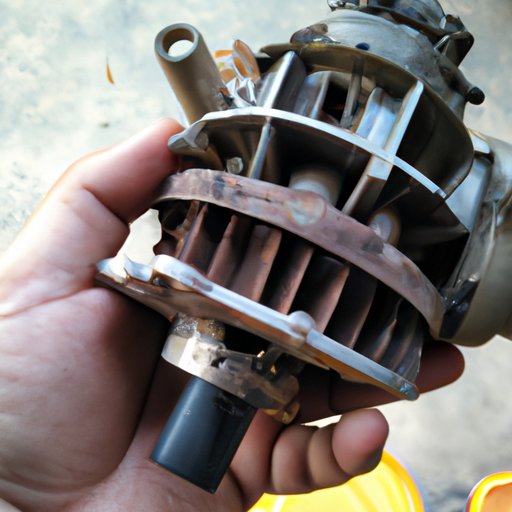
The first step when checking a starter is to visually inspect it for signs of wear or damage. Look for any cracks, dents, corrosion, or other damage that could affect the performance of the starter. If you notice any signs of wear, it is best to replace the starter motor as soon as possible. Replacing a worn out starter motor is relatively simple and can be done with basic tools.
Test the Voltage Output of the Starter Motor
The next step is to use a multimeter to test the voltage output of the starter motor. To do this, connect the multimeter leads to the starter motor terminals and turn the key to the “On” position. The multimeter should display a reading between 9 and 12 volts. If the voltage output is lower than 9 volts, it indicates that the starter motor is not receiving enough power and needs to be replaced. If the voltage output is higher than 12 volts, it indicates a short circuit in the starter motor and it should also be replaced.
Check the Wiring and Connectors for Corrosion
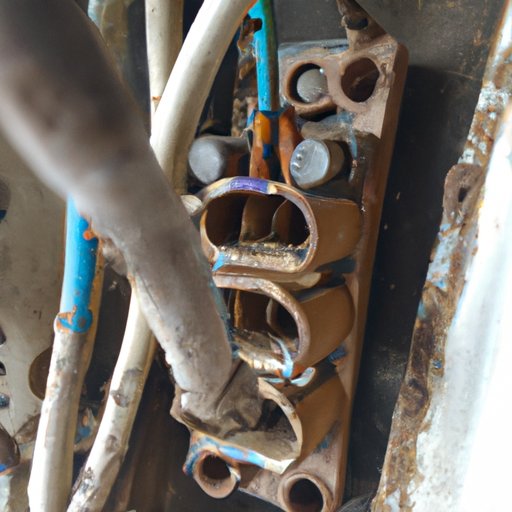
It is also important to check the wiring and connectors for corrosion. Corrosion can cause poor electrical connections which can affect the performance of the starter motor. To check for corrosion, inspect the wiring and connectors for any discoloration or residue. If necessary, clean the wiring and connectors using a wire brush and some contact cleaner. If the wires are severely corroded, they should be replaced.
Check the Battery Voltage
Another important step in checking a starter is to check the battery voltage. The battery should be tested with a multimeter to ensure it is providing sufficient voltage to the starter motor. The battery should have a voltage of at least 12.5 volts. If the voltage is lower than 12.5 volts, it may be necessary to recharge the battery or replace it if it is beyond repair.
Ensure the Flywheel is Engaging Properly
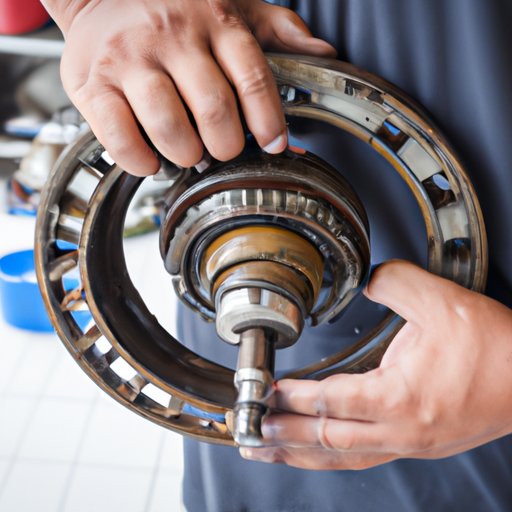
The flywheel is responsible for transferring energy from the starter motor to the engine. It is important to check that the flywheel is engaging properly. To do this, turn the key to the “On” position and listen for a clicking sound coming from the engine. If there is no clicking sound, it indicates that the flywheel is not engaging properly and needs to be adjusted or replaced.
Test the Ignition Switch
The ignition switch is responsible for sending the signal from the key to the starter motor. To ensure the ignition switch is working properly, use a multimeter to check the continuity between the switch terminals. If there is no continuity, the switch needs to be replaced.
Verify the Ground Connection
Finally, it is important to verify the ground connection. The ground connection is responsible for providing a path for the electrical current to flow. To check the ground connection, locate the ground terminal on the starter motor and use a multimeter to check the continuity between the ground terminal and the frame of the vehicle. If there is no continuity, the ground connection needs to be checked and repaired.
Conclusion
Checking a starter is an important step in maintaining the performance of your vehicle. By following the steps outlined in this article, you can ensure that your starter is functioning properly. Be sure to inspect the starter motor for signs of wear or damage, test the voltage output, check the wiring and connectors for corrosion, check the battery voltage, ensure the flywheel is engaging properly, test the ignition switch, and verify the ground connection. Taking the time to perform these preventative maintenance checks can help keep your starter running smoothly and your vehicle performing at its best.
(Note: Is this article not meeting your expectations? Do you have knowledge or insights to share? Unlock new opportunities and expand your reach by joining our authors team. Click Registration to join us and share your expertise with our readers.)