Introduction
A starter solenoid is an important component of any vehicle’s electrical system. It is responsible for providing the necessary power to start the engine. If the starter solenoid becomes damaged or fails, it can cause the engine to fail to start. In this article, we will go over how to check a starter solenoid, step-by-step, to ensure that it is functioning properly.
Main Body
In order to check a starter solenoid, there are several steps that must be taken. These include inspecting the wiring, testing the voltage, checking the contacts, checking the ground connection, inspecting the solenoid, cleaning the starter, and testing the starter.
1. Inspect the Wiring
The first step in checking a starter solenoid is to inspect the wiring. You should look for any loose or frayed wires that may be causing the starter solenoid to malfunction. If you find any, they should be replaced immediately. Additionally, it is important to disconnect the battery before inspecting the wiring, as this will help to avoid any potential hazards.
2. Test the Voltage
Once the wiring has been inspected, you should test the voltage at the terminals of the starter solenoid. This can be done with a multimeter. You should verify that the voltage is within the expected range. If it is not, the starter solenoid may need to be replaced.
3. Check the Contacts
You should also make sure that the contacts on the starter solenoid are clean and free of corrosion. Additionally, the contacts should not be bent or broken. If they are, they should be replaced.
4. Check the Ground Connection
It is also important to check the ground connection on the starter solenoid. This should be properly connected to the solenoid. Additionally, you should look for any signs of corrosion or wear on the ground cable.
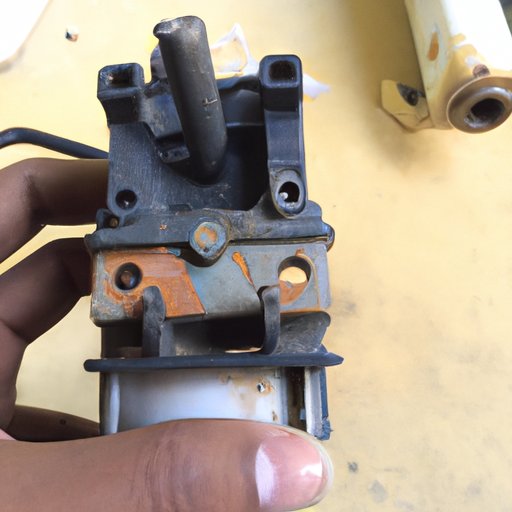
5. Inspect the Solenoid
You should also inspect the starter solenoid itself. Look for any signs of physical damage or wear. Additionally, check for any loose or missing mounting bolts.
6. Clean the Starter
The next step is to clean the starter. This will help to remove any dirt or debris that may be interfering with its function. You can use a wire brush and/or solvent to clean the starter.
7. Test the Starter
Finally, you should test the starter by turning the key in the ignition and checking for a clicking sound. If no sound is heard, the starter may need to be replaced.
Conclusion
In conclusion, checking a starter solenoid requires several steps, including inspecting the wiring, testing the voltage, checking the contacts, checking the ground connection, inspecting the solenoid, cleaning the starter, and testing the starter. If any of these steps reveal an issue, it is important to take the necessary steps to resolve it. Doing so will help to ensure that your vehicle’s electrical system is functioning properly.
(Note: Is this article not meeting your expectations? Do you have knowledge or insights to share? Unlock new opportunities and expand your reach by joining our authors team. Click Registration to join us and share your expertise with our readers.)