Introduction
A weed eater, also known as a string trimmer, is a garden tool used to trim grass and weeds in hard-to-reach areas. It features a motorized head that spins a flexible line of plastic string at high speeds, allowing it to cut through even tough vegetation. With regular use, the string will eventually wear down and need to be replaced. This article will provide an overview of the benefits of changing the string on a weed eater and a step-by-step guide to doing so, as well as a video tutorial, a comprehensive look at the process, quick tips for easy string replacement, and a troubleshooting guide.
Benefits of Changing the String on a Weed Eater
Regularly replacing the string on a weed eater offers many benefits. According to a study conducted by the University of California Agriculture and Natural Resources Department, “Using a string trimmer with fresh line can cut weeds more effectively, reduce fuel consumption, and increase the life of the engine.” In other words, not only will new string make your weed eater more efficient, but it will also help extend its lifespan.
Step-by-Step Guide to Changing the String on a Weed Eater
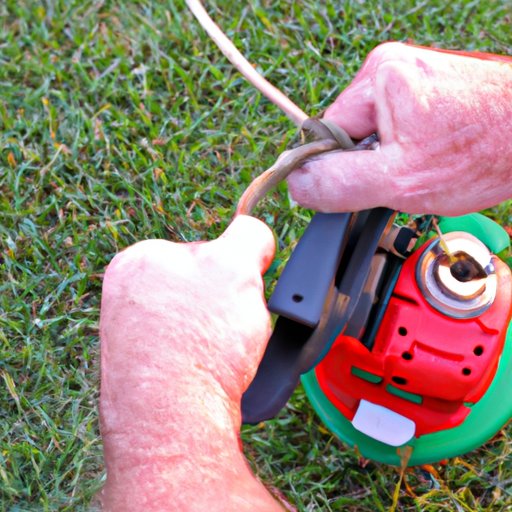
Before you begin, make sure to gather any necessary supplies. Depending on the type of weed eater you have, you may need pliers, scissors, a screwdriver, or a wrench. Once you have the supplies, follow these steps to replace the string on your weed eater.
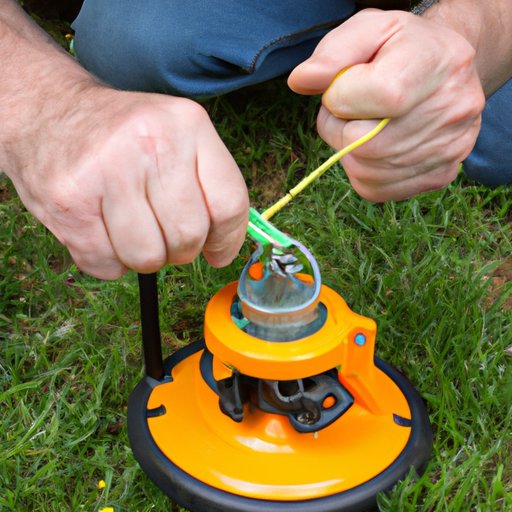
1. Remove Old String
The first step is to remove the old string from the weed eater. Begin by turning off the device and disconnecting it from the power source. Then, locate the spool, which is usually located on the side of the motor. Use a screwdriver or wrench to loosen the screws that secure the spool in place. Once the screws are removed, you can take out the spool and discard the old string.
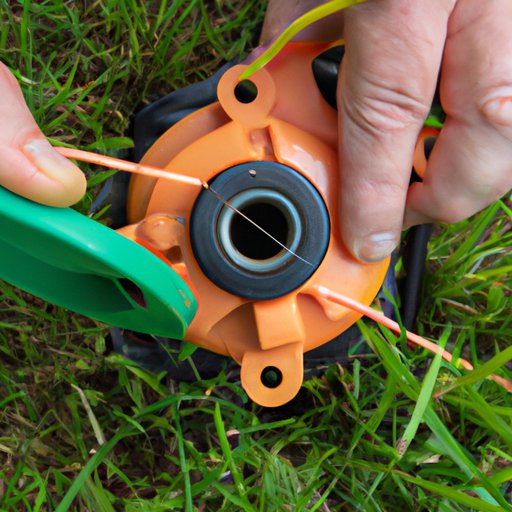
2. Install New String
Now it’s time to install the new string. Measure the length of the string needed and cut it accordingly. Then, wind the string around the spool, making sure to leave some slack for tension. Once the string is wound, replace the spool in the weed eater and secure it with the screws.
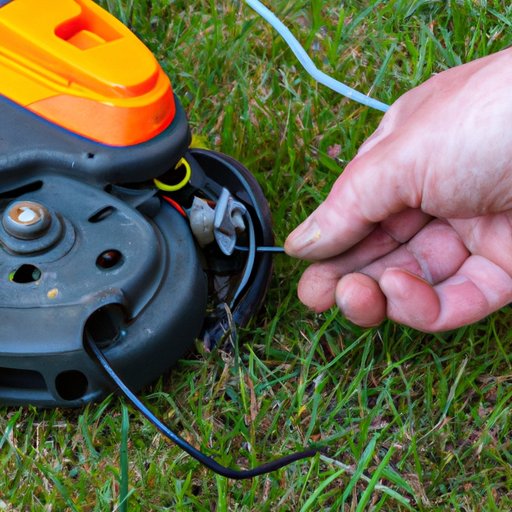
3. Test the Weed Eater
Once the new string is installed, you’re ready to test the weed eater. Connect the device to a power source and turn it on. The string should spin freely without getting caught on anything. If it does get stuck, check to make sure the string is properly wound and that the spool is securely in place.
Video Tutorial on How to Replace the String on a Weed Eater
For a visual guide to changing the string on a weed eater, watch this helpful video tutorial: https://www.youtube.com/watch?v=ePQ_Ln5Fczw
In the video, the instructor begins by gathering the necessary supplies, including a new spool of string. He then removes the old string from the weed eater, winds the new string around the spool, and replaces the spool in the device. Finally, he tests the weed eater to ensure that the new string is working properly.
A Comprehensive Look at Replacing the String on a Weed Eater
It’s important to note that there are different types of weed eaters and strings. For instance, electric weed eaters typically require a thicker string than gas-powered ones, while curved shaft models require a smaller diameter string. When selecting the right type of string for your weed eater, make sure to read the manufacturer’s instructions carefully.
When installing the string, it’s important to measure the length correctly. Generally speaking, you should leave about 3 inches of extra string when winding it around the spool. It’s also important to wind the string tightly, as this will help keep it in place during use.
Quick Tips for Easily Changing the String on a Weed Eater
Here are a few quick tips for easily changing the string on a weed eater:
- Choose the Right Type of String: Make sure to select the correct type of string for your weed eater. Read the manufacturer’s instructions to determine the recommended size and thickness.
- Measure Properly: When measuring the string, leave about 3 inches of extra material for tension.
- Wind the String Correctly: Tightly wind the string around the spool to ensure it stays in place during use.
Troubleshooting Guide for Changing the String on a Weed Eater
If you encounter any issues when changing the string on your weed eater, here are some common problems and solutions:
- String Gets Stuck: If the string gets stuck when you turn on the weed eater, make sure the string is properly wound and the spool is securely in place.
- String Breaks Easily: If the string breaks easily, it could be due to incorrect sizing or poor quality. Make sure to choose the right type of string for your weed eater and buy from a reputable brand.
Conclusion
Changing the string on a weed eater is a relatively simple process that offers many benefits. To do so, first gather the necessary supplies and remove the old string. Then, install the new string, making sure to measure and wind it correctly. Finally, test the weed eater to ensure it’s working properly. Remember to regularly replace the string on your weed eater to keep it running efficiently and extend its lifespan.
(Note: Is this article not meeting your expectations? Do you have knowledge or insights to share? Unlock new opportunities and expand your reach by joining our authors team. Click Registration to join us and share your expertise with our readers.)