I. Introduction
When it comes to maintaining our outdoor spaces, a weed eater is an essential tool. It helps us trim grass and weeds, keeping our lawns and gardens neat and tidy. However, changing the line on a weed eater can often be a frustrating task, leading to wasted time and unnecessary stress. In this article, we will explore how to change the line on a weed eater in a step-by-step guide, complete with a video tutorial. By following these instructions, you’ll be able to save time, money, and frustration in the long run.
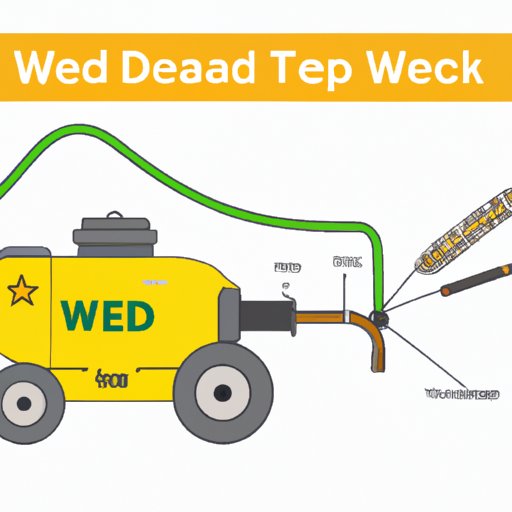
II. Step-by-Step Guide
Before we begin, gathering the necessary tools and materials is crucial. You will need safety goggles, gloves, a screwdriver, a suitable replacement line, and a weed eater. Ensuring safety measures is also essential, including turning off the weed eater, disconnecting the spark plug, and inspecting the tool for any damage.
Step 3 involves removing the old line from the weed eater. Carefully disassemble the head of the trimmer and remove any remaining line. Preparing the new line comes next, where you will measure and cut the replacement line to the appropriate length and select the right type of line for your needs.
Now it’s time for the most important step – installing the new line. This section will guide you through the process of feeding the line into the head, ensuring it is properly secured, and avoiding any tangles or blockages. Finally, we will discuss how to test the weed eater to ensure everything is functioning correctly.
III. Video Tutorial
For a better understanding of the line changing process on a weed eater, we have prepared a video tutorial that visually demonstrates each step. Visual guidance helps clarify the process, making it easier to follow along and ensure you are performing the task correctly.
The video tutorial begins by showcasing the required tools and materials, providing a clear visual reference to help you gather everything you need. It then proceeds to demonstrate various safety measures, ensuring your wellbeing throughout the process.
From there, the video tutorial visually guides you through each step, including removing the old line, preparing the new line, and installing it correctly. The video also emphasizes the importance of properly securing the line to avoid any issues during operation. Lastly, the tutorial concludes with a demonstration of how to test the weed eater to ensure success.
IV. Common Mistakes to Avoid
While changing the line on a weed eater may seem straightforward, there are several common mistakes that many people encounter. By being aware of these mistakes and taking steps to avoid them, you can save yourself time, money, and frustration.
One common mistake is not wearing proper safety gear. It’s crucial to protect yourself from any potential hazards during the process. Failing to follow the manufacturer’s instructions is another mistake as they provide valuable insights on the specific requirements of your weed eater.
Ignoring routine maintenance is a mistake that can lead to complications down the line. It’s essential to keep your weed eater in good condition by cleaning, lubricating, and storing it properly. Additionally, using the incorrect line size or type can cause difficulties and potential damage.
Finally, improperly securing or winding the line is a common mistake that can result in line breakage and tangling. To avoid these mistakes, always follow the instructions provided and take your time to ensure everything is done correctly.
V. Choosing the Right Line
Choosing the right line for your weed eater is crucial to achieve the best results. Different types of lines are suited for different tasks, whether you’re tackling thick grass, weeds, or delicate trimming. Ensuring you have the appropriate line will save you time and effort.
When it comes to selecting the right line, factors such as diameter, material, and shape play a significant role. It’s essential to consider the type of weed eater you have, the desired outcome, and the area you’ll be trimming. This section will provide recommendations based on these factors and offer tips for selecting the most suitable line for your specific situation.
VI. Essential Maintenance Tips
Maintaining your weed eater is vital for its optimal performance and longevity. This section will highlight the importance of regular maintenance and provide essential tips to keep your weed eater in excellent condition.
Cleaning your weed eater regularly is essential to keep it free from debris, allowing it to operate smoothly. Lubrication is also crucial, as it ensures the moving parts function correctly. Proper storage is another crucial aspect of maintenance, preventing damage to your weed eater when it’s not in use.
Understanding the frequency of maintenance tasks and incorporating them into your routine will save you time in the long run. By performing regular maintenance, you can extend the life of your weed eater and ensure it remains in optimal condition, avoiding any unnecessary complications.
VII. Troubleshooting Common Issues
While changing the line on your weed eater, you may encounter some common problems. This section will address these issues and provide troubleshooting steps to help you navigate through them.
One problem you may face is line tangling or breakage. We will discuss how to avoid these mishaps and what steps to take if they occur. Difficulties with line installation is another issue that can arise, and we will provide guidance on how to overcome them.
Lastly, jammed spools can cause frustration and interfere with the line changing process. By following the troubleshooting steps outlined in this section, you can quickly resolve this problem and get back to maintaining your outdoor spaces efficiently.
VIII. Conclusion
Changing the line on a weed eater has its challenges, but with the guidance provided in this article, you can overcome these difficulties and get back to maintaining your outdoor spaces effectively. By following the step-by-step guide and utilizing the video tutorial, you’ll be well-equipped to tackle this task confidently.
Remember, regular maintenance and care for your weed eater are essential. By selecting the appropriate line, avoiding common mistakes, and troubleshooting any issues that arise, you can ensure your weed eater operates at its best and lasts for years to come. So, don’t let the line changing process discourage you. Embrace it as an opportunity to improve your outdoor maintenance skills and enjoy the benefits of a well-maintained weed eater.
(Note: Is this article not meeting your expectations? Do you have knowledge or insights to share? Unlock new opportunities and expand your reach by joining our authors team. Click Registration to join us and share your expertise with our readers.)