
Introduction
A Litter Robot is an automated litter box that uses sensors and a motorized rake to scoop out soiled litter. It is an efficient and hygienic way to keep your cat’s litter box clean without having to manually scoop it yourself. The Litter Robot requires regular maintenance in order to keep it running smoothly. This includes changing the filter, cartridge, and waste drawer as needed. In this article, we will provide a step-by-step guide on how to change a Litter Robot as well as tips and tricks for troubleshooting common issues.
Step-by-Step Guide for Changing the Litter Robot
The first step in changing a Litter Robot is to unplug it from the power source. Once the power has been disconnected, you can begin the process of changing the filter, cartridge, and waste drawer. Here is a step-by-step guide for each part:
Unplugging the Litter Robot
Before beginning any work on the Litter Robot, it is important to ensure that the power is disconnected from the device. To do this, simply locate the power cord and unplug it from the wall outlet or surge protector.
Replacing the Filter
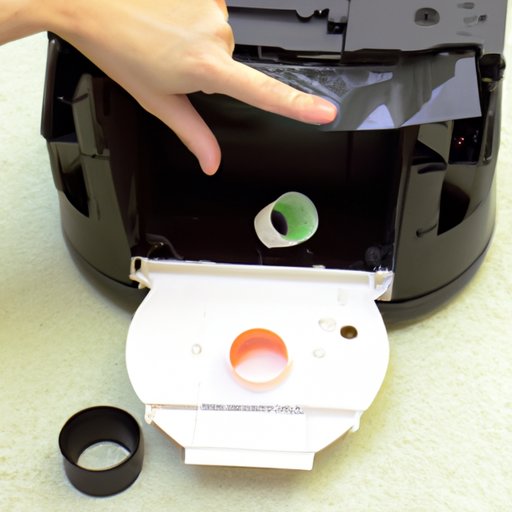
The filter should be replaced every six months to ensure optimal performance. To replace the filter, open the lid of the Litter Robot and locate the filter compartment. Remove the old filter and replace it with a new one. Make sure the filter is securely in place before closing the lid.
Replacing the Cartridge
The cartridge should be replaced every three months to ensure optimal performance. To replace the cartridge, open the lid of the Litter Robot and locate the cartridge compartment. Remove the old cartridge and replace it with a new one. Make sure the cartridge is securely in place before closing the lid.
Replacing the Waste Drawer
The waste drawer should be emptied and replaced every few weeks to ensure optimal performance. To replace the waste drawer, open the lid of the Litter Robot and locate the waste drawer compartment. Remove the old drawer and replace it with a new one. Make sure the drawer is securely in place before closing the lid.
Tips and Tricks for Replacing the Cartridge in a Litter Robot
When replacing the cartridge in a Litter Robot, there are a few tips and tricks you should keep in mind. Here are some of the most important ones:
Cleaning the Cartridge Before Installation
It is important to clean the cartridge before installing it into the Litter Robot. This will help remove any debris or dirt that may have accumulated in the cartridge over time. To clean the cartridge, simply use a damp cloth to wipe down the inside and outside surfaces.
Ensuring Proper Fit
When installing the cartridge into the Litter Robot, it is important to make sure that it is properly fitted. This means that the cartridge should fit snugly into the compartment and not move around when the lid is closed. If the cartridge does not fit properly, it could cause issues with the performance of the Litter Robot.
Checking for Leaks
Once the cartridge has been installed, it is important to check for any leaks. This can be done by pouring a small amount of water into the cartridge and checking to see if any of it is leaking out. If there are any leaks, the cartridge should be replaced immediately.
A Guide to Changing the Waste Drawer in a Litter Robot
The waste drawer in a Litter Robot needs to be changed regularly in order to ensure optimal performance. Here is a step-by-step guide to changing the waste drawer:
How to Remove the Waste Drawer
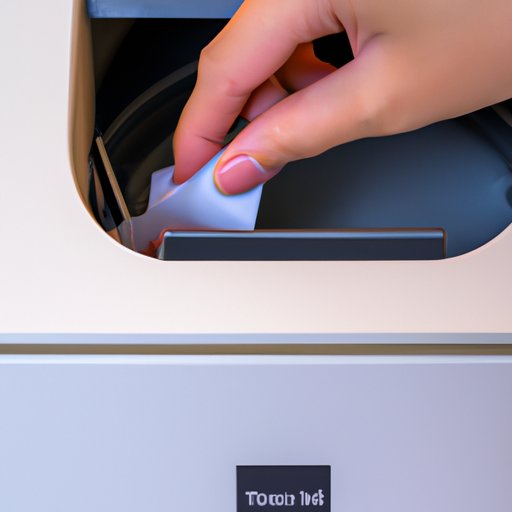
The first step in changing the waste drawer is to remove the old one. To do this, open the lid of the Litter Robot and locate the waste drawer. Gently pull the drawer straight out of the compartment and discard it.
How to Replace the Waste Drawer
Once the old waste drawer has been removed, the next step is to install the new one. To do this, insert the new waste drawer into the compartment until it clicks into place. Make sure the drawer is securely in place before closing the lid.
Troubleshooting Common Issues
If you are having trouble installing the waste drawer, there are a few things you can try. First, make sure the drawer is inserted all the way into the compartment. If the drawer does not click into place, try gently pushing it further into the compartment. If this does not work, you can try using a pair of pliers to gently pull the drawer out of the compartment.
Troubleshooting Common Issues When Changing the Litter Robot
When changing the Litter Robot, there are a few common issues that you may encounter. Here are some tips and tricks for troubleshooting these issues:
How to Fix a Jammed Motor
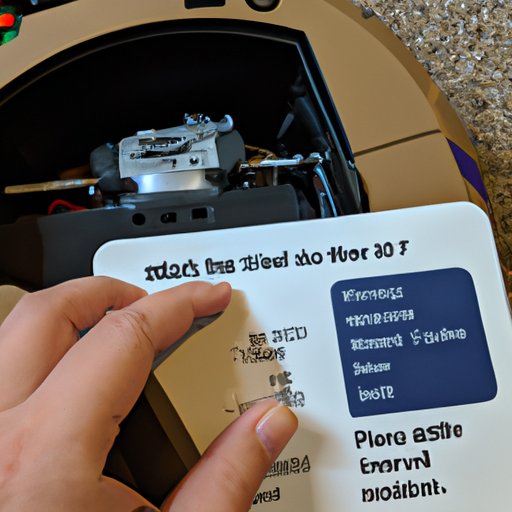
If the motor on the Litter Robot is jammed, it could be caused by a clog in the system. To fix this issue, open the lid of the Litter Robot and locate the motor. Using a pair of pliers, carefully remove any clogs or debris that may be blocking the motor. Once the motor is cleared, the Litter Robot should function properly.
How to Reset the System
If the Litter Robot is not functioning properly, it may need to be reset. To reset the system, locate the reset button on the back of the unit and press it for five seconds. This will reset the system and allow the Litter Robot to start up again.
How to Troubleshoot the Sensor
If the sensor on the Litter Robot is not working properly, it could be due to a faulty connection. To troubleshoot the sensor, open the lid of the Litter Robot and locate the sensor. Make sure the connections are secure and there are no loose wires. If the connections are secure, try cleaning the sensor with a damp cloth. This should help restore the functionality of the sensor.
An Overview of the Maintenance Process for a Litter Robot
In addition to changing the filter, cartridge, and waste drawer, the Litter Robot also requires regular cleaning and maintenance. It is recommended to clean the Litter Robot at least once a week using a vacuum cleaner or damp cloth. Additionally, it is important to store the Litter Robot in a cool and dry place to ensure optimal performance.
Conclusion
Changing a Litter Robot is a relatively simple process that can be completed in a few steps. Unplugging the device, replacing the filter, cartridge, and waste drawer, and following the tips and tricks outlined in this article should help ensure the Litter Robot works optimally. Additionally, it is important to maintain the Litter Robot by regularly cleaning and storing it properly. With regular maintenance, the Litter Robot should provide years of reliable service.
Summary of Main Points
This article provided a step-by-step guide on how to change a Litter Robot, from unplugging the device to replacing the filter, cartridge, and waste drawer. Tips and tricks for troubleshooting common issues were also included. Additionally, the importance of regular cleaning and maintenance was discussed.
Final Thoughts
Changing a Litter Robot is a relatively straightforward process that can be completed in a few simple steps. By following the guidelines outlined in this article, you can ensure that your Litter Robot runs efficiently and reliably.
(Note: Is this article not meeting your expectations? Do you have knowledge or insights to share? Unlock new opportunities and expand your reach by joining our authors team. Click Registration to join us and share your expertise with our readers.)