Introduction
VEX Robotics is an educational robotics platform used by students and educators around the world. It provides an exciting opportunity for students to learn about robotics, engineering, and coding in a fun and engaging way. The VEX Robotics platform includes a wide selection of parts that can be used to construct robots of varying sizes and complexity.
This article will provide a step-by-step guide on how to build a VEX robot. We will cover everything from gathering materials to programming the robot. By the end of this article, you should have all the information you need to construct your very own VEX robot.
Step-by-Step Guide to Building a VEX Robot
Building a VEX robot is not as complicated as it may seem. With the right tools and knowledge, anyone can build a robot from scratch. Here are the steps you’ll need to follow to build a VEX robot:
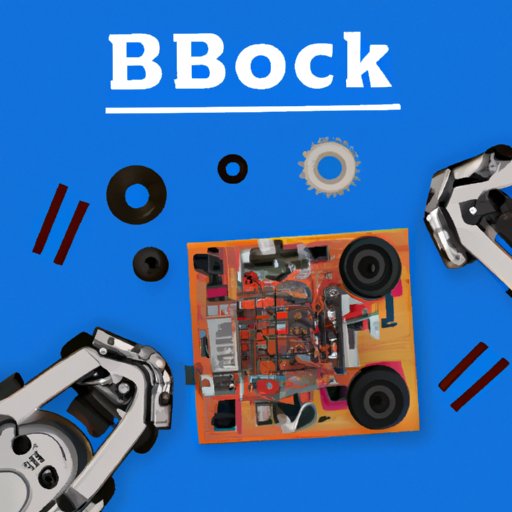
Gather Materials
The first step in building a VEX robot is to gather all the necessary materials. You’ll need to purchase or acquire the VEX robotic components, such as motors, sensors, and wiring. Additionally, you’ll need tools such as screwdrivers, pliers, and soldering irons.
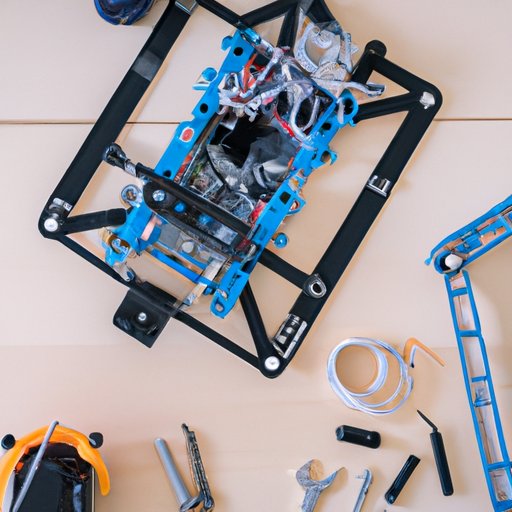
Assemble the Frame
Once you have all the materials, you’ll need to assemble the frame of the robot. This involves connecting the various pieces together using nuts and bolts. Be sure to refer to the instructions provided by the manufacturer to ensure that everything is connected correctly.
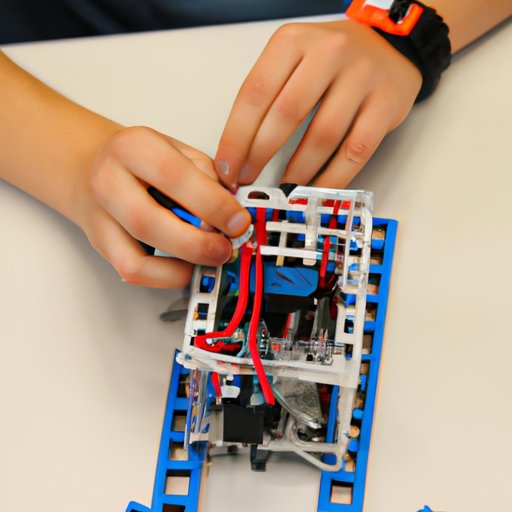
Connect Motors and Power Supply
Next, you’ll need to connect the motors and power supply to the frame. Motors are used to move the robot, while the power supply provides the energy needed to operate the robot. Make sure you connect the wires and terminals correctly to avoid any electrical problems.
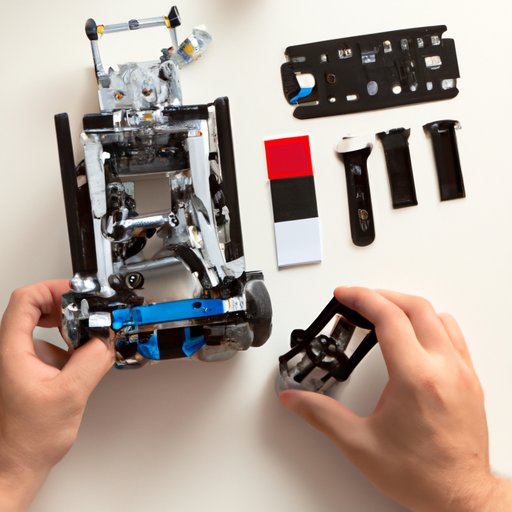
Install the Electronics
The next step is to install the electronics. This includes adding the sensors, microcontrollers, and other components to the robot. Make sure you check the instructions provided by the manufacturer to ensure that everything is installed correctly.
Program the Robot
Once the hardware is installed, you’ll need to program the robot. This is done using a programming language such as C++ or Java. Programming the robot allows you to control its movements and actions.
Test the Robot
Finally, you’ll need to test the robot to make sure it is working properly. This involves running the robot through a series of tests to ensure that all the components are functioning correctly. If there are any issues, make the necessary adjustments and retest the robot until it is working properly.
DIY Guide: Constructing a VEX Robot From Scratch
If you’re feeling adventurous, you can construct your own VEX robot from scratch. This involves designing and building the frame, installing the motors and power supply, and programming the robot. Here is a step-by-step guide on how to build a VEX robot from scratch:
Gather Materials
The first step is to gather all the necessary materials. This includes the VEX robotic components, such as motors, sensors, and wiring, as well as tools such as screwdrivers, pliers, and soldering irons.
Design the Robot Frame
Before you start assembling the robot, you’ll need to design the frame. This involves sketching out the dimensions and form of the robot. This can be done on paper or using a computer program such as CAD (Computer Aided Design).
Assemble the Frame
Once the design is complete, you’ll need to assemble the frame. This involves connecting the various pieces together using nuts and bolts. Refer to the instructions provided by the manufacturer to ensure that everything is connected correctly.
Install Motors and Power Supply
The next step is to install the motors and power supply. Motors are used to move the robot, while the power supply provides the energy needed to operate the robot. Make sure you connect the wires and terminals correctly to avoid any electrical problems.
Install the Electronics
Now you’ll need to install the electronics. This includes adding the sensors, microcontrollers, and other components to the robot. Make sure you check the instructions provided by the manufacturer to ensure that everything is installed correctly.
Program the Robot
Once the hardware is installed, you’ll need to program the robot. This is done using a programming language such as C++ or Java. Programming the robot allows you to control its movements and actions.
Test the Robot
Finally, you’ll need to test the robot to make sure it is working properly. This involves running the robot through a series of tests to ensure that all the components are functioning correctly. If there are any issues, make the necessary adjustments and retest the robot until it is working properly.
How to Assemble a VEX Robot in 7 Easy Steps
Assembling a VEX robot doesn’t have to be a difficult or time-consuming process. With the right tools and knowledge, anyone can assemble a VEX robot in seven simple steps:
Gather Materials
The first step is to gather all the necessary materials. This includes the VEX robotic components, such as motors, sensors, and wiring, as well as tools such as screwdrivers, pliers, and soldering irons.
Assemble the Frame
Next, you’ll need to assemble the frame. This involves connecting the various pieces together using nuts and bolts. Refer to the instructions provided by the manufacturer to ensure that everything is connected correctly.
Connect Motors and Power Supply
Once the frame is assembled, you’ll need to connect the motors and power supply. Motors are used to move the robot, while the power supply provides the energy needed to operate the robot. Make sure you connect the wires and terminals correctly to avoid any electrical problems.
Install the Electronics
Now you’ll need to install the electronics. This includes adding the sensors, microcontrollers, and other components to the robot. Make sure you check the instructions provided by the manufacturer to ensure that everything is installed correctly.
Program the Robot
Once the hardware is installed, you’ll need to program the robot. This is done using a programming language such as C++ or Java. Programming the robot allows you to control its movements and actions.
Test the Robot
Finally, you’ll need to test the robot to make sure it is working properly. This involves running the robot through a series of tests to ensure that all the components are functioning correctly. If there are any issues, make the necessary adjustments and retest the robot until it is working properly.
Make Adjustments as Needed
Once the robot is tested and working properly, you can make any necessary adjustments. This could involve changing the programming or making modifications to the hardware. Make sure to test the robot after making any changes to ensure that it is still functioning properly.
A Beginner’s Guide to Building a VEX Robot
Even if you’ve never built a robot before, you can still construct your own VEX robot. Here is a beginner’s guide to building a VEX robot:
Understand the Parts and Pieces
The first step is to familiarize yourself with the different parts and pieces used to build a VEX robot. This includes understanding the types of motors, sensors, and other components that are used. Additionally, you should understand the tools that are used to assemble the robot.
Assemble the Frame
Once you have a basic understanding of the parts and pieces, you’ll need to assemble the frame. This involves connecting the various pieces together using nuts and bolts. Refer to the instructions provided by the manufacturer to ensure that everything is connected correctly.
Connect Motors and Power Supply
Now you’ll need to connect the motors and power supply to the frame. Motors are used to move the robot, while the power supply provides the energy needed to operate the robot. Make sure you connect the wires and terminals correctly to avoid any electrical problems.
Install the Electronics
Once the frame is assembled, you’ll need to install the electronics. This includes adding the sensors, microcontrollers, and other components to the robot. Make sure you check the instructions provided by the manufacturer to ensure that everything is installed correctly.
Program the Robot
Once the hardware is installed, you’ll need to program the robot. This is done using a programming language such as C++ or Java. Programming the robot allows you to control its movements and actions.
Test the Robot
Finally, you’ll need to test the robot to make sure it is working properly. This involves running the robot through a series of tests to ensure that all the components are functioning correctly. If there are any issues, make the necessary adjustments and retest the robot until it is working properly.
Putting Together a VEX Robot: What You Need to Know
Putting together a VEX robot requires some knowledge and understanding of the various parts and pieces involved. Here is what you need to know when putting together a VEX robot:
Parts and Pieces
The first step is to familiarize yourself with the different parts and pieces used to build a VEX robot. This includes understanding the types of motors, sensors, and other components that are used. Additionally, you should understand the tools that are used to assemble the robot.
Tools
In addition to the parts and pieces, you’ll also need to have the proper tools to assemble the robot. This includes screwdrivers, pliers, and soldering irons. You may also need a computer to program the robot.
Assembling the Frame
Once you have all the necessary materials and tools, you’ll need to assemble the frame. This involves connecting the various pieces together using nuts and bolts. Refer to the instructions provided by the manufacturer to ensure that everything is connected correctly.
Connecting Motors and Power Supply
Now you’ll need to connect the motors and power supply to the frame. Motors are used to move the robot, while the power supply provides the energy needed to operate the robot. Make sure you connect the wires and terminals correctly to avoid any electrical problems.
Installing the Electronics
Once the frame is assembled, you’ll need to install the electronics. This includes adding the sensors, microcontrollers, and other components to the robot. Make sure you check the instructions provided by the manufacturer to ensure that everything is installed correctly.
Programming the Robot
Once the hardware is installed, you’ll need to program the robot. This is done using a programming language such as C++ or Java. Programming the robot allows you to control its movements and actions.
Testing the Robot
Finally, you’ll need to test the robot to make sure it is working properly. This involves running the robot through a series of tests to ensure that all the components are functioning correctly. If there are any issues, make the necessary adjustments and retest the robot until it is working properly.
Designing and Building Your Own VEX Robot
If you’re feeling creative, you can design and build your own VEX robot. This involves brainstorming ideas, sketching out a plan, gathering materials, assembling the frame, connecting motors and power supply, installing the electronics, programming the robot, and testing the robot. Here is a step-by-step guide on how to design and build your own VEX robot:
Brainstorm Ideas
The first step is to brainstorm ideas for the design of your robot. Think about what type of robot you want to build and what tasks it should be able to perform. This will help you determine the type of parts and pieces you will need to construct the robot.
Sketch Out a Plan
Once you have an idea of what you want to build, you’ll need to sketch out a plan. This involves drawing the dimensions and form of the robot. This can be done on paper or using a computer program such as CAD (Computer Aided Design).
Gather Materials
Once the design is complete, you’ll need to gather all the necessary materials. This includes the VEX robotic components, such as motors, sensors, and wiring, as well as tools such as screwdrivers, pliers, and soldering irons.
Build the Frame
Next, you’ll need to build the frame. This involves connecting the various pieces together using nuts and bolts. Refer to the instructions provided by the manufacturer to ensure that everything is connected correctly.
Connect Motors and Power Supply
Once the frame is assembled, you’ll need to connect the motors and power supply. Motors are used to move the robot, while the power supply provides the energy needed to operate the robot. Make sure you connect the wires and terminals correctly to avoid any electrical problems.
Install the Electronics
Now you’ll need to install the electronics. This includes adding the sensors, microcontrollers, and other components to the robot. Make sure you check the instructions provided by the manufacturer to ensure that everything is installed correctly.
(Note: Is this article not meeting your expectations? Do you have knowledge or insights to share? Unlock new opportunities and expand your reach by joining our authors team. Click Registration to join us and share your expertise with our readers.)