Introduction
Mountain biking is a thrilling sport that lets you explore the outdoors and push your physical limits. But to get the most out of your rides, you need to make sure you have the right amount of travel on your mountain bike. In this article, we’ll explore how much travel do you need on your MTB and provide tips for optimizing your suspension setup.
Definition of Mountain Biking Travel
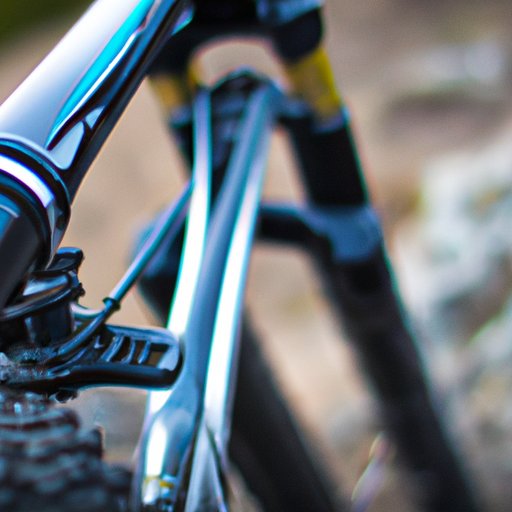
Mountain biking travel refers to the distance the suspension can move before it bottoms out. The amount of travel you need depends on your riding style and the type of terrain you’re riding on. Generally speaking, the more aggressive your riding style, the more travel you’ll need.

Overview of Benefits of Mountain Biking Travel
Having the right amount of travel on your mountain bike can make a huge difference in your ride. When you have the proper amount of travel, you’ll be able to tackle more technical trails with confidence. You’ll also be able to ride faster without feeling like you’re getting bounced around on the trail. And if you’re racing, having the right amount of travel will help you stay in control and finish faster.

Calculating How Much Travel You Need on Your Mountain Bike
The first step in determining how much travel you need on your mountain bike is to analyze the terrain and your riding style. If you’re planning to ride on rough, rocky trails, you’ll want to opt for more travel. On the other hand, if you’re planning to ride on smoother trails, you’ll want to go with less travel.
Considering Your Weight and Height
Your weight and height are two important factors to consider when selecting the appropriate fork travel for your mountain bike. Generally speaking, heavier riders will need more travel than lighter riders. The same goes for taller riders, who usually require more travel than shorter riders.
Selecting the Appropriate Fork Travel
Once you’ve taken into account the terrain, your riding style, and your weight and height, you’ll be ready to select the appropriate fork travel for your mountain bike. As a general rule of thumb, cross-country riders should opt for 80-100mm of travel, all-mountain riders should go with 120-140mm of travel, and downhill riders should choose 140mm or more of travel.

Making the Most Out of Your Mountain Bike with Less Travel
If you’re looking to make the most out of your mountain bike with less travel, there are a few things you can do. First, make sure you understand the basics of suspension setup. Knowing how to adjust preload, rebound, and compression settings can go a long way towards improving the efficiency of your bike.
You can also upgrade or replace certain parts for improved efficiency. For example, replacing a coil spring with an air spring can reduce the overall weight of your bike and improve the suspension’s response time. Additionally, you can experiment with different air pressure levels to find the best balance between comfort and performance.
Finding the Right Balance Between Travel and Performance on Your MTB
To find the right balance between travel and performance on your mountain bike, you’ll need to choose a fork with the right amount of travel. Fortunately, there are plenty of options available, so you should be able to find something that fits your needs. Additionally, you can explore different suspension setups and test different air pressure levels to fine-tune your setup.

Comparing Different Suspension Setups for Mountain Biking
When it comes to suspension setups for mountain biking, there are two main types of forks: single crown and dual crown. Single crown forks are lighter and more affordable, but they don’t offer as much support as dual crown forks. Dual crown forks, on the other hand, are heavier and more expensive, but they provide extra stability and control.
You also have the option of choosing between coil and air forks. Coil forks are heavier and more affordable, but they don’t offer as much adjustability as air forks. Air forks, on the other hand, are lighter and more expensive, but they provide more adjustability and better performance.
Choosing the Best Fork Travel for Your Mountain Bike Riding Style
Now that you know the basics of suspension setup, it’s time to figure out which fork travel is right for your riding style. To do this, you’ll need to assess your skill level, examine your preferred terrain, and select the best fork travel for your riding style. If you’re just starting out, you may want to go with a shorter travel fork. As you become more experienced, you can gradually increase the amount of travel on your fork.
Conclusion
In conclusion, finding the right amount of travel for your mountain bike is essential for getting the most out of your rides. Before making a final decision, make sure to analyze the terrain and your riding style, consider your weight and height, and compare different suspension setups. With the right amount of travel, you’ll be able to take on more challenging trails with confidence and enjoy your rides to the fullest.
To summarize, here are the key points to remember when choosing the best fork travel for your mountain bike: analyze the terrain and your riding style, consider your weight and height, compare different suspension setups, and select the best fork travel for your riding style. Finally, make sure to test different air pressure levels and adjust preload, rebound, and compression settings for optimal performance.
Final Tips for Optimizing Fork Travel
1. Upgrade or replace certain parts for improved efficiency.
2. Test different air pressure levels to find the best balance between comfort and performance.
3. Adjust preload, rebound, and compression settings for optimal performance.
Resources for Further Reading
1. How to Choose the Right Suspension Travel for Your Mountain Bike
2. Suspension Setup Basics for Beginners
3.
(Note: Is this article not meeting your expectations? Do you have knowledge or insights to share? Unlock new opportunities and expand your reach by joining our authors team. Click Registration to join us and share your expertise with our readers.)