Introduction
Product photography is a specialized form of photography that focuses on capturing images of products for use in advertising, ecommerce, catalogs, and other marketing materials. This type of photography is essential for businesses that want to present their products in the best light and create attractive visuals for their customers. But how much does product photography cost?

Comparing Different Pricing Models for Product Photographers
When it comes to pricing for product photography, there are several different models that photographers may use. These include flat rate pricing, hourly rates, and packages.
Flat Rate Pricing
Many product photographers offer a flat rate for their services, meaning they charge a set fee for a certain number of photos or a specific project. This is often the most cost-effective option since you know exactly what you’re paying for up front. Flat rate pricing may also include editing services, which can help save time and money.
Hourly Rates
Another pricing model used by product photographers is an hourly rate. This is typically higher than a flat rate, but it allows you to have more control over the length of the shoot. If you’re unsure of how much time you need for the shoot, this can be a good option since you won’t be locked into a certain amount of time.
Packages
Product photographers may also offer packages that combine different services or products. These can be a great option if you need multiple photos or a range of services, such as editing and retouching. Package deals can also be cheaper than buying each service separately, so they can be a cost-effective way to get the photos you need.

Exploring Commonly Used Techniques for Product Photography
In order to create high-quality product photos, photographers must use a variety of techniques. These include lighting, backgrounds, and camera settings.
Lighting
Lighting is one of the most important elements of product photography. Natural light is often the best option, but many photographers also use artificial lights to provide additional illumination or create different effects. The type of lighting used will depend on the product being photographed and the desired effect.
Backgrounds
The background of a product photo is also important, as it can help draw attention to the product or provide context. White backgrounds are often used for product photos, but other colors and textures can also be used depending on the product and the desired effect.
Camera Settings
The camera settings used for product photography will vary depending on the product and the desired effect. Generally, photographers will use a higher shutter speed and lower ISO to capture sharp images with minimal noise. Other settings, such as aperture and white balance, will also play a role in creating the desired look.
Examining the Pros and Cons of Hiring a Professional Photographer for Product Photography
Hiring a professional photographer for product photography can be a great way to ensure that your photos turn out looking their best. However, there are both pros and cons to consider when making this decision.
Pros
One of the main benefits of hiring a professional photographer is that they will have the experience and expertise needed to get the best possible results. They will also have access to the right equipment and be able to provide high-quality editing services. Additionally, a professional photographer can give you feedback and advice on how to improve your product photos.
Cons
The downside of hiring a professional photographer is that it can be expensive. Depending on the photographer and the scope of the project, you could end up spending hundreds or even thousands of dollars. Additionally, you may not have full control over the editing process, as the photographer may have their own style and preferences.
Looking at How Much You Can Save by DIY-ing Product Photography
If you’re looking to save money on product photography, DIY-ing can be a great option. This involves taking your own photos and editing them yourself, rather than hiring a professional photographer. While it may take some practice to get the hang of it, it can be a great way to save money.
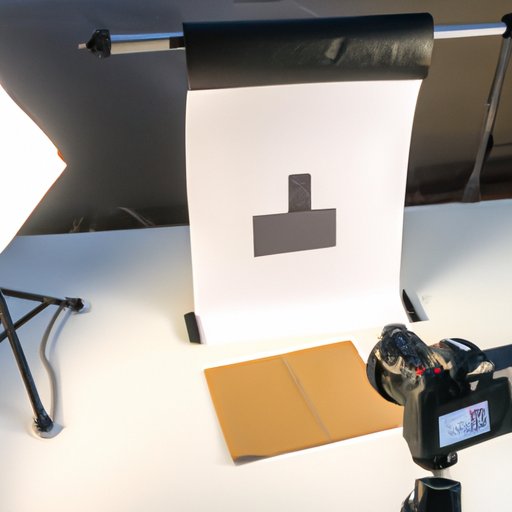
Materials Needed
To get started with DIY product photography, you’ll need a few key items. These include a digital camera, a tripod, a light box or other lighting setup, and some basic editing software. You may also want to invest in some props or backdrops to help make your photos stand out.
Comparison to Professional Costs
DIY product photography can be significantly cheaper than hiring a professional photographer. Even if you invest in the necessary equipment, you’ll still likely spend less than you would with a professional. Plus, you’ll have full control over the editing process and will be able to experiment with different techniques until you find the perfect look.
Conclusion
Product photography can be an expensive undertaking, but there are ways to keep costs down. By understanding the different pricing models available, exploring commonly used techniques, considering the pros and cons of hiring a professional photographer, and looking at how much you can save by DIY-ing product photography, you can make an informed decision about the best way to get the photos you need.
(Note: Is this article not meeting your expectations? Do you have knowledge or insights to share? Unlock new opportunities and expand your reach by joining our authors team. Click Registration to join us and share your expertise with our readers.)