Introduction
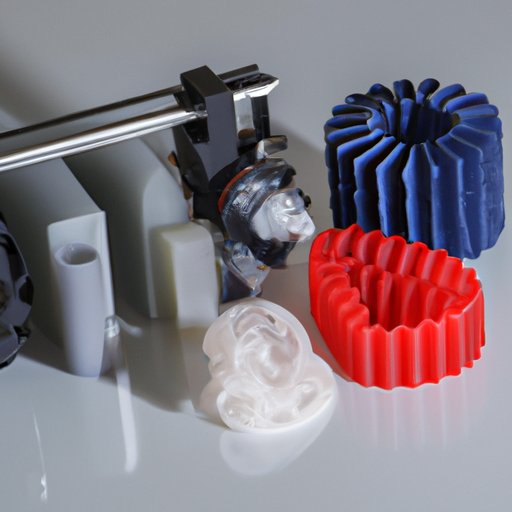
Resin 3D printing is a form of additive manufacturing that uses a liquid photopolymer resin to create solid objects layer by layer. It has become increasingly popular in recent years due to its ability to produce high-resolution, detailed parts with great accuracy and repeatability. With this technology, complex geometries can be created with ease, making it ideal for prototyping and production of parts.
The benefits of resin 3D printing include its affordability, speed, and detail. It is also relatively easy to use and can be used to make parts with complex geometries that would otherwise be impossible to produce using traditional manufacturing methods.
Step-by-Step Guide to Resin Printing
Resin 3D printing is a relatively simple process, but there are a few steps you need to follow to ensure a successful print. Here is a step-by-step guide to help you get started:
1. Preparing the Printer
Before you begin printing, you will need to make sure your printer is set up correctly. This includes filling the resin tank with resin, calibrating the build platform, and ensuring the printer is level. You should also check that the printer is connected to a power source and that all of the necessary software is installed.
2. Loading and Unloading the Resin
Once the printer is ready, you will need to load the resin into the tank. This involves carefully pouring the resin into the tank and then sealing it to prevent any spills. Once the resin is loaded, you can unload any remaining resin from the tank by carefully pouring it out into a container.
3. Selecting a Model to Print
Once the resin is loaded, you can select the model you want to print. You can either use a 3D file you have already designed or download a model from an online library. After selecting the model, you will need to prepare it for printing by slicing it into layers and converting it to a format that is compatible with your printer.
4. Pre-Print Preparation
Before you start printing, you will need to make sure the print bed is clean and free of dust and debris. You should also check that the print settings are correct and that the printer is properly calibrated.
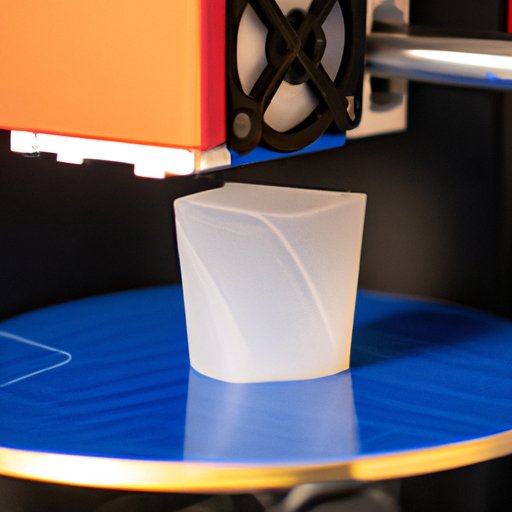
5. Printing the Model
Once everything is ready, you can start printing your model. The printer will create each layer one at a time, using light to cure the resin and build up the object. Depending on the size and complexity of the model, the printing process can take anywhere from a few hours to several days.
6. Post-Print Cleanup
After the printing is complete, you will need to remove the model from the build plate and clean it. This involves washing it in an alcohol bath to remove any uncured resin and then rinsing it off with water. Once the model is clean, you can remove any supports and post-process it as desired.
Exploring the Basics of Resin 3D Printing
Now that you have a better understanding of how resin 3D printing works, let’s explore some of the basics. Here are some key points to keep in mind when working with resin 3D printing:
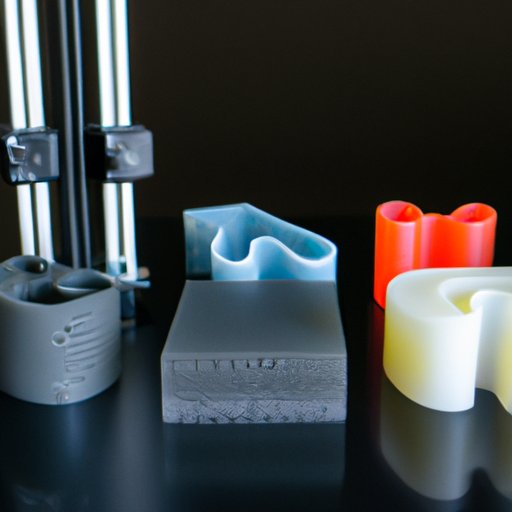
Different Types of Resin
There are many different types of resin available for 3D printing, each with its own unique properties. The type of resin you choose will depend on the application and the details you are trying to achieve. Some common types of resin include ABS, PLA, PETG, and Nylon.
Understanding Layer Thickness and Resolution
Layer thickness and resolution are two important factors to consider when 3D printing. Layer thickness refers to the height of each layer, while resolution refers to the smallest feature size that can be printed. Both of these factors will affect the quality of the finished part, so it’s important to choose the right settings for your application.
An Overview of Resin 3D Printing Technologies
There are several different technologies used in resin 3D printing. Here is a quick overview of the most common ones:
Stereolithography (SLA)
Stereolithography (SLA) is the most widely used technology for 3D printing with resin. It works by using a laser to cure a liquid resin layer by layer to create a 3D object. SLA printers are known for their high accuracy and resolution, making them ideal for producing detailed parts.
Digital Light Processing (DLP)
Digital Light Processing (DLP) is another popular technology for 3D printing with resin. It works by projecting light onto a vat of resin to cure the material layer by layer. DLP is capable of producing parts with high accuracy and detail, but is limited by its slow print speeds.
Continuous Liquid Interface Production (CLIP)
Continuous Liquid Interface Production (CLIP) is a newer technology that combines the benefits of both SLA and DLP. It works by projecting light into a thin layer of oxygen-permeable film, which is used to control the curing process. CLIP is capable of producing parts quickly and with high accuracy, making it a great choice for prototyping and production.
Understanding the Chemistry Behind Resin 3D Printing
To understand how resin 3D printing works, it’s important to understand the chemistry behind it. Resin 3D printing relies on photopolymersization, which is a process where light is used to initiate chemical reactions that cause monomers to link together and form polymers chains. This process is what enables the printer to create solid objects layer by layer.
The photopolymerization process relies on three main components: photopolymers, crosslinking agents, and initiators. Photopolymers are molecules that contain reactive monomers that link together when exposed to light. Crosslinking agents are molecules that help to link the monomer molecules together. Finally, initiators are molecules that absorb light and activate the photopolymerization reaction.
Conclusion
Resin 3D printing is a powerful technology that allows users to create complex parts with great accuracy and detail. It is relatively easy to use and can be used to make parts with complex geometries that would otherwise be impossible to produce using traditional manufacturing methods. This article provides an in-depth look at how resin 3D printing works, exploring the basics of resin 3D printing, the different technologies used, and the chemistry behind it.
(Note: Is this article not meeting your expectations? Do you have knowledge or insights to share? Unlock new opportunities and expand your reach by joining our authors team. Click Registration to join us and share your expertise with our readers.)