Introduction
Recording audio on an iPhone is simple and convenient. Whether you want to record your own voice or capture other sounds, there are several different ways to do so on your iPhone. In this article, we will cover how to record audio on your iPhone using Voice Memos, recording apps, QuickTime Player, 3rd party recording hardware, a home studio setup, and an external microphone.
Use Voice Memos
Voice Memos is a pre-installed app on iPhones that allows users to quickly and easily record audio. It includes features such as the ability to pause, resume, and trim recordings. Here’s how to use Voice Memos to record audio on your iPhone:
1. Open the Voice Memos app on your iPhone.
2. Tap the red “Record” button at the bottom of the screen to start recording.
3. Tap the “Pause” button to pause the recording.
4. Tap the “Resume” button to resume the recording.
5. Tap the “Trim” button to trim the beginning or end of the recording.
6. Tap the “Done” button to save the recording.
Download a Recording App
If you want more features than what the Voice Memos app offers, you can download a third-party recording app. There are many popular recording apps available, such as TwistedWave, AudioShare, and Ferrite Recording Studio. Here’s how to use a recording app to record audio on your iPhone:
1. Download and open the recording app of your choice on your iPhone.
2. Tap the red “Record” button to start recording.
3. Tap the “Pause” button to pause the recording.
4. Tap the “Resume” button to resume the recording.
5. Tap the “Trim” button to trim the beginning or end of the recording.
6. Tap the “Save” button to save the recording.
Use QuickTime Player
QuickTime Player is a media player developed by Apple. It can be used to record audio and video on your iPhone. Here’s how to use QuickTime Player to record audio on your iPhone:
1. Download and open QuickTime Player on your iPhone.
2. Tap the “File” button in the top left corner of the screen.
3. Tap “New Audio Recording” in the dropdown menu.
4. Tap the red “Record” button to start recording.
5. Tap the “Pause” button to pause the recording.
6. Tap the “Resume” button to resume the recording.
7. Tap the “Done” button to save the recording.
Utilize 3rd Party Recording Hardware
If you want to record higher quality audio, you can purchase 3rd party recording hardware. Some popular options include USB microphones, portable digital recorders, and audio interfaces. Here’s how to set up and use 3rd party recording hardware to record audio on your iPhone:
1. Connect the 3rd party recording hardware to your iPhone.
2. Open the recording app of your choice on your iPhone.
3. Tap the “Settings” button in the top right corner of the screen.
4. Tap “Input Source” and select the 3rd party recording hardware.
5. Tap the red “Record” button to start recording.
6. Tap the “Pause” button to pause the recording.
7. Tap the “Resume” button to resume the recording.
8. Tap the “Trim” button to trim the beginning or end of the recording.
9. Tap the “Save” button to save the recording.
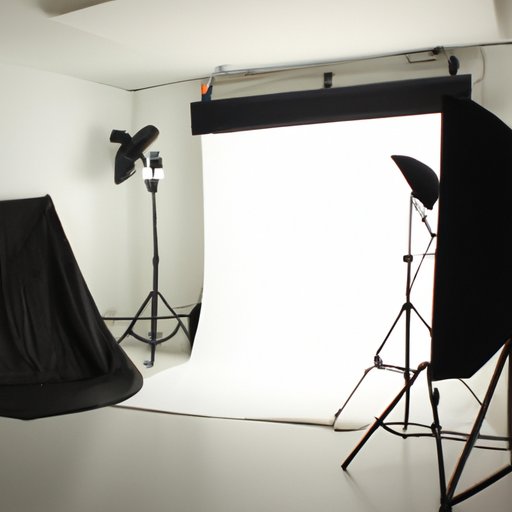
Set Up a Home Studio
If you want to record high-quality audio, you may want to consider setting up a home studio. A home studio typically includes a computer, audio interface, microphone, headphones, and software. Here’s how to set up a home studio to record audio on your iPhone:
1. Purchase a computer, audio interface, microphone, headphones, and recording software.
2. Connect the audio interface to the computer.
3. Connect the microphone to the audio interface.
4. Connect the headphones to the audio interface.
5. Install the recording software on the computer.
6. Open the recording software on the computer.
7. Select the audio interface as the input source.
8. Turn on the microphone.
9. Turn on the headphones.
10. Start recording.
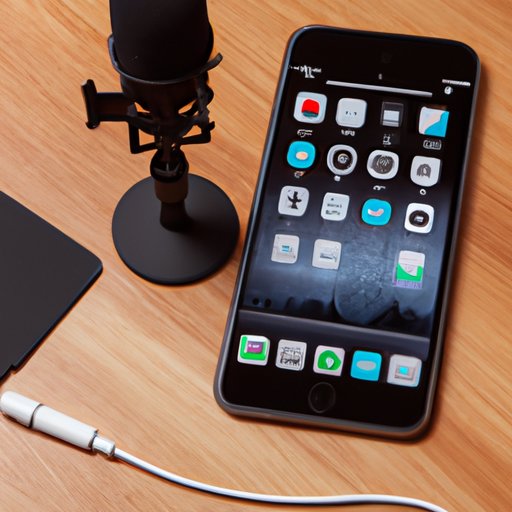
Use an External Microphone
If you don’t want to go through the hassle of setting up a home studio, you can simply use an external microphone. External microphones plug directly into the headphone jack of your iPhone and allow you to record high-quality audio. Here’s how to set up and use an external microphone to record audio on your iPhone:
1. Purchase an external microphone.
2. Plug the external microphone into the headphone jack of your iPhone.
3. Open the recording app of your choice on your iPhone.
4. Tap the “Settings” button in the top right corner of the screen.
5. Tap “Input Source” and select the external microphone.
6. Tap the red “Record” button to start recording.
7. Tap the “Pause” button to pause the recording.
8. Tap the “Resume” button to resume the recording.
9. Tap the “Trim” button to trim the beginning or end of the recording.
10. Tap the “Save” button to save the recording.
Conclusion
In this article, we explored how to record audio on an iPhone using Voice Memos, recording apps, QuickTime Player, 3rd party recording hardware, a home studio setup, and an external microphone. All of these methods are easy to use and will help you capture audio on your iPhone with ease.
We hope this article has been helpful in teaching you how to record audio on your iPhone. If you have any questions or comments, feel free to leave them in the comments section below.
(Note: Is this article not meeting your expectations? Do you have knowledge or insights to share? Unlock new opportunities and expand your reach by joining our authors team. Click Registration to join us and share your expertise with our readers.)